Monthly Archives: November 2014

More plumbing, started some electrical

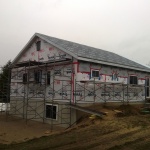
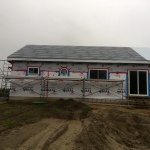
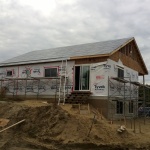
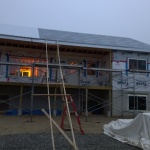
The past few days have been quite stressful and at times almost overwhelming.  The day after my last post, where I was hoping for no strong winds, we got some terribly powerful winds that tore up some of our Tyvek housewrap and was doing it’s level best to lift the steel roofing panels right off the roof.  In the end, everything largely worked out, but it was touch and go there for awhile.

Since then, I have actually gone up on the roof one more time to install the pipe boot around the plumbing vent, so the roof *should* be completely watertight at this point (fingers crossed).  It’s quite scary to be up there now as with the cold temperatures, even when the roof is dry, there is very little traction.  I *think* (and am choosing to hope) that we got enough done on the roof to get us through until spring.

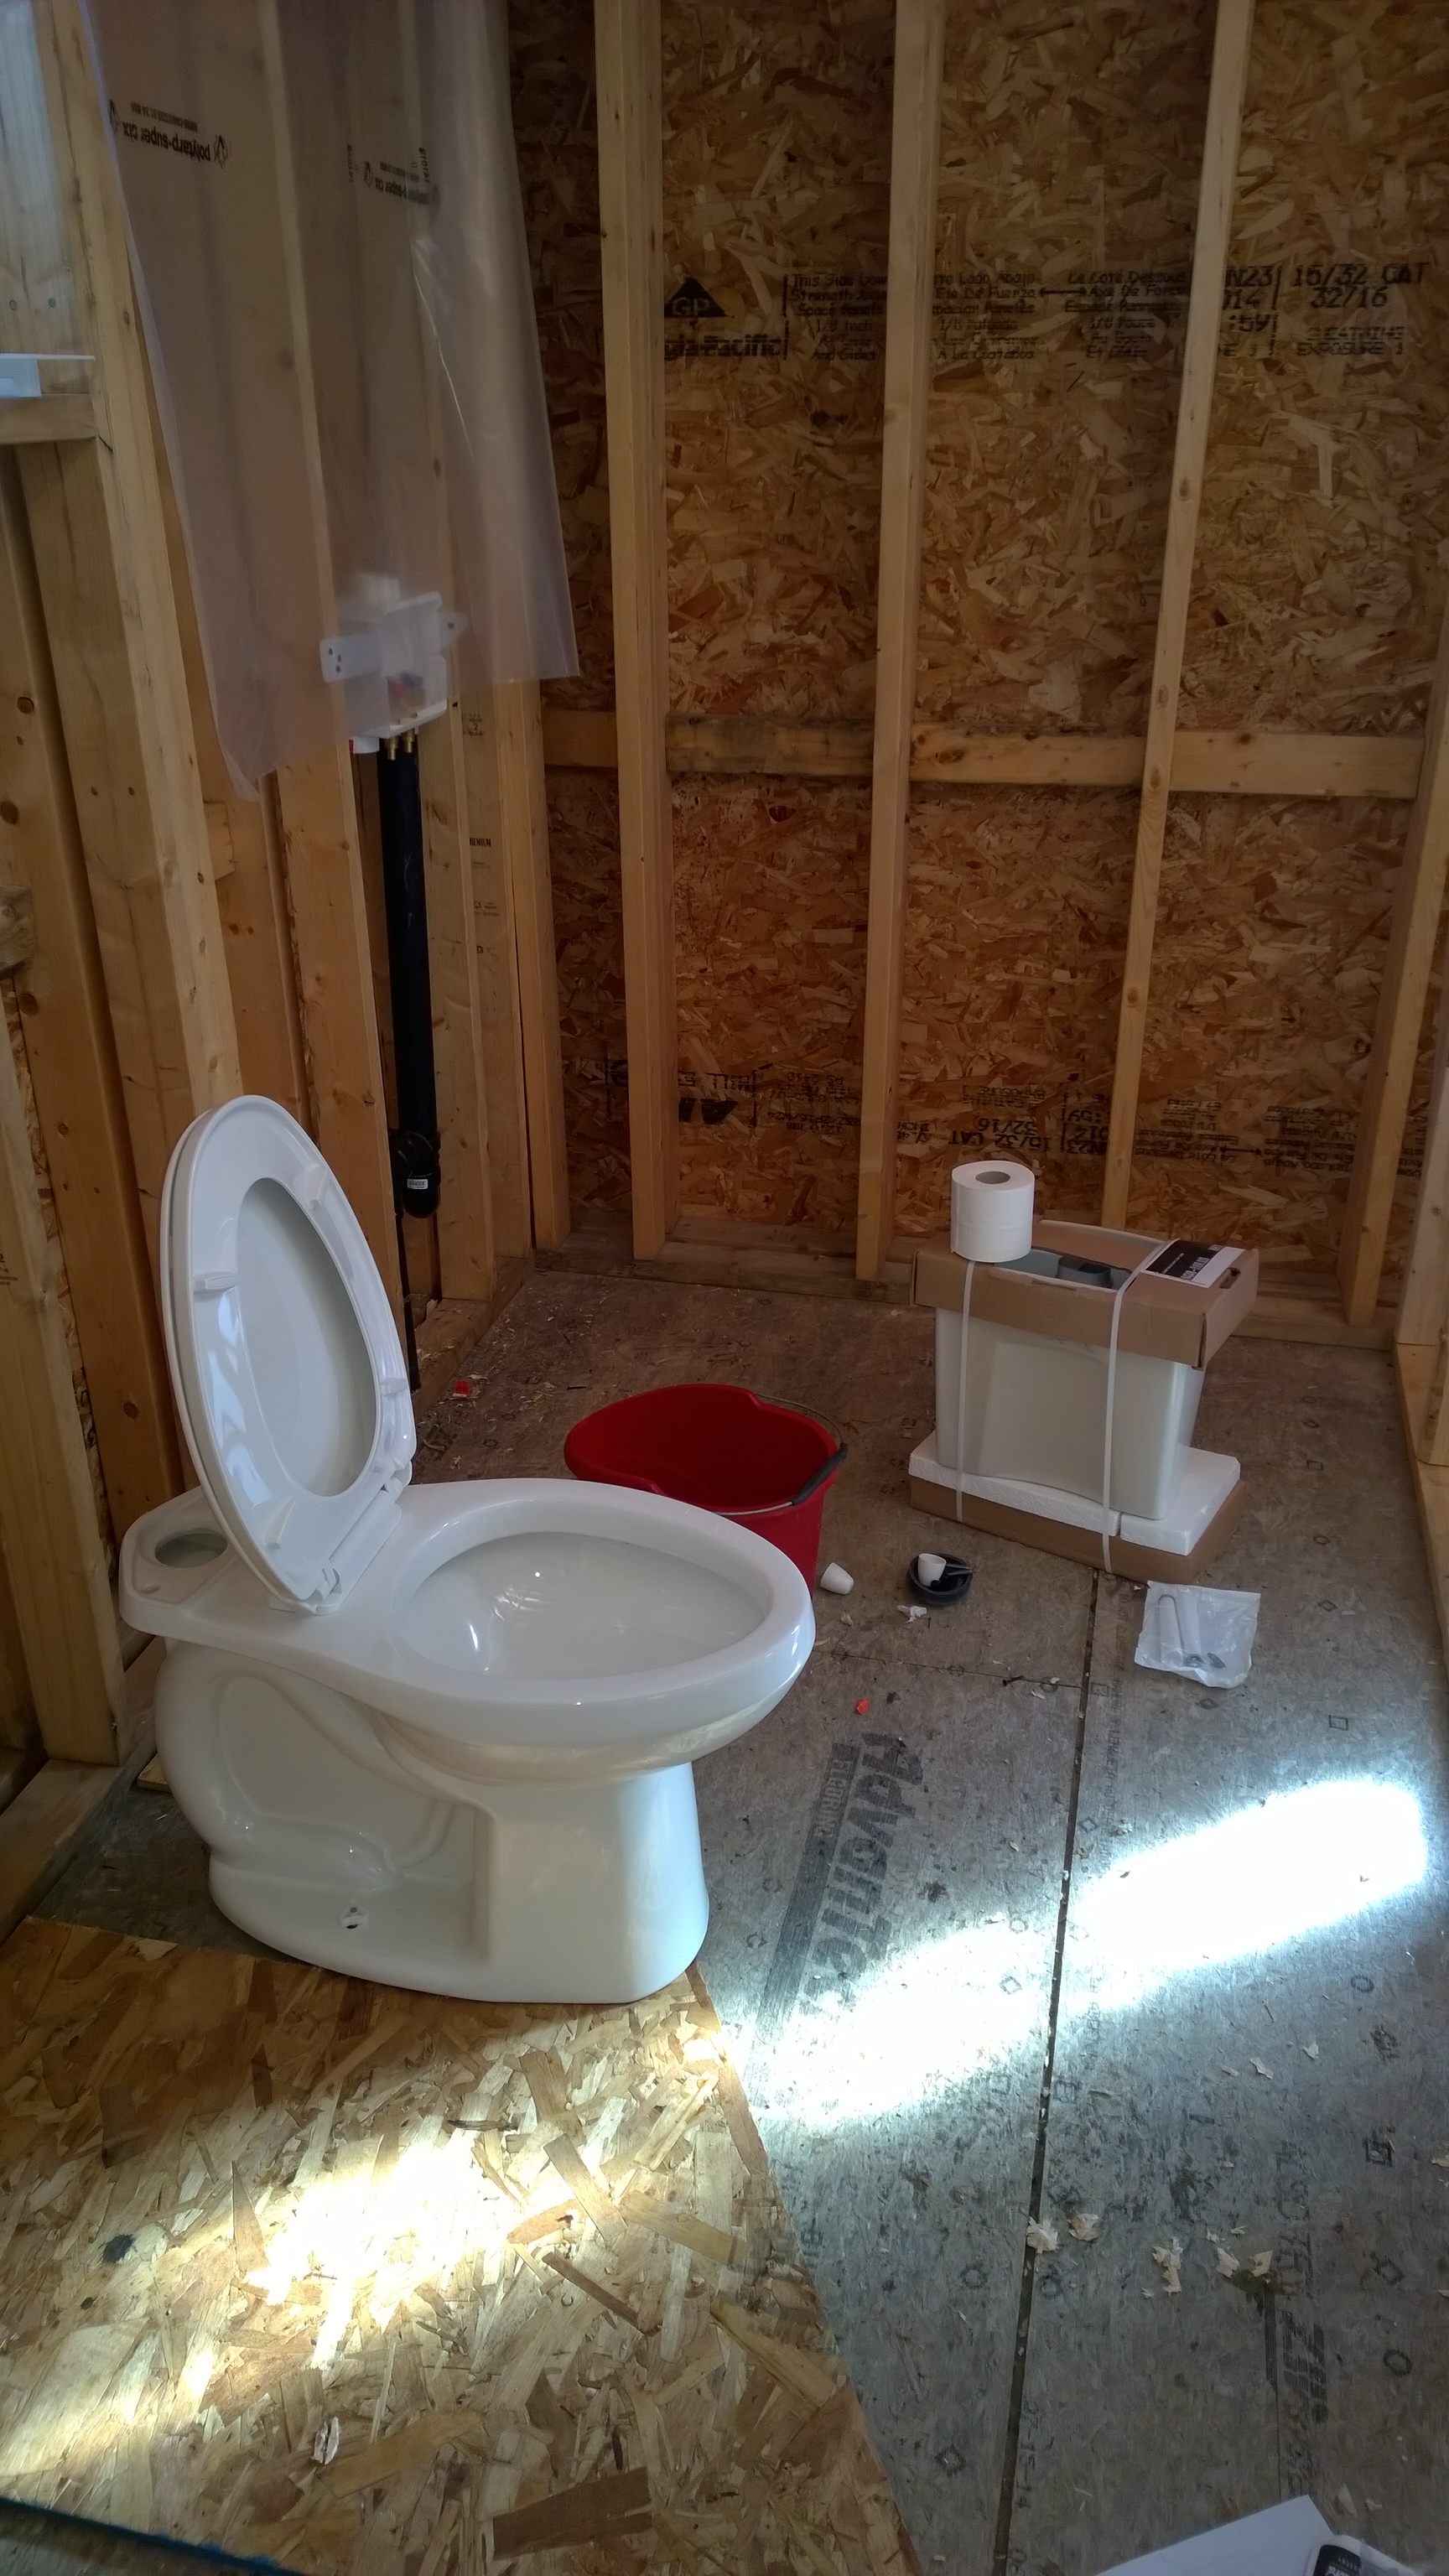
I also ran a few more plumbing supply lines, for the master bath toilet and sink, but it turns out I need to get my hands on some more 90-degree supports for the PEX tubing to run it nicely so they are on order and I am waiting on them to be delivered.

My cousin Jonathan stopped by yesterday after work and the two of us combined managed to wrestle the ridiculously heavy Xantrex off-grid inverter up onto the wall.  So now I have all the main boxes (inverter, distribution cabinet, and both solar charge controllers), except the main A/C supply box, mounted up on the wall and ready to be wired.

Core Xantrex gear mounted

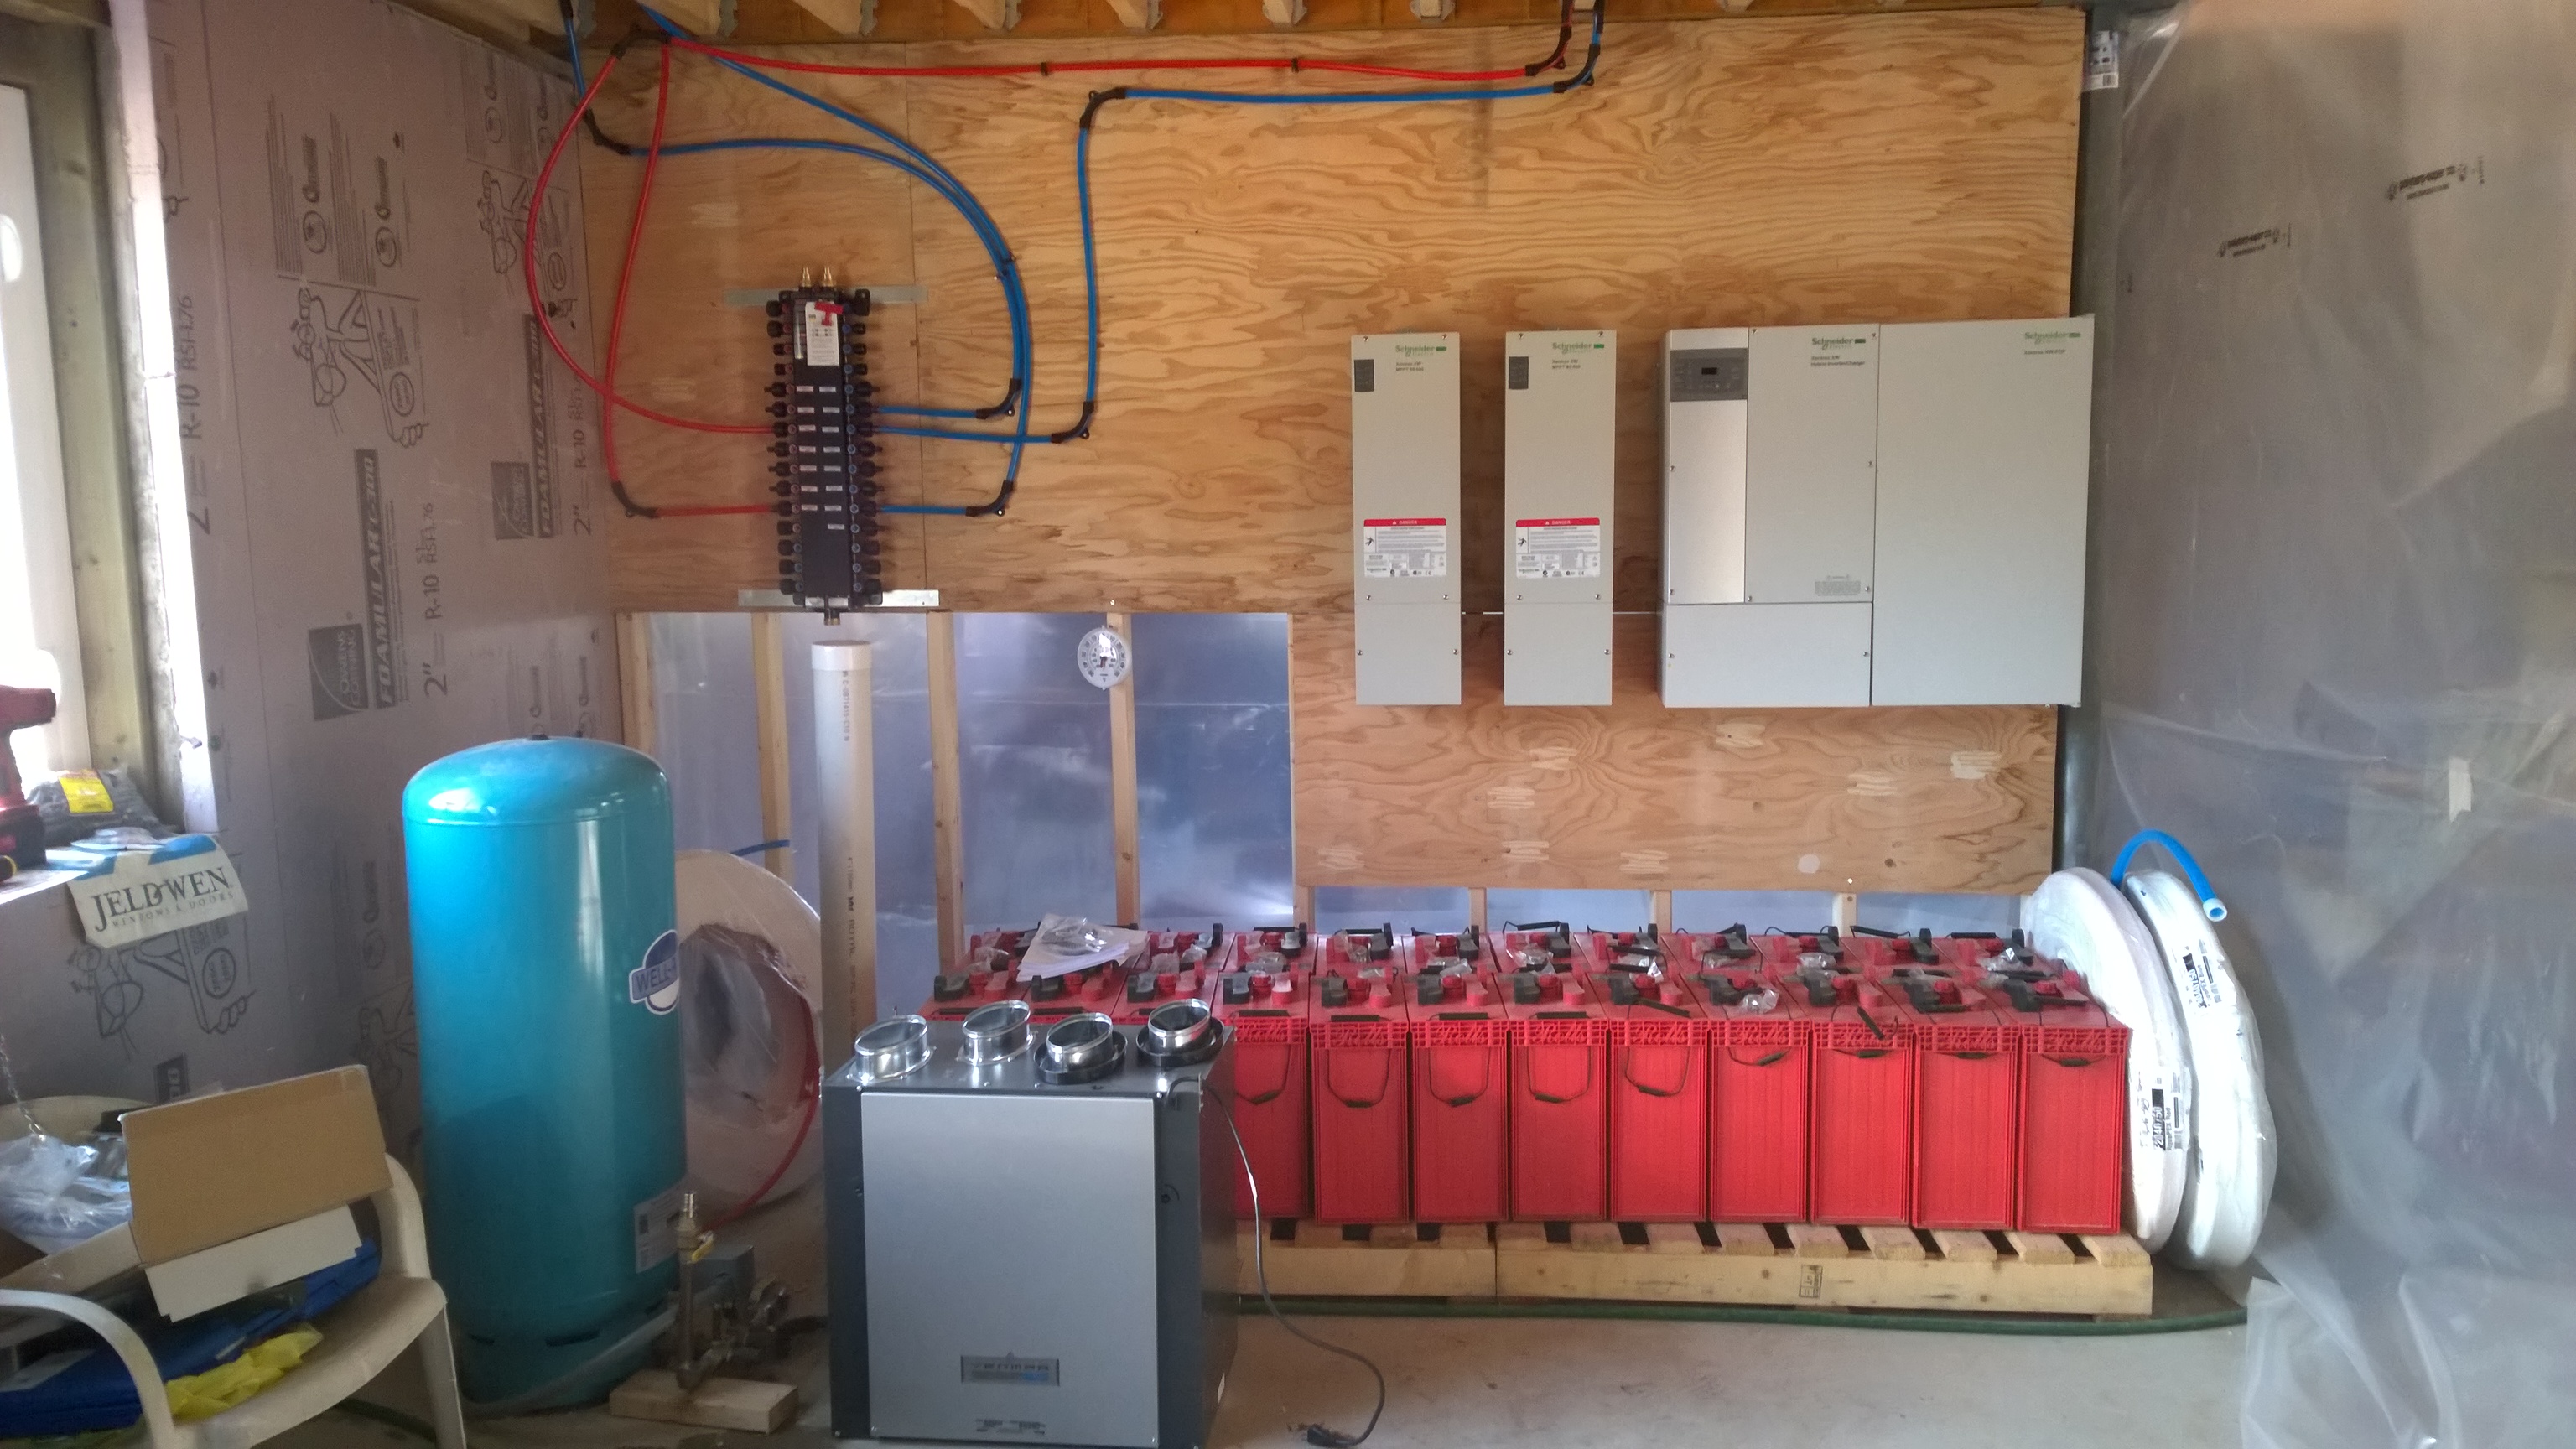
You can also see our Venmar HRV in the foreground of that picture, it’s almost ready to get hung up from the joists and have the ducting run.

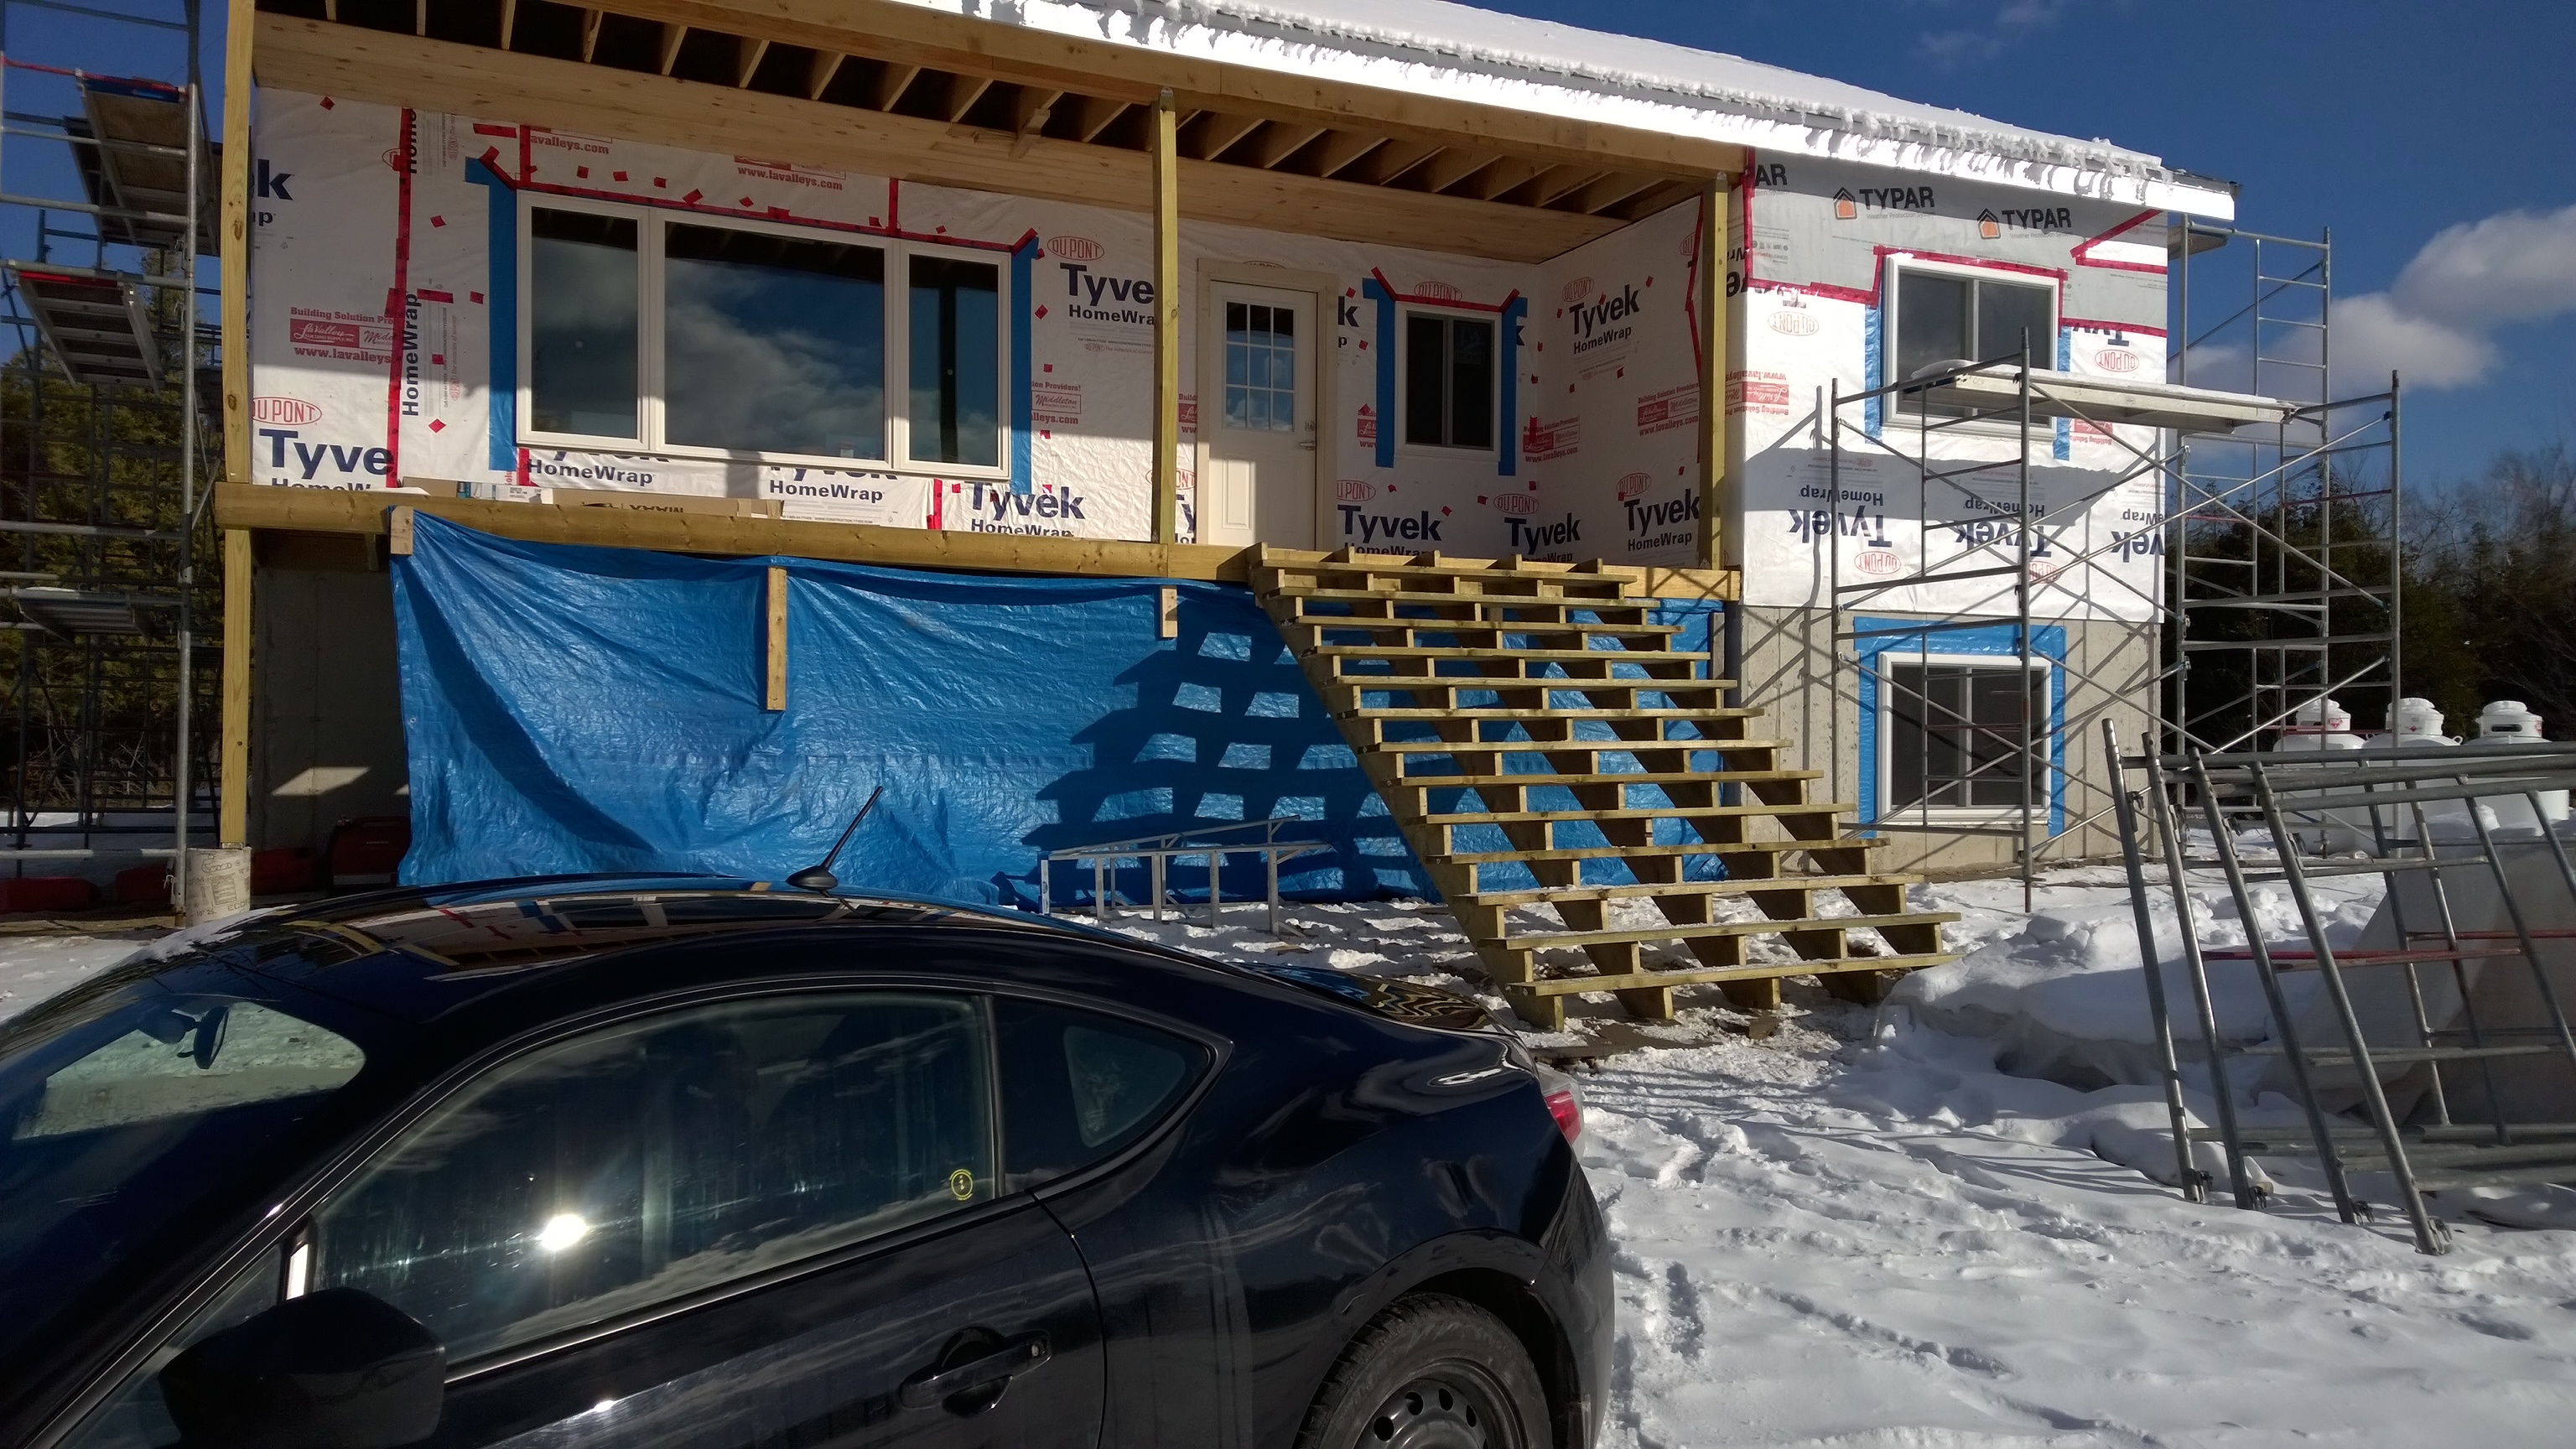
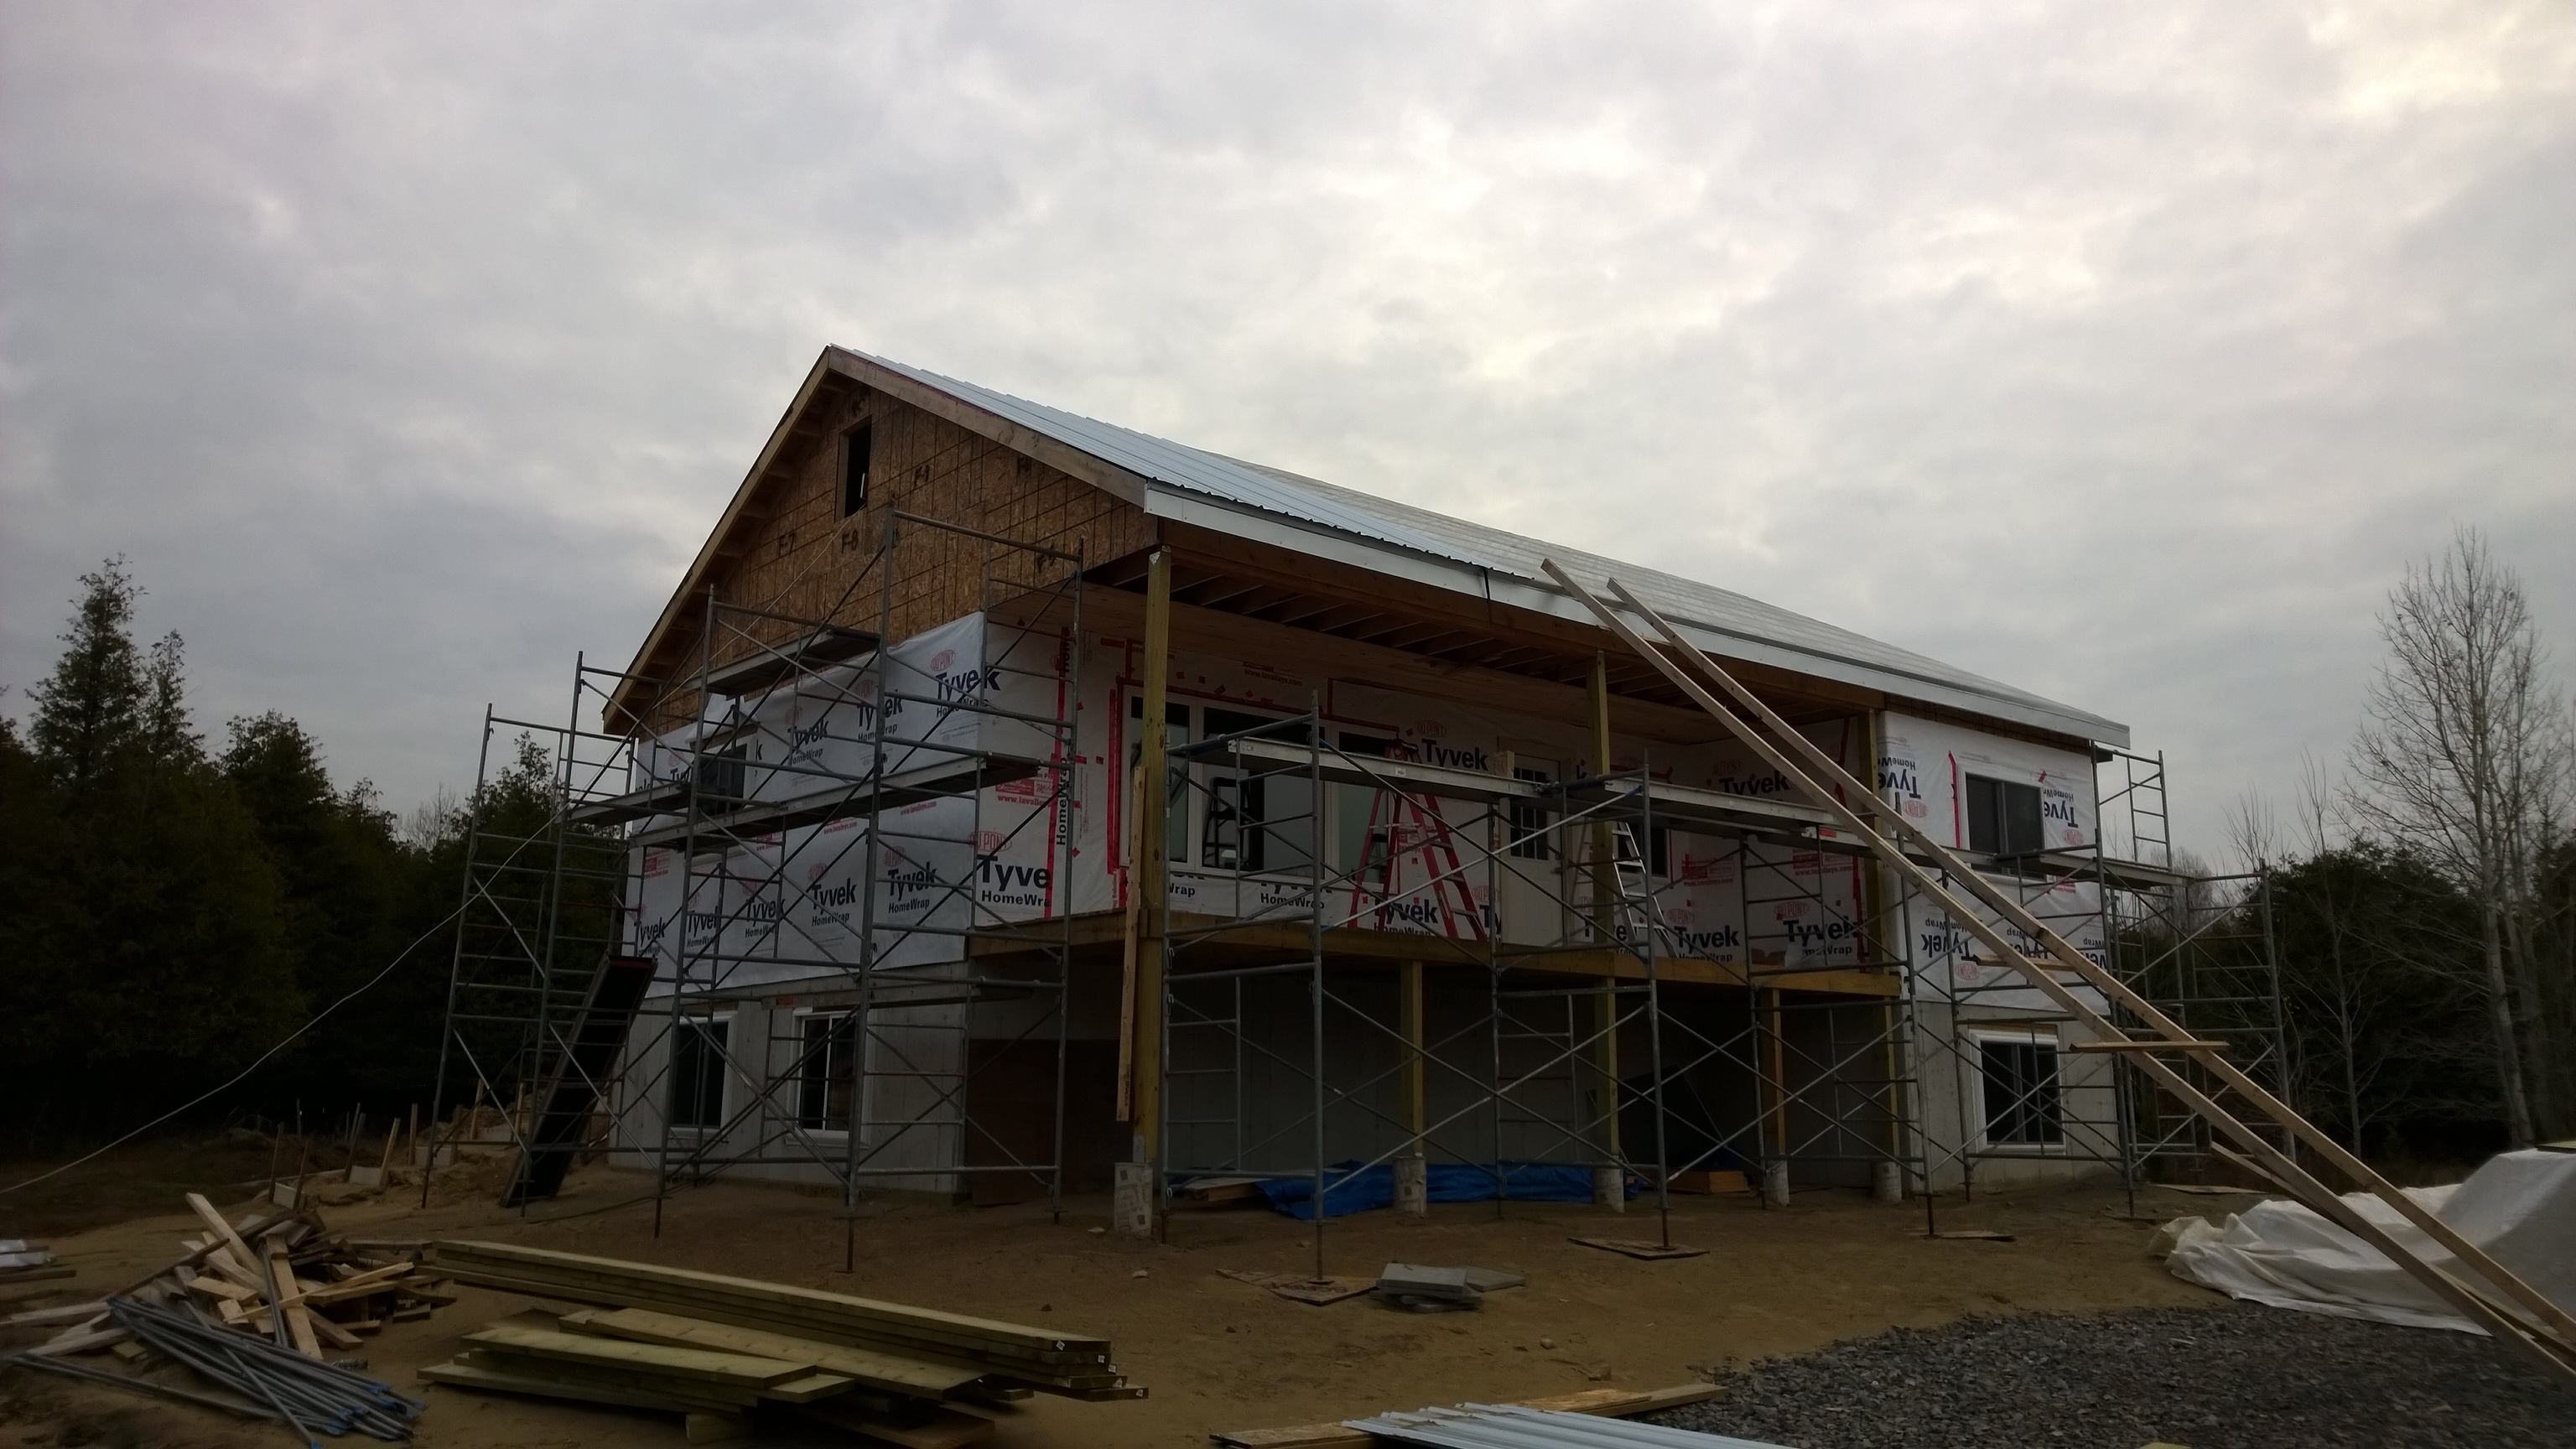
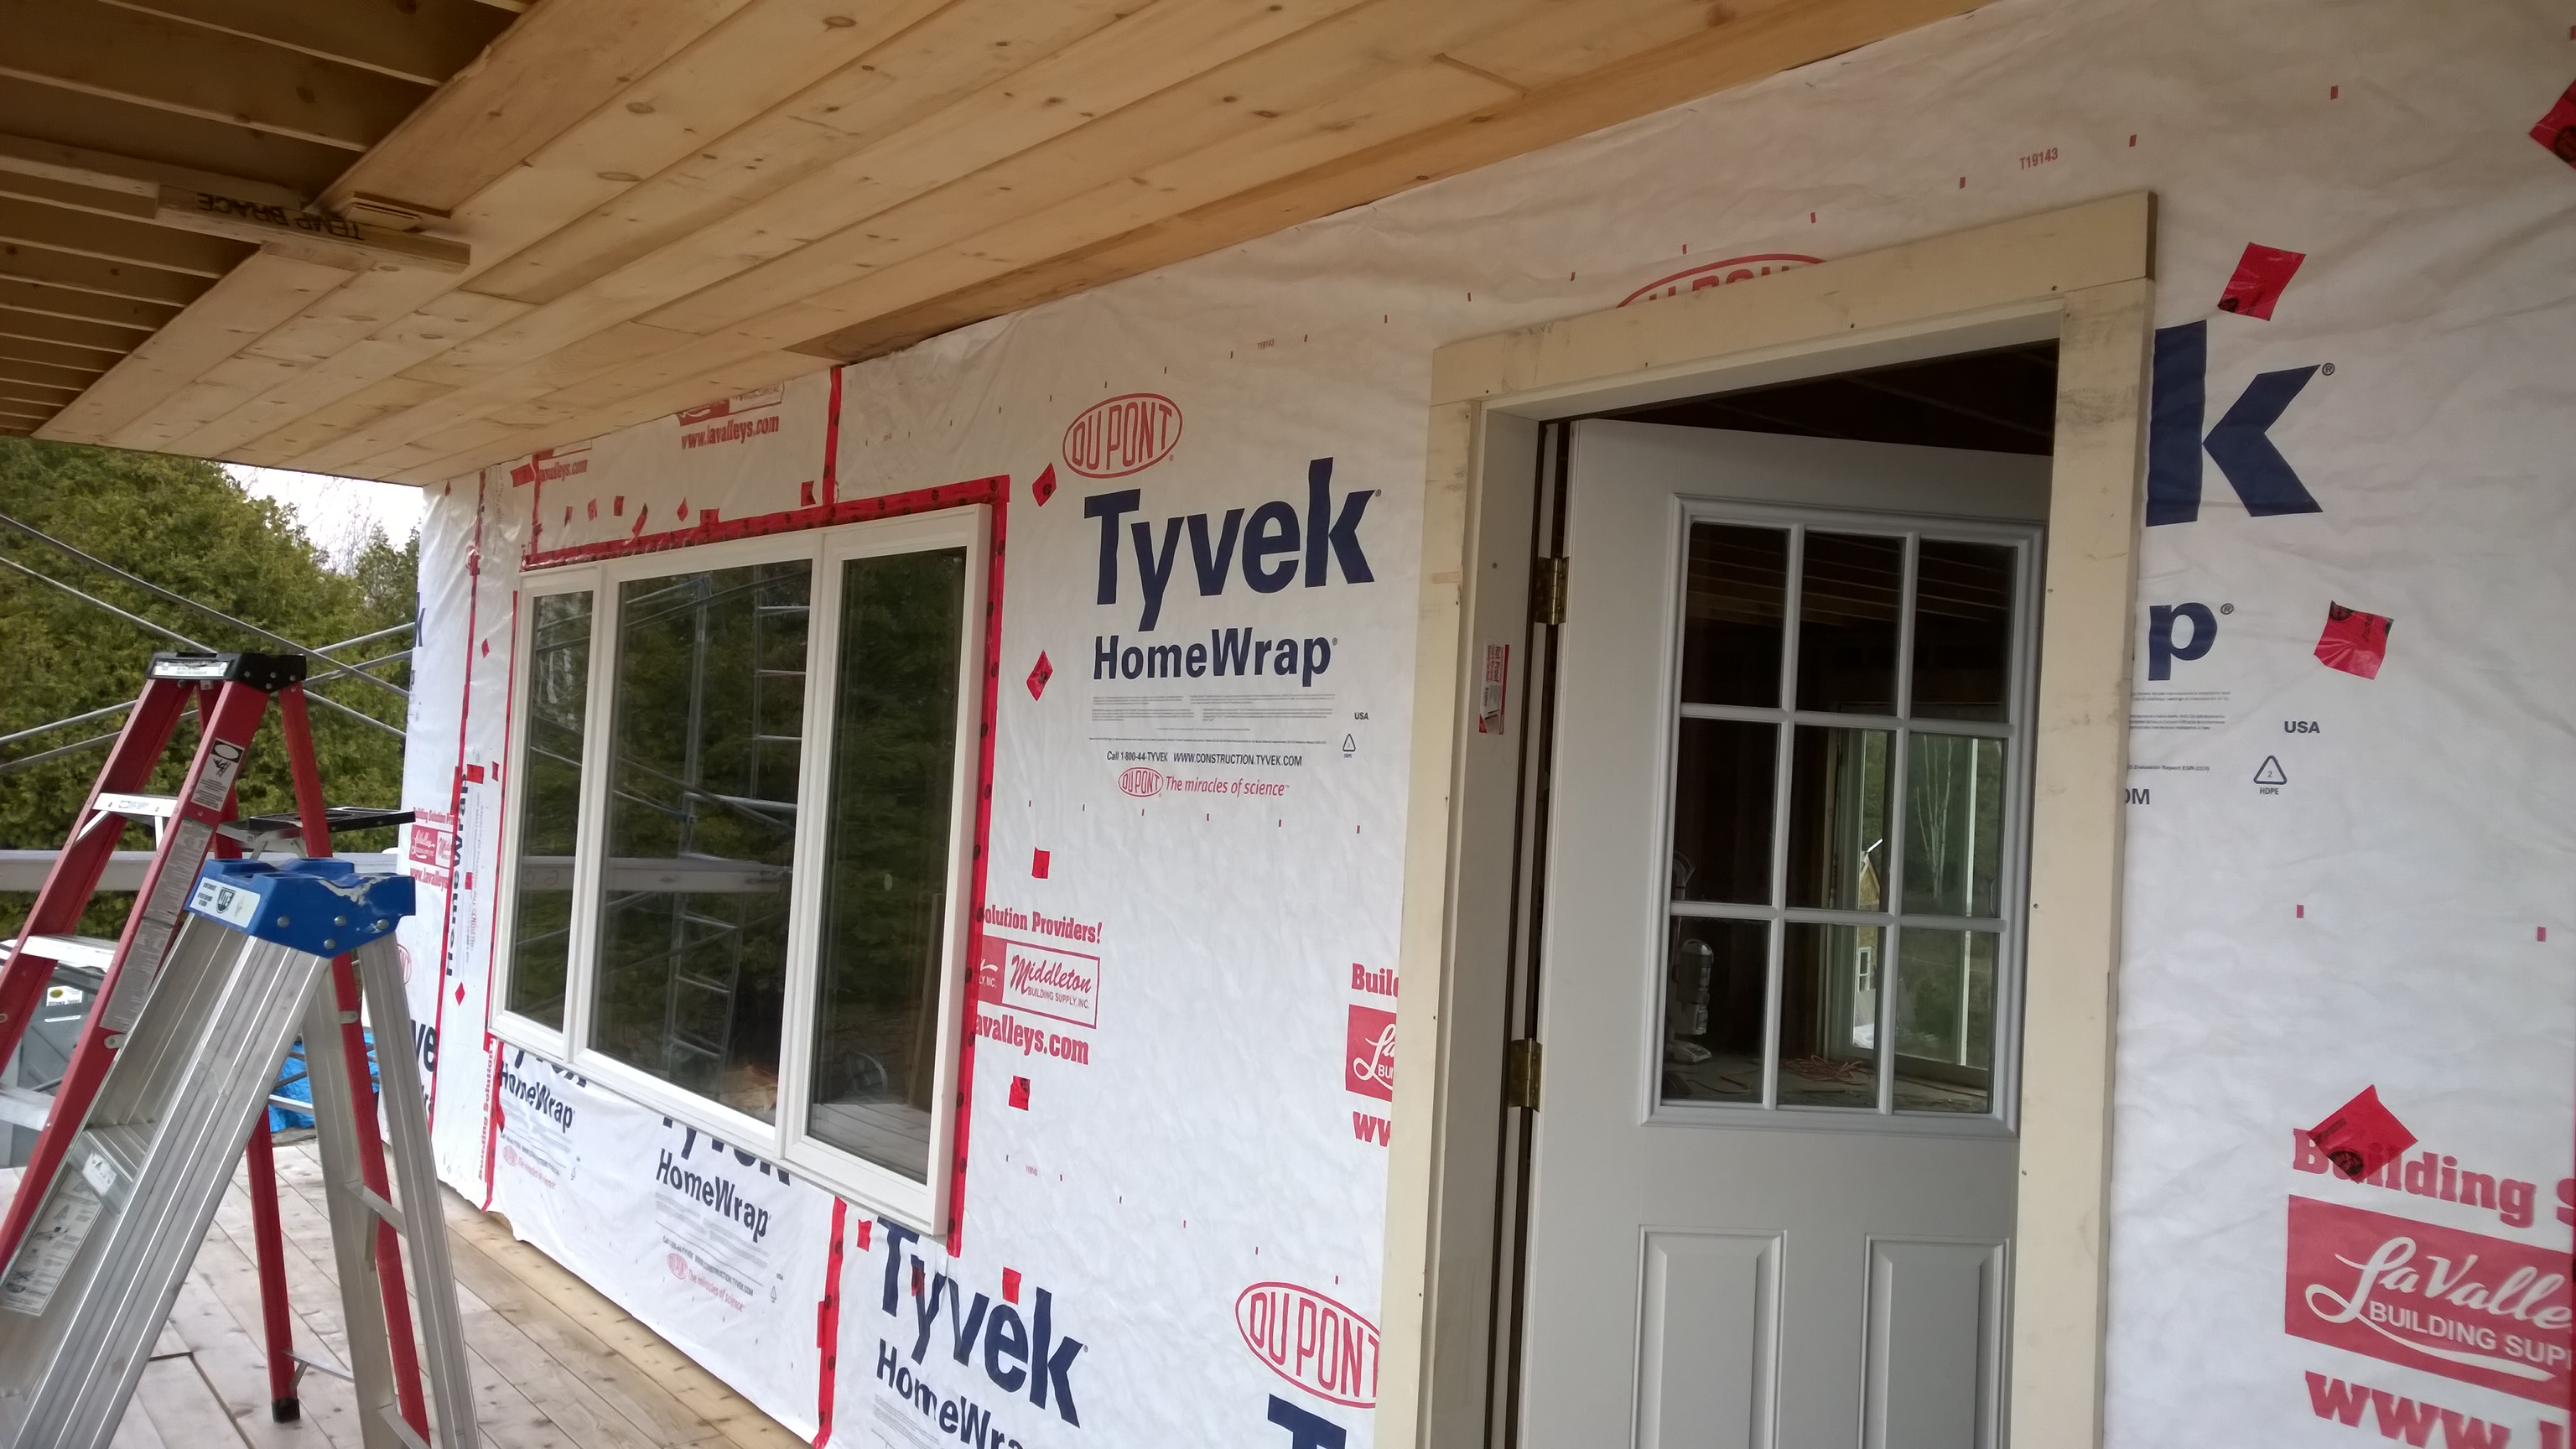
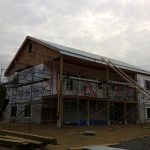
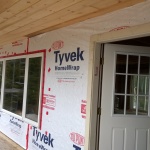
Finally, in amongst all that, I’ve been working on our electrical plan and getting my shopping list together to get that underway, and managed to finish putting up the housewrap on the last end of the house:

Housewrap all done!
Housewrap all done!

Tomorrow Jonathan will be returning with his truck, and we’ll drive over to Smiths Falls and pick up our two hot water heaters, and get them located in the basement, in preparation to connect them to the propane system.  Hopefully that goes smoothly.

Take care and thanks for reading!

A few more items off the list

Over the past couple of days it has actually been warming up, and all the snow and ice melted off the roof of the house.  It’s still wet, which makes it extremely dangerous to work on, but I was able to get out there anyway and finish putting up the roof ridge vent, and the remaining steel trimwork to keep the rain / snow from coming in.  It is good to get it done so that I don’t really have to go up there anymore unless there is a particularly good day for it.  All that’s left up there is installing a “pipe boot” around the main plumbing vent, and a few more rows of screw fasteners into the steel roofing panels to fully secure them.  For now we will just pray there is no hurricane force winds!

We did get a *lot* of rain last night and this morning when I checked the house, the only water that had come in, was around the plumbing vent, so it’ll be good to get that pipe boot installed in the coming days.

I also got started on the plumbing supply rough in work, first step was picking a good location to mount the PEX manifold and from there it’s as easy as running the lines and crimping the ends.  Here’s a picture of our supply manifold (lots of ports left for future expansion):

Manabloc 18 Cold / 12 Hot Plumbing Manifold

and the PEX supply lines roughed-in to the laundry area:

Plumbing rough-in for laundry

I also spoke with the building inspector about the next steps to insulation, we came to an agreement that since no plumbing supply lines would be run in the exterior walls, except for the laundry supply, that we could forego the rest of that work for the time being and focus on the electrical work.

Oh, right, and I also finished up the framing for the main fireplace:

I’ll end here so I can get back out there and keep building!  Thanks for reading!

Couple items off the list

Since the last post I finished off nailing the rest of the framing angles (all done, thank god), and also installed the attic ladder, at least, enough to get us to the point we can insulate!  Still needs a few finishing touches but we will pick away at that later on.

I also got started on framing in the openings for the fireplaces and expect to get that wrapped up tomorrow.

Recapping next steps:

  • Installation of HRV and associated ducting (exhaust from kitchen, bathrooms; supply to bedrooms, basement, living room)
  • Complete plumbing supply rough-in
  • Electrical rough-in (both AC house wiring and solar equipment)
  • Install remaining soffit on gable end, complete metal roof trim & fasteners, and ridge vent installation.
  • Install vapour barrier (6mil poly) on the ceiling of the main floor
  • Drywall ceiling of the main floor

Stay warm!

Next Steps to Insulation

Right now our main goal is to get the house complete enough to get the spray foam company to come out and do the insulation – after that the house will be sealed enough that we can probably largely move over into that while we finish the rest of construction, and we can stop worrying about any plumbing or our batteries freezing (currently running a propane heater in the basement to keep things above freezing).

I made a  list of things we still have left to do before we can insulate, and thought I’d share it here for fun  😉  They are listed in the rough order of priority.

  • Finish nailing remainder of framing angles (I had put this off in the rush to get the roof done, a possibly regrettable choice as some of the nailing is now more difficult to access and will take longer)
  • Complete plumbing supply rough-in (drains are all complete, waiting on materials to arrive to do the supply side)
  • Electrical rough-in (both AC house wiring and solar equipment)
  • Framing for fireplaces
  • Installation of HRV and associated ducting (exhaust from kitchen, bathrooms; supply to bedrooms, basement, living room)
  • Install remaining soffit on gable end, complete metal roof trim & fasteners, and ridge vent installation.
  • Install attic ladder
  • Install vapour barrier (6mil poly) on the ceiling of the main floor
  • Drywall ceiling of the main floor

When I sit back and look at that list, it’s kind of overwhelming, but I just have to work my way through one thing at a time and eventually it will all get done.  It is unfortunately still snowing, so I’ve arranged to borrow a safety harness for working on the remainder of the roof, and will have to try and get up there on the next sunny day (it’s November so god knows when that will be) to wrap all that stuff up.

Thanks for reading!

Weekend Update: November 15, 2014

When I woke up this morning, it was quite cold, but sunny and clear, and most importantly, there was no wind.  I immediately took the opportunity to reach out to our friend Graham, who was more than happy to drive down from Ottawa on short notice.

By the time he arrived, the sun had pretty much melted off the layer of frost on the roof (wet roof = terrifying roof), so we got to work installing more of the steel roofing panels.

The plumber was also here doing all the drain work; he had to vent a 4″ pipe out through the roof, so we had the unenviable task of measuring, marking, and cutting a hole in the steel panel down on the ground, and crossing our fingers and hoping that we got it in the right spot.  Thankfully, we did a passable job there, and we continued to work hard all day with only a brief break for lunch.

By the time we were on the last two panels, it had gotten quite cloudy and a few degrees colder – I noticed a gradual decline in the ability of my shoes to grip the roof as the temperature dropped off, and we were barely able to get the job done, but somehow we pulled it off.  The last panel was especially difficult due to poor traction, but we cracked out the parachute cord (capable of holding 550lbs) and Graham basically pulled me up the roof, as I was pulling the steel panel up the roof…quite an endeavour and not something that I’d care to repeat!

Here’s a couple photos of the results:

All in all, an amazing day of progress as we managed to get all the steel roofing panels installed.  There is still a bit of trim work to do at the gable ends, and I still have to drive in a few more rows of screws to finish fastening them down, but still, gotta feel good about that – one of the trickier jobs in the whole building process crossed off the list!

We are forecast to get some snow tomorrow, but if we don’t, you can be sure I’ll be up there trying to get the last of it finished!

Other stuff that happened this week, we got our bathtub and shower delivered, as well as two pre-hung interior doors, and also received eight 1350lb concrete blocks which will become the base of our grount mounted solar array.  At some point I will need to rent a machine to move these into the correct positions in the meadow – that should be fun!

Eight 1350lb concrete blocks

Thanks for reading and hope you enjoyed the pictures!

Weekend Update: November 8, 2014

I’ve made only incremental progress since the last post, but it’s snowing a little and kind of crappy outside so I thought I would just snap a few pics and recap where we are to date.

Here’s a gallery showing a 360 degree view of the house, with a little commentary about the remaining work on each side:

Overall we are very nearly ready for siding – which means that I’ll actually forego that for the time being and transition to the indoor work of setting up our plumbing and electrical stuff.  Of course we also still have to finish installing the rest of the steel roofing panels.

Thanks for reading and hope you enjoyed the pictures!

The End is in Sight

It’s been about three months since we received the house kit and it seems like the end is finally in sight.  The big piles of lumber surrounding the house have been reduced to only a single pile of siding and trim boards, and we continue to plug away, trying to get everything done before it really starts getting cold.

After the last post, I did some searching around and managed to find some additional Grace Ice&Water Barrier – then removed the somewhat tattered tarpaper and the two rows of Ice&Water Barrier I had already installed, in preparation to begin anew.  As it turns out, I ended up having to trim about an inch off the bottom of the roof sheathing on the front of the house, to get the metal eave trim to properly install, so removing all the underlayment and starting fresh seemed like the way to go.

WP_20141103_12_18_36_Pro

The fact of it is, the Grace Ice & Water Barrier is such a great product, I should have planned to use it all the way over the roof in the first place – with this stuff installed there is only a small gap at the roof ridge (for ventilation) for raindrops to get in (and not too many get in!), so the house is now pretty well weather-tight.

After that, the next time my mother was out to help, we took the rig that I built to get the sheathing onto the roof, and modified it so we could get the steel panels up onto the roof.  They aren’t very heavy but at around 3′ feet wide and 19′ feet long they are super unwieldy – the wind likes to catch them and treat them like a big sail.  In the end we got four (of fourteen) metal roofing panels installed on the front side of the house, and two (of fourteen) installed on the back side of the house.

We also had some quite windy days which were not ideal for working on the roof, so focused on continuing to close in the rest of the house – we got the last gable end fully sheathed in:

WP_20141106_08_03_23_ProAnd I continued to apply house-wrap and tape up the seams.  I also managed to finally get out to the hardware store and pick up the self-adhesive flashing to go around all the windows, and you can see it (the blue stuff) in some of the pictures.  Managed to get about half the windows sealed up, it goes fairly quickly as long as you don’t let it stick to itself.

We also discovered that all the tongue&groove finish boards for the ceiling of the porch, were all cut to incorrect lengths, so we took down the two rows I had installed, trimmed the boards, and started to re-install them – we got about halfway through, and it looks really good so far!

WP_20141106_08_07_10_ProNow that we are wrapping things up on the front of the house, the scaffolding isn’t needed as much (only to finish the siding), so we started to take that down and in it’s place I cut the first stringer for our front steps:

WP_20141106_14_41_41_ProHere’s a recap of all the photos you can sift through!

Thanks for reading and I hope you enjoy the pictures!