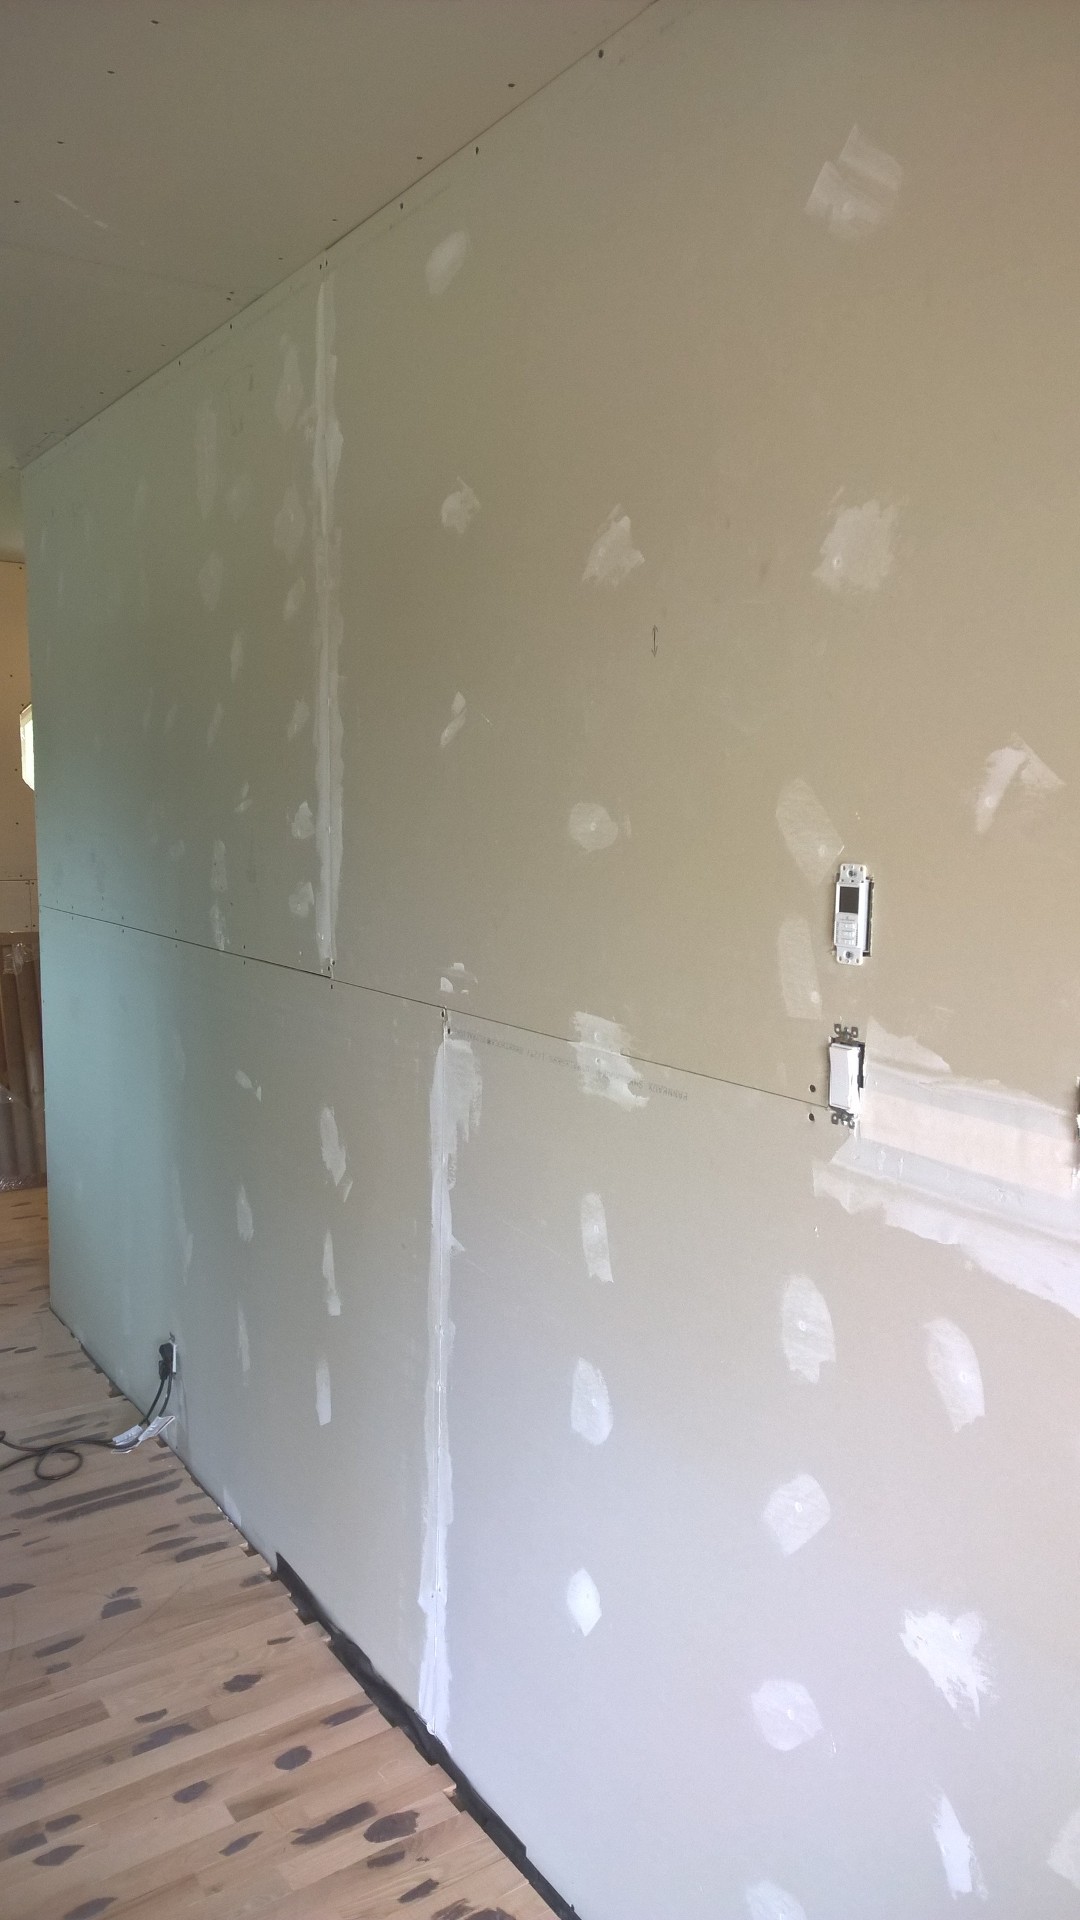
We figured it was about time to start mudding the drywall. It’s a nice task, not too difficult, and Heather and I can work on it together. Covering up the screws is easy, taping the seams and corners is somewhat more difficult, but we will figure it out. The trick is not to put too much joint compound (mud) on, so you don’t have much to sand off. Better to add more thin layers and get to where you need it than add too much and have to sand it all back down.
Drywall mudding
We figured that we would start on this wall that is behind the fridge/freezer as 2/3’s of this wall will be covered by pantries and cabinets, as well as the fridge/freezer – so it is a good place to practice before we start doing walls that everyone will be able to see!
I found this site a few months ago – codewars.com – and having mentioned it to a few friends of mine it seems not everyone in my social circle has heard of it. It’s a great site that gives you programming problems to solve, and supports a variety of programming languages.
I’ve mostly been using it to keep up my javascript skills during the house build. There are a ton of interesting problems and you can learn all sorts of different means to solve them, I’ve found it really useful and highly recommend it to other developers. They make it more interesting by turning it into a bit of a game, where you “rank up” the more problems you solve (and at higher ranks, you get harder/trickier problems to solve). Really enjoyable way to start the day with the morning coffee!
This post is unrelated from our house building activities, but I wanted to put it out there as I had trouble tracking down this information myself. When our satellite internet was provisioned here yesterday, we noticed that it would work when directly connected to my laptop, but wouldn’t work when connected to our router, which is a Netgear WNDR3700.
After a fair amount of searching I was able to determine that the router was operating in NAT mode, and the satellite modem also operates in NAT mode, resulting in some kind of double-NAT configuration which is, I guess, a problem (not a networking expert here.) It seemed that I needed to be able to put my router into “Bridge mode”, to disable NAT. Unfortunately there is no way to do this with the Netgear admin software that is loaded on the router.
I searched some more and found that many people recommended installing DD-WRT on the router, which is an open-source router software and sounded like it could solve our problems. The upgrade was trivial – just grabbed the DD-WRT firmware file for our model of WNDR3700 (it’s a first generation unit), and uploaded it using the Netgear web admin panel. The upgrade takes a few minutes and after we logged into the DD-WRT software we were easily able to configure it to work with the satellite modem. Here’s hoping this post helps out someone else one day!
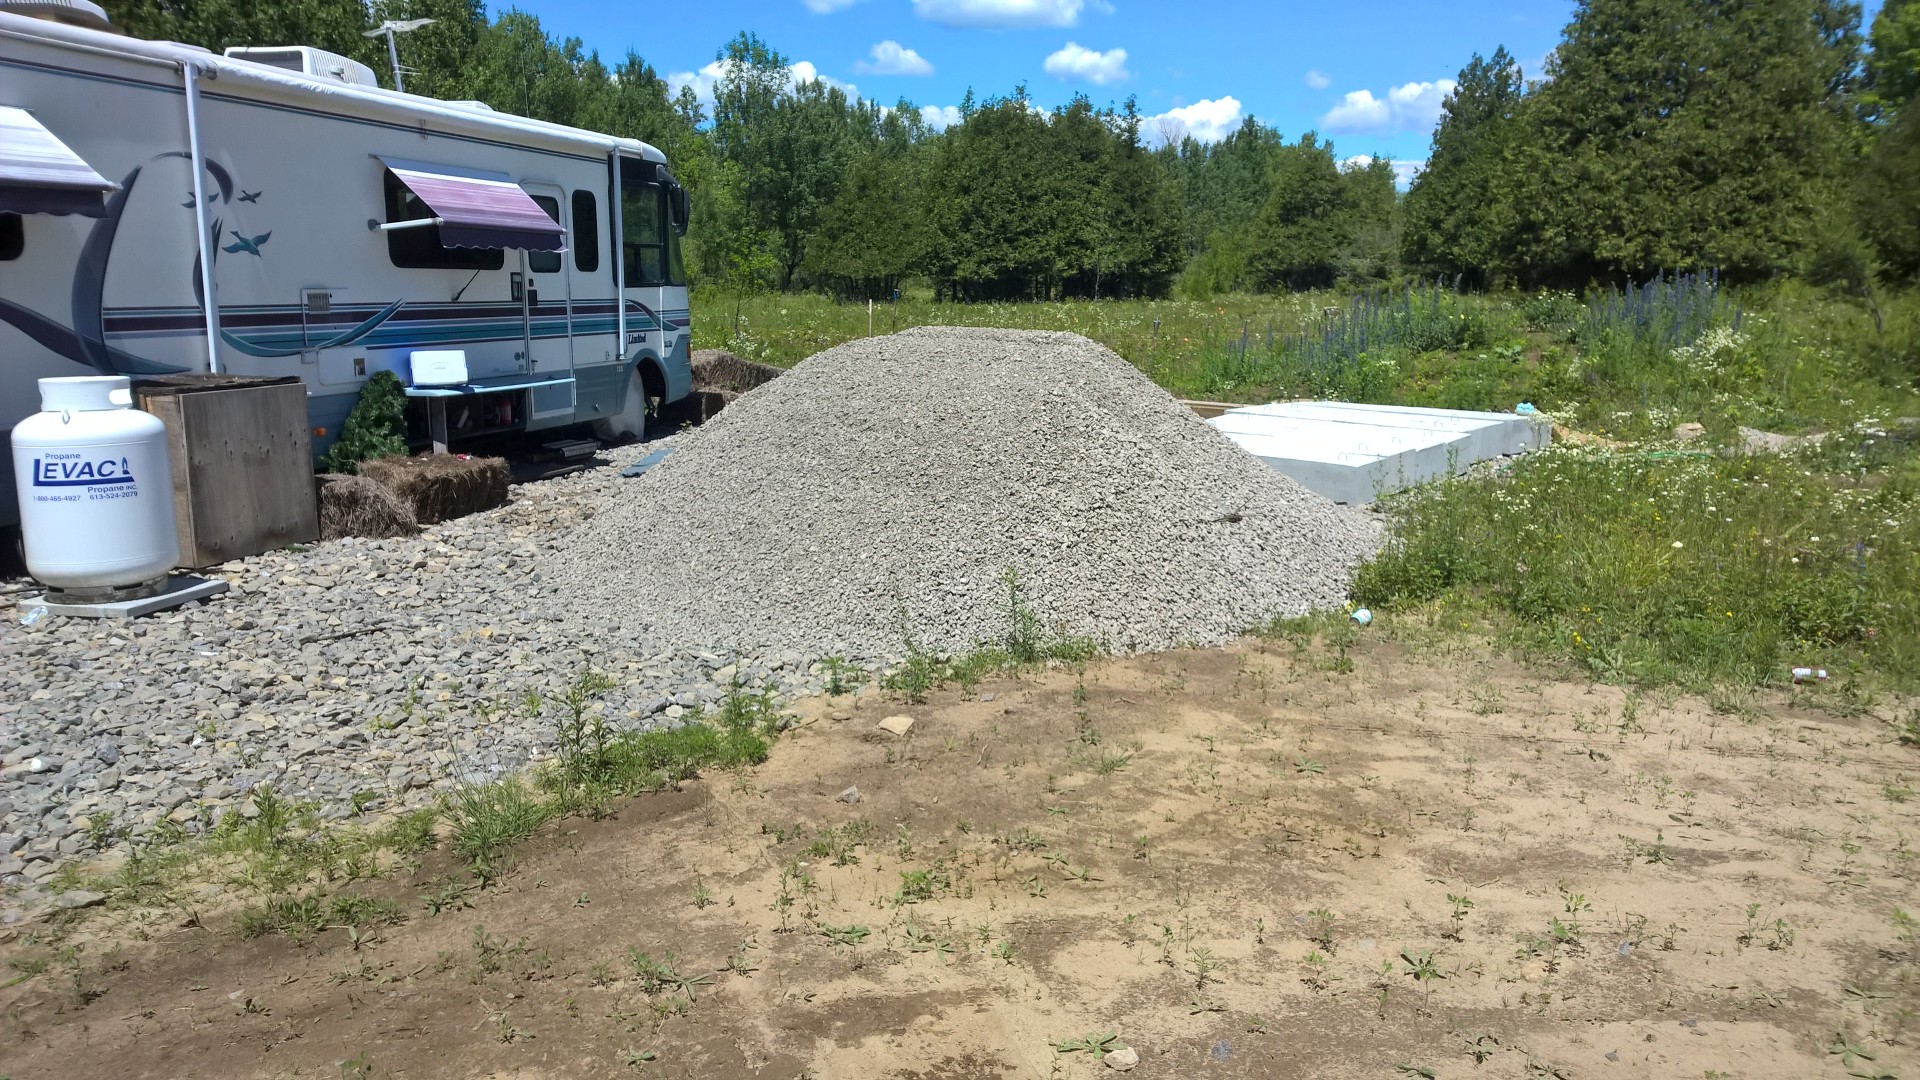
As I mentioned in my last post we needed to get some gravel to make a level base pad for our solar array. I had originally calculated we would need about 11 cubic yards of gravel which I’d figured was about 22 tons. As it turns out, after speaking with the quarry, they reckoned about 16 tons (a full dumptruck load) would probably do the job, so we ordered that up and had it delivered so it will be ready to go. It’s somehow not as big a pile as I had imagined.
16 tons of gravel
I also got out to the hardware store and picked up some floor registers, and successfully test fit one in the fresh air supply vent I’d previously roughed-in in the living room floor.
Test fit fresh air supply duct
One of the other things on our to-do list on our road to occupancy, was “coverage of combustible insulation”. This is specifically regarding our basement insulation – we’d previously installed 2″ XPS foam, but apparently this is a flammable product, so it needs to be covered with something fire-proof. We considered just framing and drywalling in the basement walls, but that will bring on further electrical work, so instead we opted to purchase some Roxul ComfortBoard IS.
Roxul ComfortBoard IS
This is a rockwool product that comes in stiff, 2′ x 4′ sheets that are 1 1/2″ thick. We fasten it to the XPS foam with construction adhesive (PL300) and then use a few 16D nails to hold it in place while the adhesive sets. When we are ready to finish the basement, we will just attach furring strips every 16″ with 6″ concrete screws through the Roxul & XPS foam, securing them to the concrete wall, then hang the drywall from those.
Installing roxul 1/2
Installing roxul 2/2
We expect to finish this off in the next day or two, and that’ll be another task off the list!
Finally, we have been struggling with a solution for decent internet out here for some time. Until now, we have been relegated to using the internet over a 3G modem on Rogers, but the charges for data usage are absolutely ridiculous. We finally decided to do something about this, and had the internet folks around today to install satellite internet for us. It’s about the same speed as our previous connection, but is significantly cheaper. We hope it will continue to serve us well!
xplornet satellite internet
That’s about all the news that’s fit to print, hope you enjoyed the update!
In the past couple of weeks we have been preparing to set up our solar panels. As previously mentioned, this involved clearing away the topsoil in preparation to make a gravel pad with the 16 tons of gravel we got delivered.
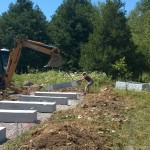
With some help, we managed to successfully clear out all the topsoil, and I spent a couple of days shoveling gravel into the wheelbarrow and pouring it in the hole we dug to create level base for the concrete ballast blocks. In the end we probably used about 12 tons of the gravel we ordered, the rest we will use for various things (creating pathways and such).
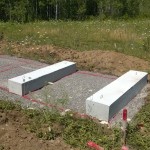
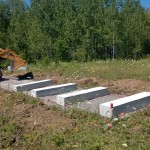
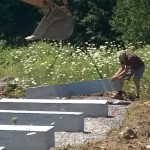
Heather and I spent a little time measuring and marking out where the blocks had to go, and before we started moving the blocks into place the gravel pad looked like this:
Gravel pad marked for blocks
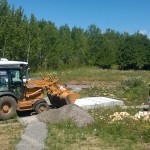
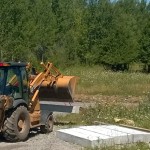
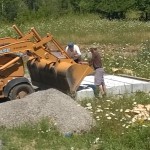
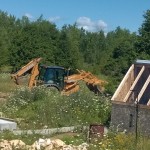
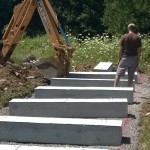
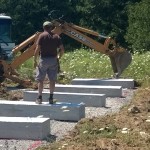
Through word of mouth we found a guy with backhoe who said he could help us move the blocks. He showed up last Friday afternoon and we got the blocks moved in no time at all. We might have spent and hour and a half at it in total, and it sure feels good to get that done!
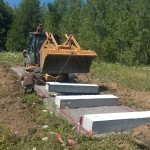
Moving away the remaining gravel 1/2
Moving away the remaining gravel 2/2
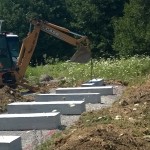
Into position to lift the first block
Connecting the chain
Lifting the block
Moving it to the pad
Soon we will start assembling the racking for the panels atop these concrete blocks and then we will be able to wire them up to the solar charge controllers. Thanks for reading and hope you enjoyed the photos!