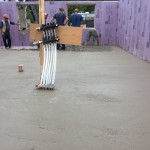
Well today was the day the basement floor slab was poured. In preparation for this, I cut through my 4″ of rigid foam at the location where our four support columns will be located, so that they will sit directly on the concrete footings, and inserted a segment of 4″x4″ post in each one.
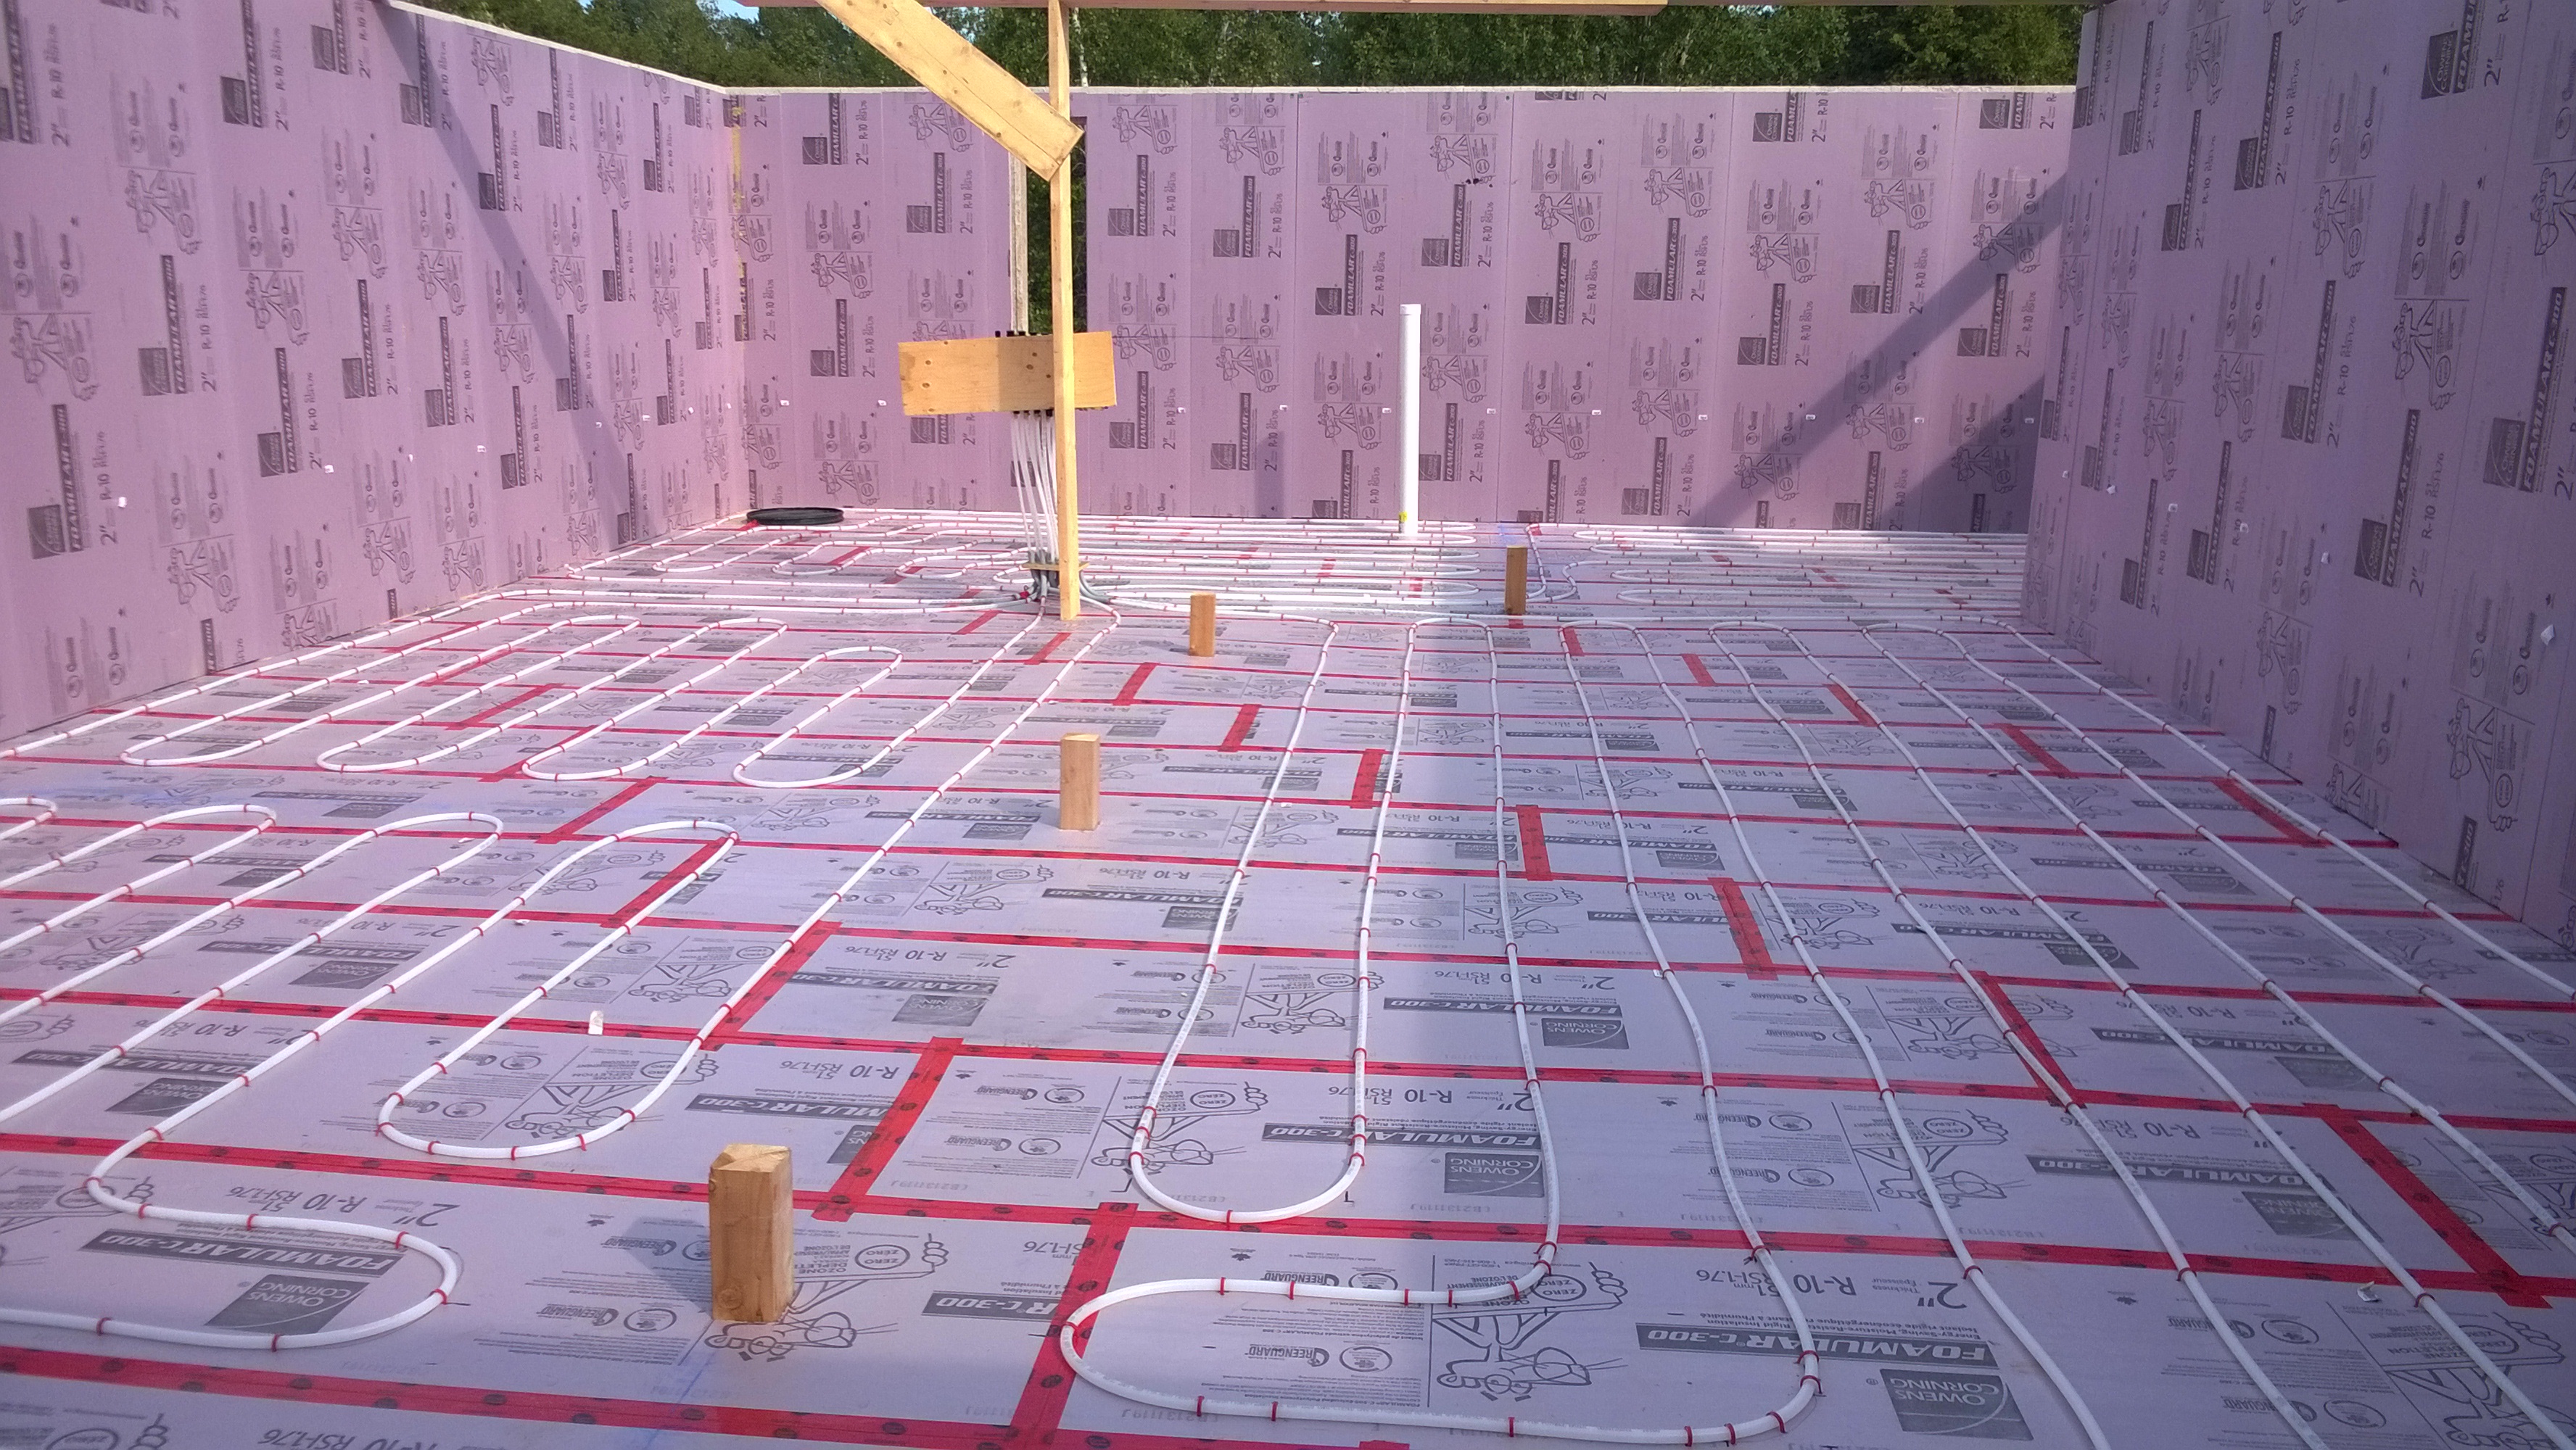
Before putting these placeholders in place, I wrapped each one in my 6mil poly vapour barrier, which concrete won’t stick to. This should make it easier to pull these out later when we are ready to install the four support columns. I also wrapped the bottom of the 2″x10″ that is supporting the manifold so I can remove this more readily later.
I also took the opportunity to ensure the radiant heating system was still pressurized to 80psi for the pour (to ensure the concrete doesn’t collapse the tubing).
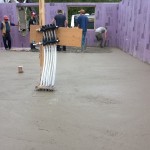
This morning the concrete crew showed up bright and early and got right to work. They backed the truck right up to the house and were dropping loads of concrete directly from the truck into wheelbarrows, which they would then transport across the basement and drop it where needed. The following gallery captures some of the progress of the pour:


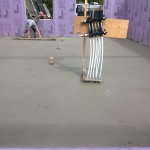

After the concrete is poured, they give it what is called a “hand trowel finish”, really this is done by quite a crazy little gas-powered machine with four paddles that rotate to smooth out the concrete. They go over the floor a number of times with this machine and in the end the floor is really smooth. Here’s a short little video of them in action:
Because it’s quite sunny and warm today, especially in that basement with all that insulation, the crew advised that I keep the concrete watered down a few times a day to slow the concrete curing and ensure it cures with maximum strength. Heather took a couple pictures of me carefully dousing the concrete (thank god we can get water from our well!)

