We have a new helper up here at the ranch, my Dad came up from Florida to give us a hand making the final push for our occupancy permit. We are of course happy to get the extra help!
We first tackled some more work on getting the solar racking set up – we used my hammer drill to make 1/2″ diameter holes, about six inches down into each block. We cleaned all the concrete dust out the holes using the compressor, and then epoxied in some 7/16″ threaded rod into each hole, leaving a couple inches exposed.
Solar Array 1/2
Solar Array 2/2
Epoxied threaded rod
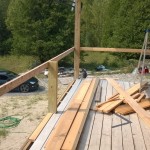
You can see we also got the aluminium strut here now to mount the solar racks on. These come in 10′ lengths, and we have some channel joiners to connect them together to create two seamless 50′ lengths across all the concrete ballast blocks.
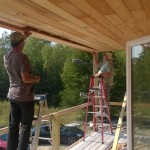
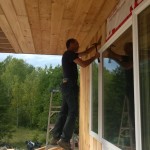
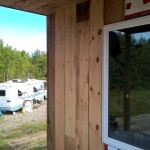
We also got the last few boards installed into the porch ceiling and it’s great to finally have that job completed!
Almost done the porch ceiling
Last porch ceiling board going up!
Unfortunately we didn’t get any pictures, but we also spent an inordinate amount of time moving the satellite dish for our TV service, from where I had temporarily mounted it on the ground, up to the side of the house below where our internet satellite dish is mounted.
More to come in the next few days as we continue to cross things off the list!
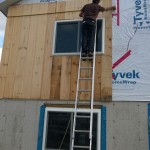
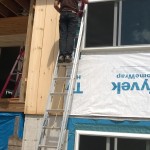
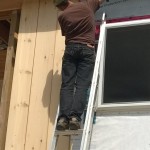
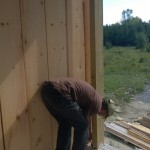
We are just continuing on with the siding up here, and instead of doing the second course on the west wall, we moved to the back wall to square that away.
Here’s a few more pictures of where we are at right now.
Double checking measurements
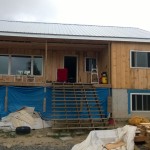
Front of house
West wall
Back of house
East wall
Starting porch railing
We expect to finish off the back wall perhaps by tomorrow, and then we will work our way across the east wall. Once we are done the first course of siding all the way around, we’ll start the second courses on the east and west walls.
We’ll be sure to keep you posted, thanks for reading and hope you enjoyed the pictures!
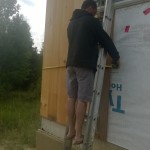
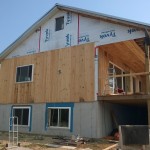
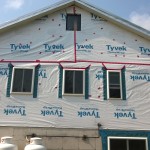
For the past couple of days, the weather has been nice and clear with no sign of rain. We figured this was an ideal opportunity to continue installing the siding. We managed to finish installing all the siding boards across the entire front of the house, and got the starter boards installed on each of the other sides.
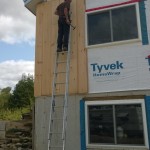
From there we decided to work on the west wall because it is the wall with the fewest windows and openings to work around (only one window, and the fireplace chimney vent). We got a little over halfway done on that yesterday (at least, the lower course of siding), and hope to be able to finish that off today. From there we will decide if we are going to do the second course of siding on that wall (taking the siding right up to the roof), or continue on with another side of the house and come back to that. Installing the second course of siding means I need to cut a 27 degree angle on the end of every siding board we install, so it will be slower going.
Start nails before putting the siding up 1/2
Start nails before putting the siding up 2/2
Siding below the picture window
Siding above the picture window
Last piece for the front of the house
Siding boards complete on front of house
Siding on the west wall 1/3
Siding on the west wall 2/3
Siding on the west wall 3/3
Double checking measurements
After we get done installing all the siding boards, we will finish up the exterior siding and trim by installing both gable trim, and vertical battens where each siding board meets.
Unfortunately. some of the siding boards got a bit weathered from being stored outside under a tarp all winter (some boards in worse shape than others), but we are optimistic that a solid colour stain will cover up most of these issues.
Hope you enjoyed the pictures and hopefully we will have more for you, of the continued siding installation, in the next few days! Thanks for reading!
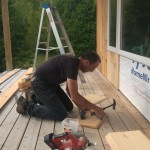
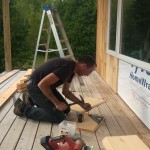
Today was a beautiful, clear day – blue skies, puffy white clouds, all we needed to round out such a day was buttercups, or perhaps little yellow fuzzy chicks 🙂 With such a nice day on the cards we decided it was time to dive into the stack of siding that has been under a tarp since it was delivered with the kit house last August…a long time for wood siding to be sitting around no doubt!
You can see in the following pictures, that even though the wood was covered up with a tarp, some water got in and discoloured some of the boards. We are hopeful that with the application of a good, solid colour stain that it will all look fine in the end!
Started siding on the porch
Also started the siding around the master bedroom window
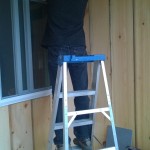
Action shot, hammering away
Being supervised by my best lil buddy (he’s very tired)
Last piece of siding for one porch wall!
Hope everyone is having a great summer and hope you enjoyed the pictures!
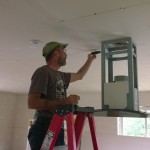
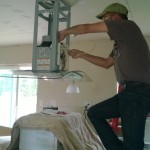
Today we decided that we would install the range hood over our gas oven. We didn’t get any pictures of the hardest part of the process, which was lifting the hood into place, as both our hands were occupied, but Heather managed to take a few of the rest of the process.
The only real preparation we had to do, was to go up in the attic and attach a couple 2×4’s to the existing rafters so that we would have a secure and solid point to fasten the range hood to, as it is fairly heavy (80lbs or so).
Here’s the pictures which show the rest of the process:
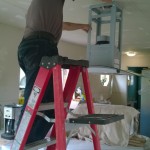
Securing range hood to ceiling mount 1/3
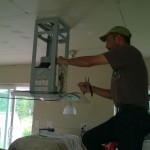
Securing range hood to ceiling mount 2/3
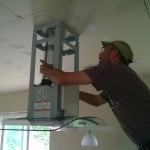
Securing range hood to ceiling mount 3/3
Pulling wire for power
Stripping and connecting wire
Lights and fan tested ok!
Bringing down 6″ duct from attic
Duct dry fitted in place
Sealing ductwork with metal duct tape
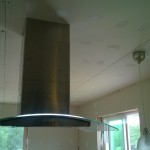
Installing stainless steel covers 1/2
Installing stainless steel covers 2/2
Everything connected and working!
“When in doubt, leave it out!” (note the three “extra” screws…)
Thanks for reading, hope you enjoyed the pictures! One step closer to getting this house done!
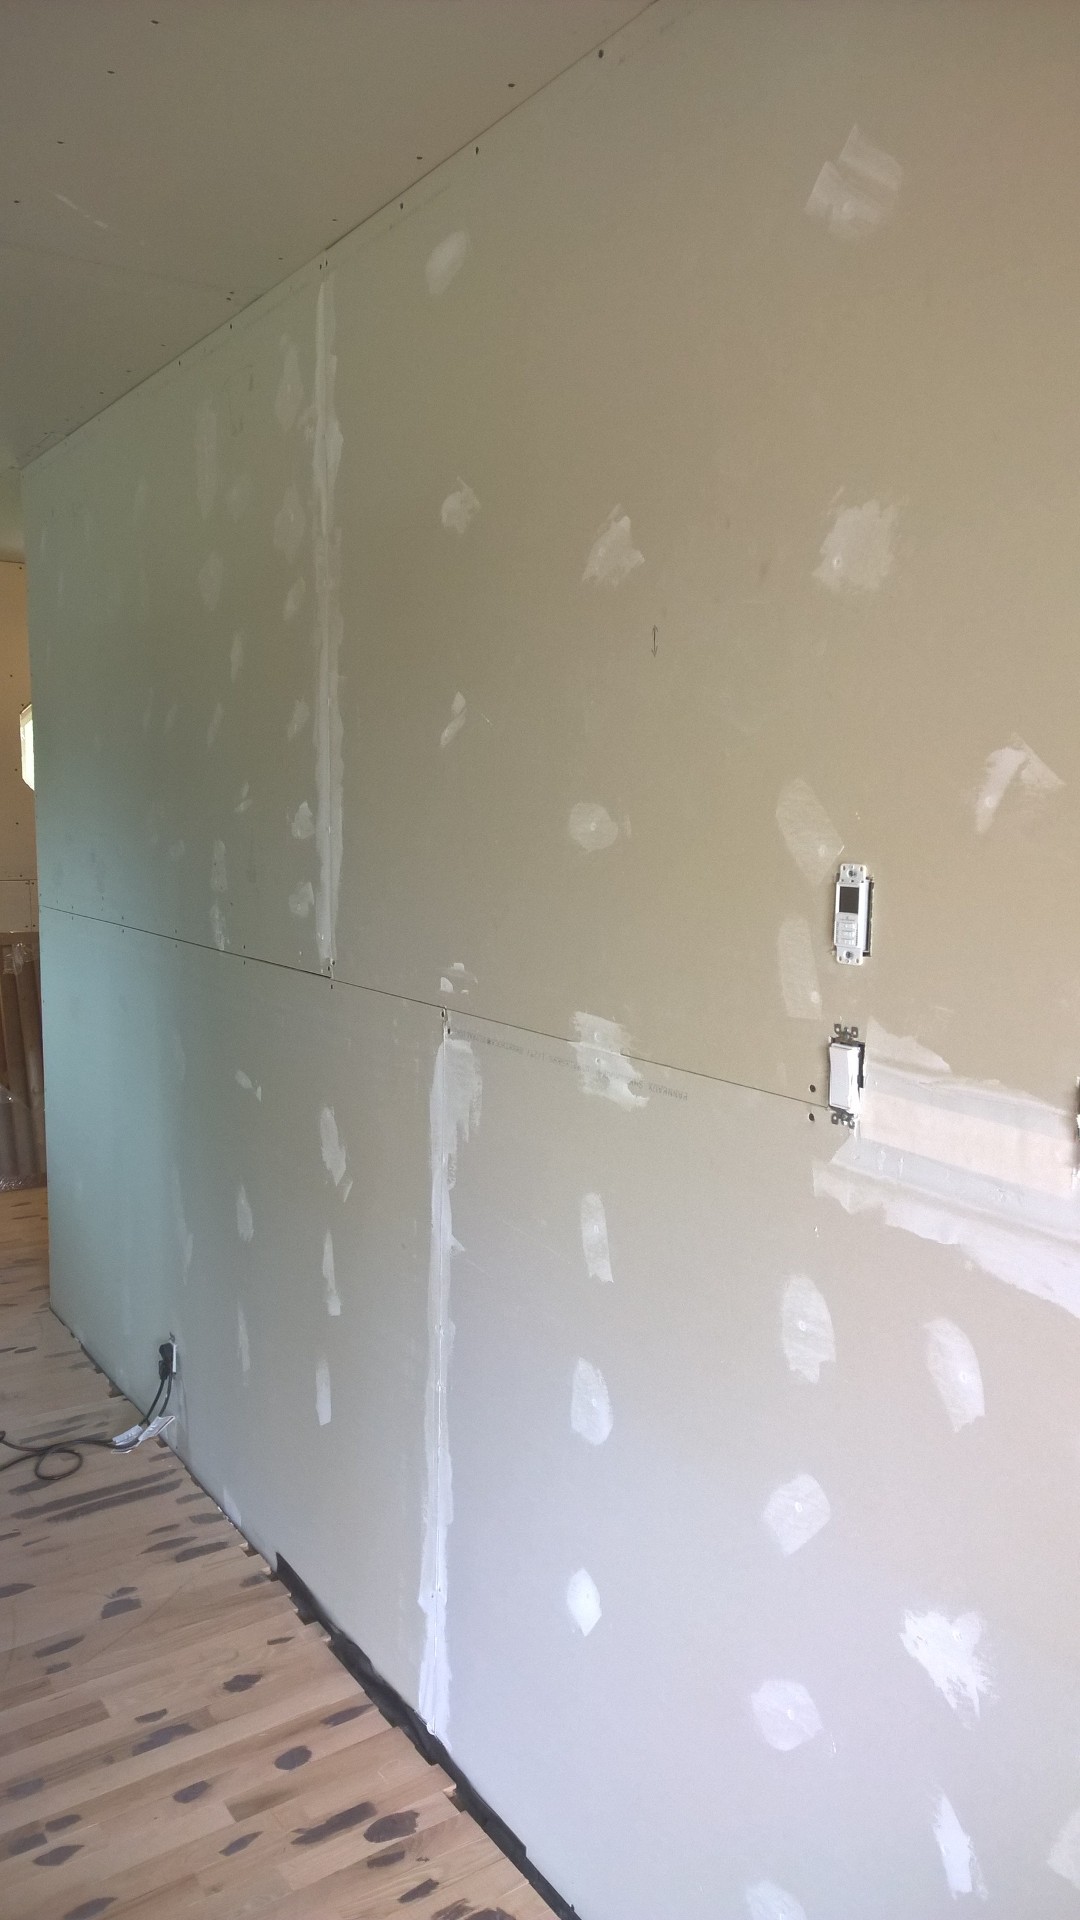
We figured it was about time to start mudding the drywall. It’s a nice task, not too difficult, and Heather and I can work on it together. Covering up the screws is easy, taping the seams and corners is somewhat more difficult, but we will figure it out. The trick is not to put too much joint compound (mud) on, so you don’t have much to sand off. Better to add more thin layers and get to where you need it than add too much and have to sand it all back down.
Drywall mudding
We figured that we would start on this wall that is behind the fridge/freezer as 2/3’s of this wall will be covered by pantries and cabinets, as well as the fridge/freezer – so it is a good place to practice before we start doing walls that everyone will be able to see!
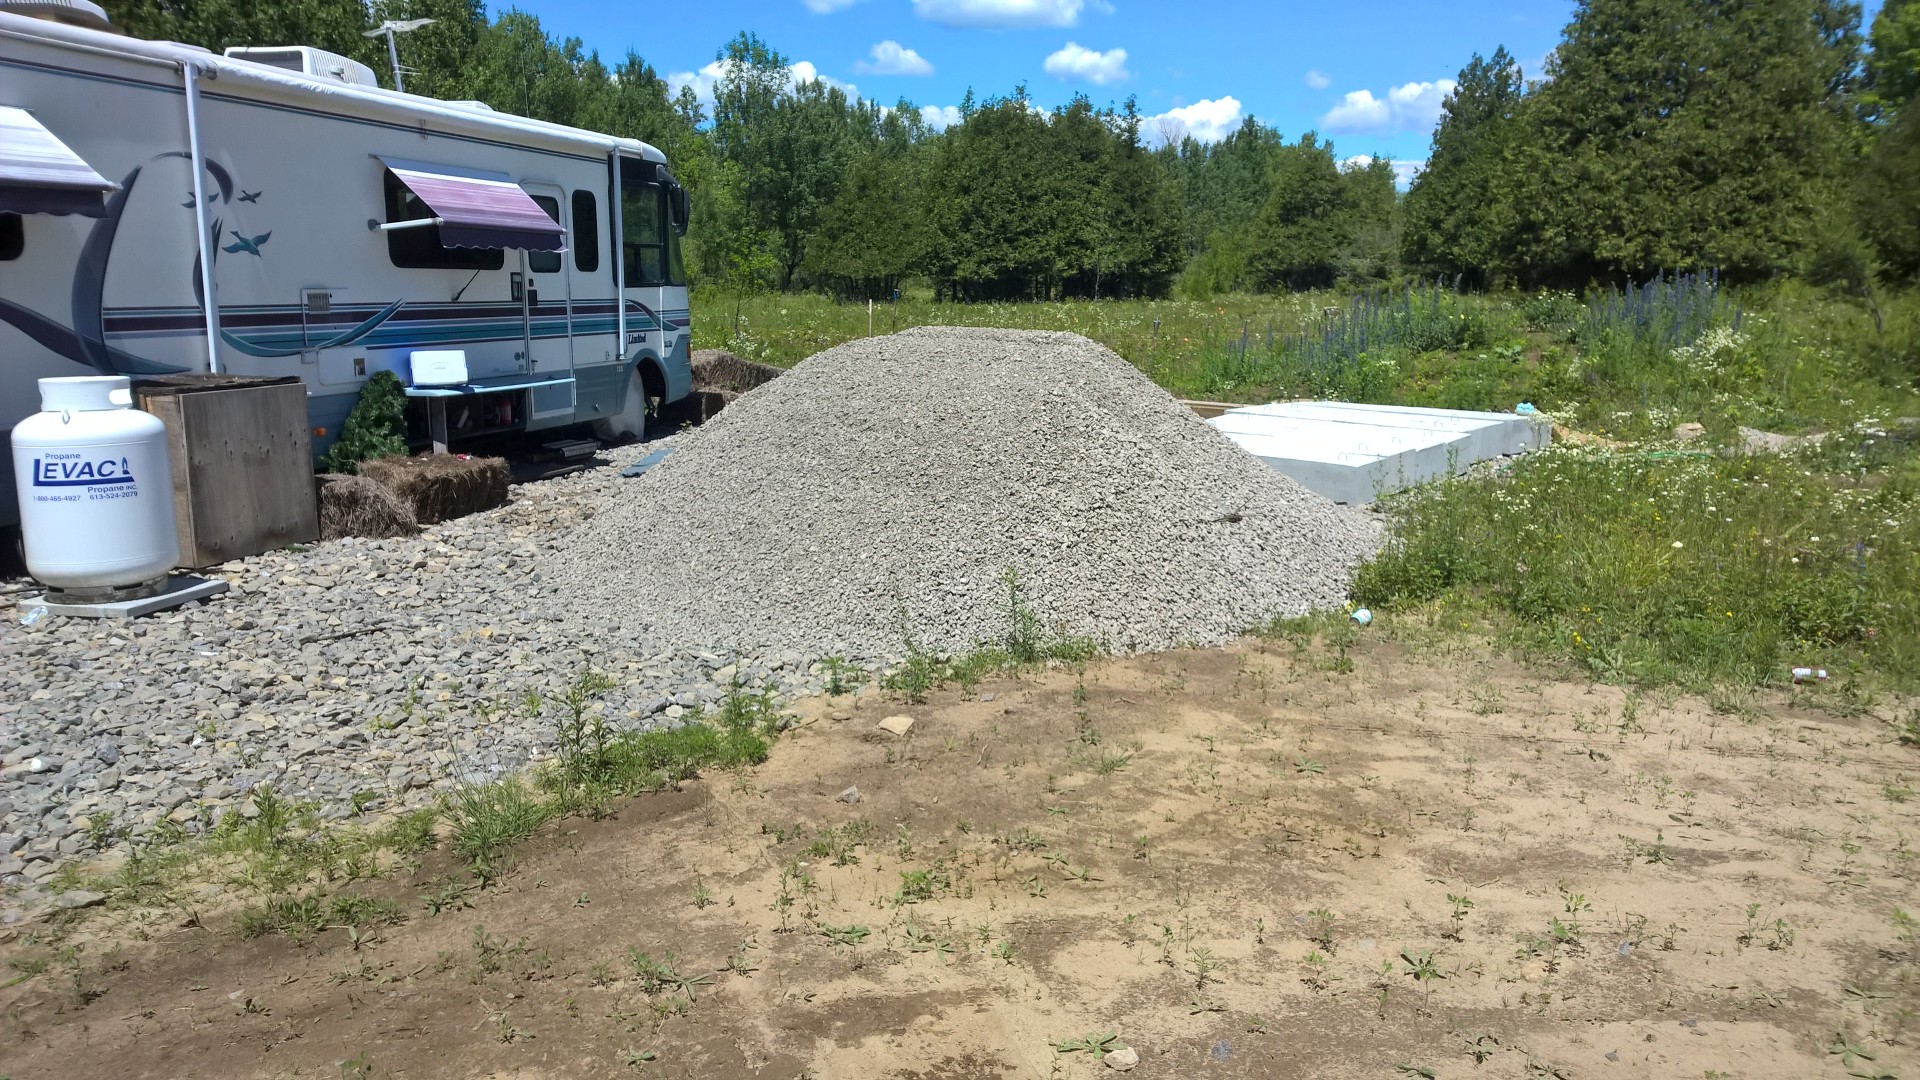
As I mentioned in my last post we needed to get some gravel to make a level base pad for our solar array. I had originally calculated we would need about 11 cubic yards of gravel which I’d figured was about 22 tons. As it turns out, after speaking with the quarry, they reckoned about 16 tons (a full dumptruck load) would probably do the job, so we ordered that up and had it delivered so it will be ready to go. It’s somehow not as big a pile as I had imagined.
16 tons of gravel
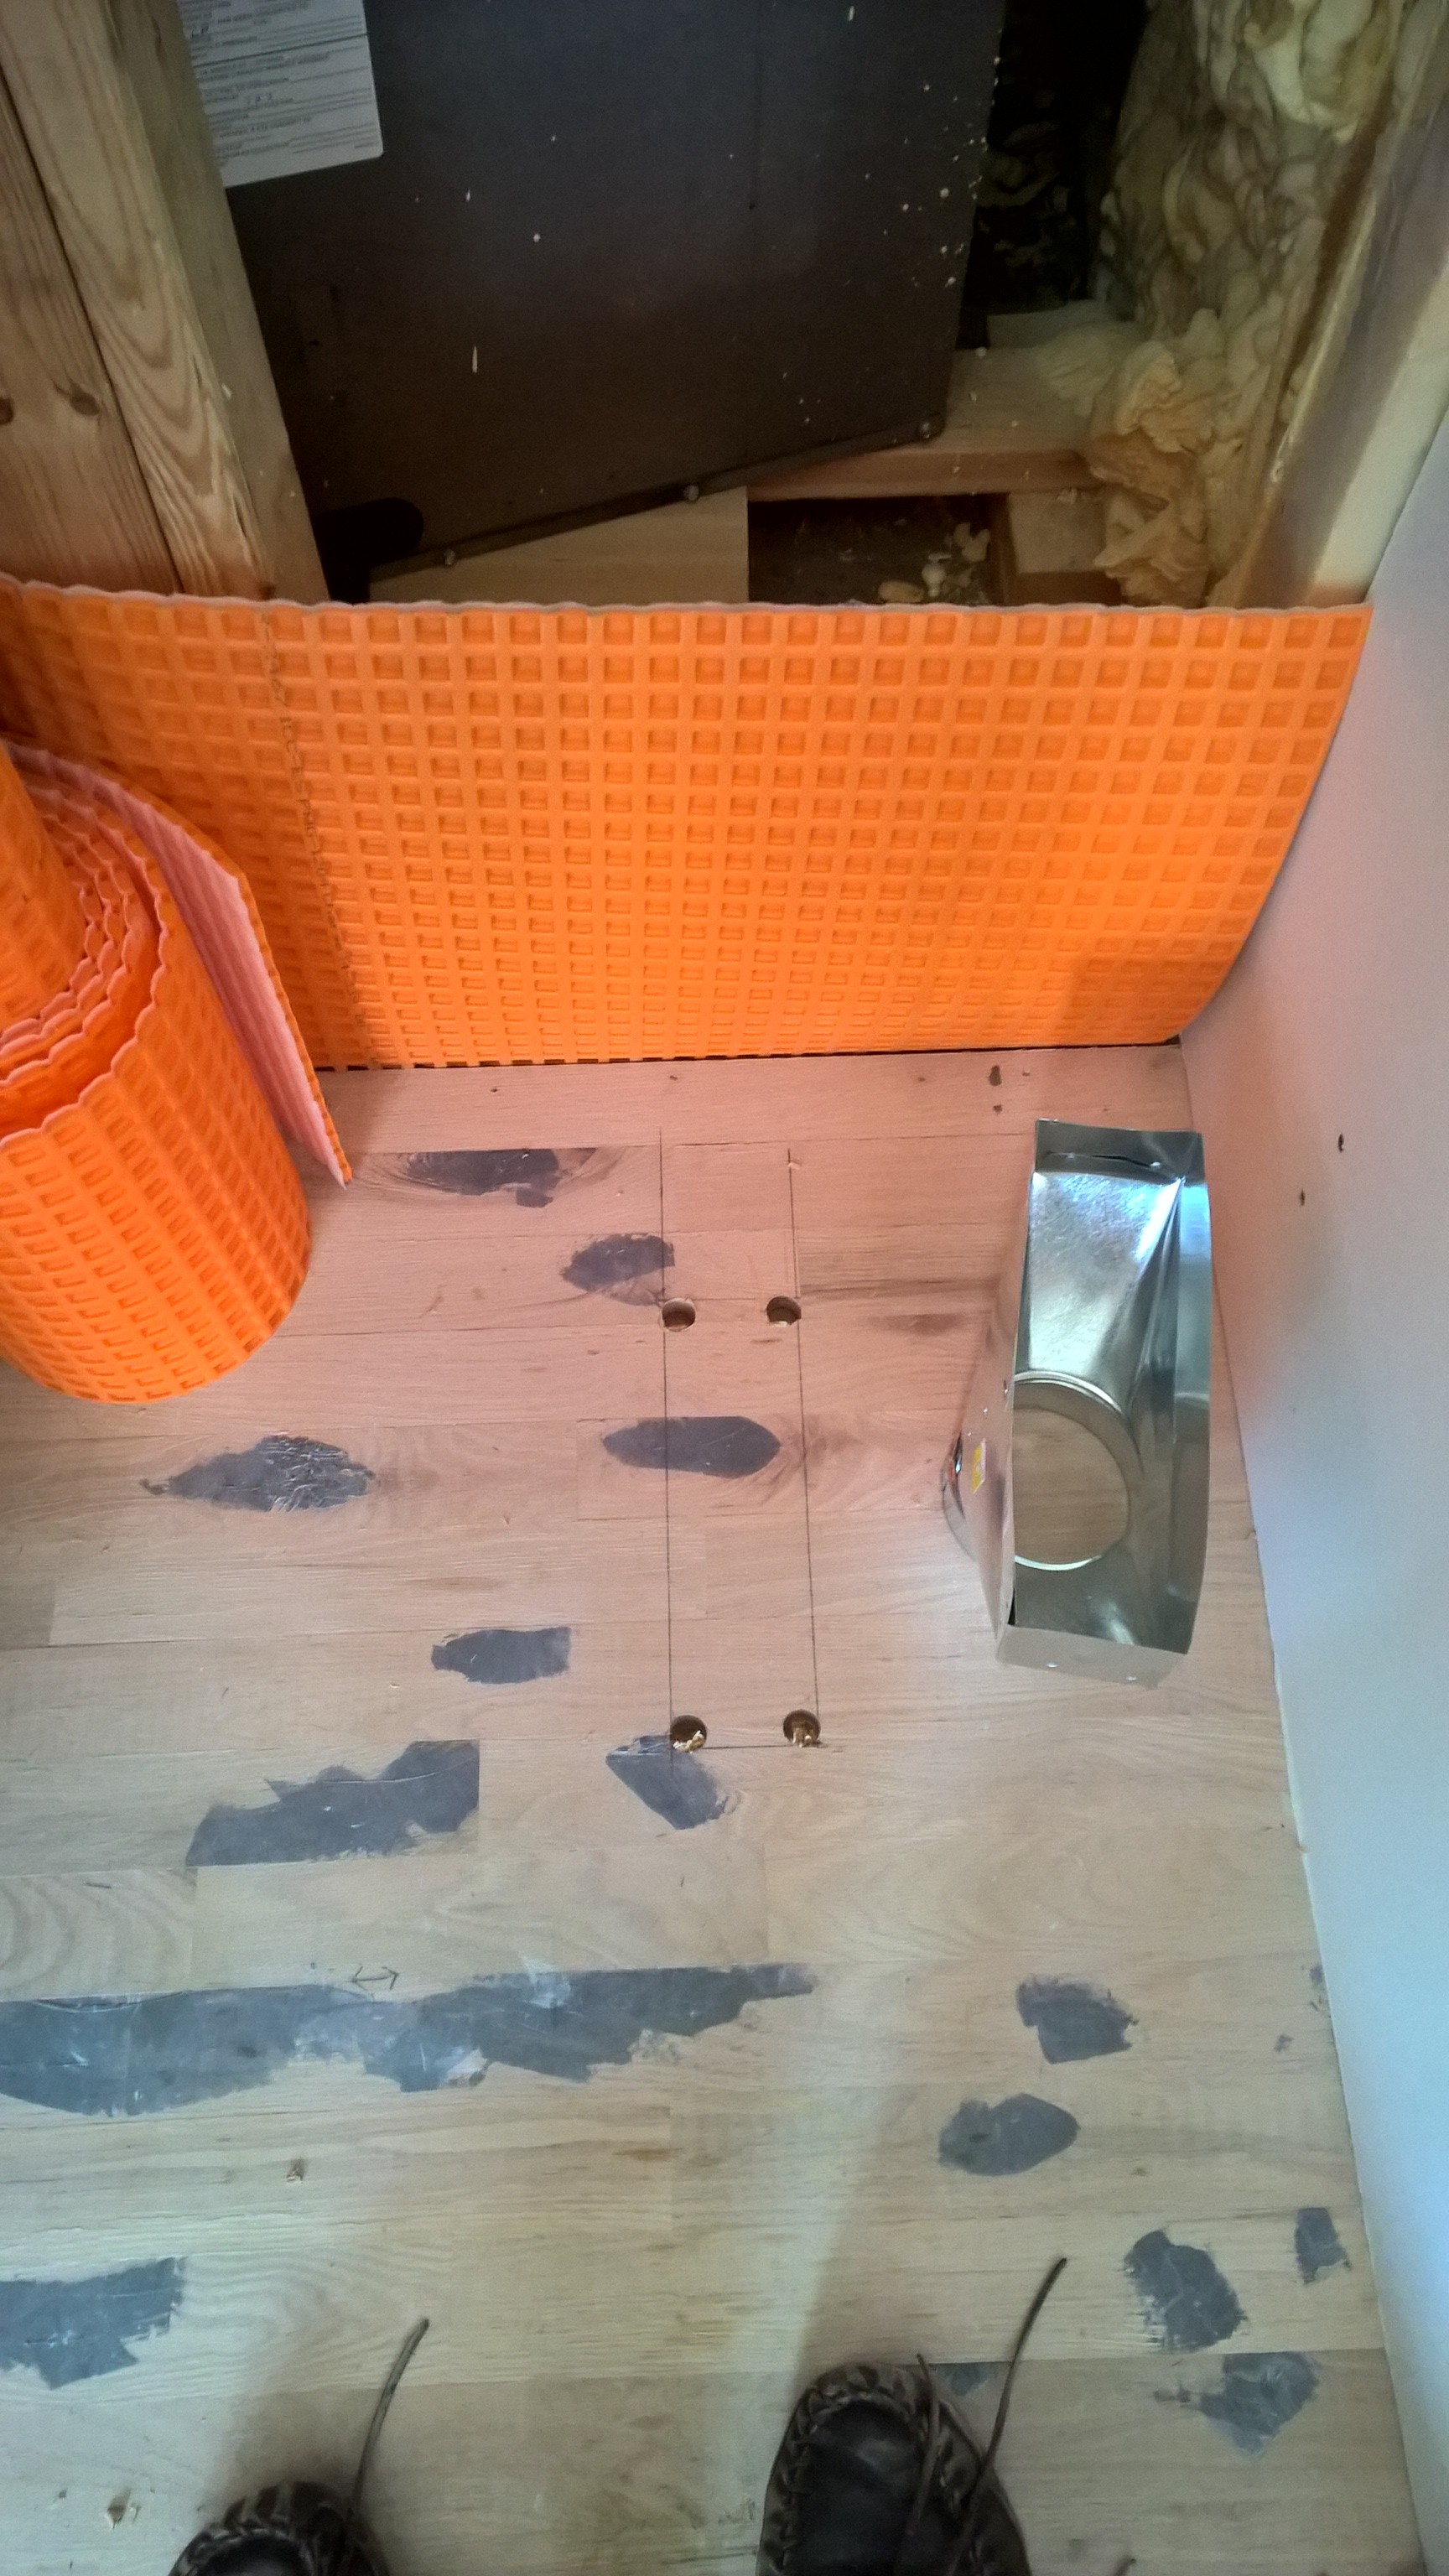
I also got out to the hardware store and picked up some floor registers, and successfully test fit one in the fresh air supply vent I’d previously roughed-in in the living room floor.
Test fit fresh air supply duct
One of the other things on our to-do list on our road to occupancy, was “coverage of combustible insulation”. This is specifically regarding our basement insulation – we’d previously installed 2″ XPS foam, but apparently this is a flammable product, so it needs to be covered with something fire-proof. We considered just framing and drywalling in the basement walls, but that will bring on further electrical work, so instead we opted to purchase some Roxul ComfortBoard IS.
Roxul ComfortBoard IS
This is a rockwool product that comes in stiff, 2′ x 4′ sheets that are 1 1/2″ thick. We fasten it to the XPS foam with construction adhesive (PL300) and then use a few 16D nails to hold it in place while the adhesive sets. When we are ready to finish the basement, we will just attach furring strips every 16″ with 6″ concrete screws through the Roxul & XPS foam, securing them to the concrete wall, then hang the drywall from those.
Installing roxul 1/2
Installing roxul 2/2
We expect to finish this off in the next day or two, and that’ll be another task off the list!
Finally, we have been struggling with a solution for decent internet out here for some time. Until now, we have been relegated to using the internet over a 3G modem on Rogers, but the charges for data usage are absolutely ridiculous. We finally decided to do something about this, and had the internet folks around today to install satellite internet for us. It’s about the same speed as our previous connection, but is significantly cheaper. We hope it will continue to serve us well!
xplornet satellite internet
That’s about all the news that’s fit to print, hope you enjoyed the update!
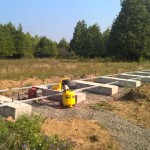
In the past couple of weeks we have been preparing to set up our solar panels. As previously mentioned, this involved clearing away the topsoil in preparation to make a gravel pad with the 16 tons of gravel we got delivered.
With some help, we managed to successfully clear out all the topsoil, and I spent a couple of days shoveling gravel into the wheelbarrow and pouring it in the hole we dug to create level base for the concrete ballast blocks. In the end we probably used about 12 tons of the gravel we ordered, the rest we will use for various things (creating pathways and such).
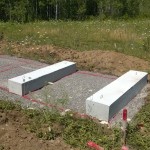
Heather and I spent a little time measuring and marking out where the blocks had to go, and before we started moving the blocks into place the gravel pad looked like this:
Gravel pad marked for blocks
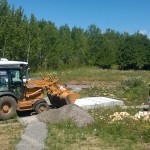
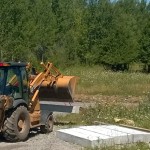
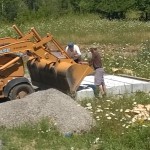
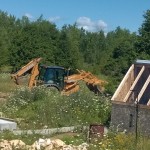
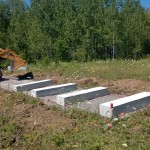
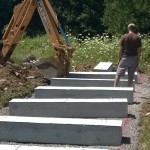
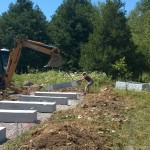
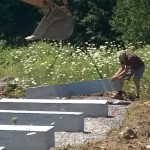
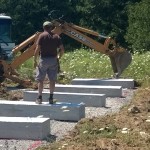
Through word of mouth we found a guy with backhoe who said he could help us move the blocks. He showed up last Friday afternoon and we got the blocks moved in no time at all. We might have spent and hour and a half at it in total, and it sure feels good to get that done!
Moving away the remaining gravel 1/2
Moving away the remaining gravel 2/2
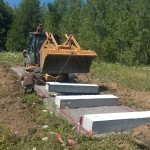
Into position to lift the first block
Connecting the chain
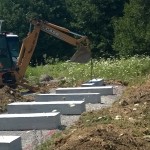
Lifting the block
Moving it to the pad
Soon we will start assembling the racking for the panels atop these concrete blocks and then we will be able to wire them up to the solar charge controllers. Thanks for reading and hope you enjoyed the photos!
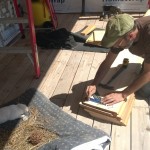
I meant to include this in the last post…when I was working out how big to make the gravel pad (and before I do most stuff), I always like to do a little sketch before I start doing too much work, to make sure I get everything right. It’s really easy to miscalculate or mis-measure, hence the old adage “measure twice, cut once.”
I took a picture of my workbook, I guess it just looks like the scribblings of a madmen, but just thought I would show a little insight into my process of doing stuff.
Ravings of a madman
You can (perhaps) see that I worked out, I’ll see about 11 cubic yards or 22 tons of gravel, to create my level pad (50’1″ x 9′ x 8″ thick). This should give me about a foot of extra pad beyond the extents of all the racking and concrete ballasts. It also means I’ll be shoveling out about that amount of topsoil, or perhaps a little more, to get down to the bedrock. A good honest workout, to be sure.
The other day I got a picture of our motley crew of animals (not pictured, our newest rabbit Chewie, who is segregated from the others until he gets settled in), and thought I would share it. You can see poor Fluffy’s head is quite tilted which is causing him some issues, but he is hanging in there and doesn’t appear to be in any pain.
The Motley Crew
On the house front, I have been continuing with the duct work for our HRV. While possible to use flexible duct, I opted to use rigid ducting as much as possible, as it provides better airflow than flexible duct. Sometimes connecting the ducting together involves using a set of crimping scissors, to add a crimped end to a duct where it was un-crimped originally, as follows:
Crimping tool in action
Partly crimped end
I also brought up the main 6″ duct for the exhaust air through the main bathroom/laundry room – from here it branches off to 4″ ducting into the main bathroom. This 4″ branch is terminated with a “T” as we will connect a 4″ exhaust vent both in the main bath, and to the master bath which is on the other side of the wall you see on the right:
Main exhaust duct
You can also see that the ducting stack at the back is reduced from 6″ to 4″, then goes through the vapour barrier and into the attic at the back there. In the attic, I will use 4″ insulated duct to get a run over to the kitchen, as you are also required by code to have an exhaust register in the kitchen, separate from the range vent hood.
As you are also required to have a fresh air supply to the basement, living room, and bedrooms, I started cutting in the hole for the vent in the living room floor. As we are using a 4″ duct for fresh air, we chose a 3″x10″ rectangular register for the job. First step is to select a spot which is free from obstructions in the basement (make sure we are clear of any floor joists and gas piping), and at least 3″ from the wall. You start out measuring and marking, then you drill holes in each of the 4 corners:
Starting the hole for the fresh air floor register
From there, time to crack out the jigsaw and cut along the lines, connecting the holes. You might have to do a little finish work in the corners to get them nice and square.
Finish the hole with a jigsaw
Before I actually go down in the basement and connect the ducting boot you see in the picture there to the floor from below, I’ll pop out and pick up a couple of floor registers, and test fit them, just to make sure we won’t have any fit issues.
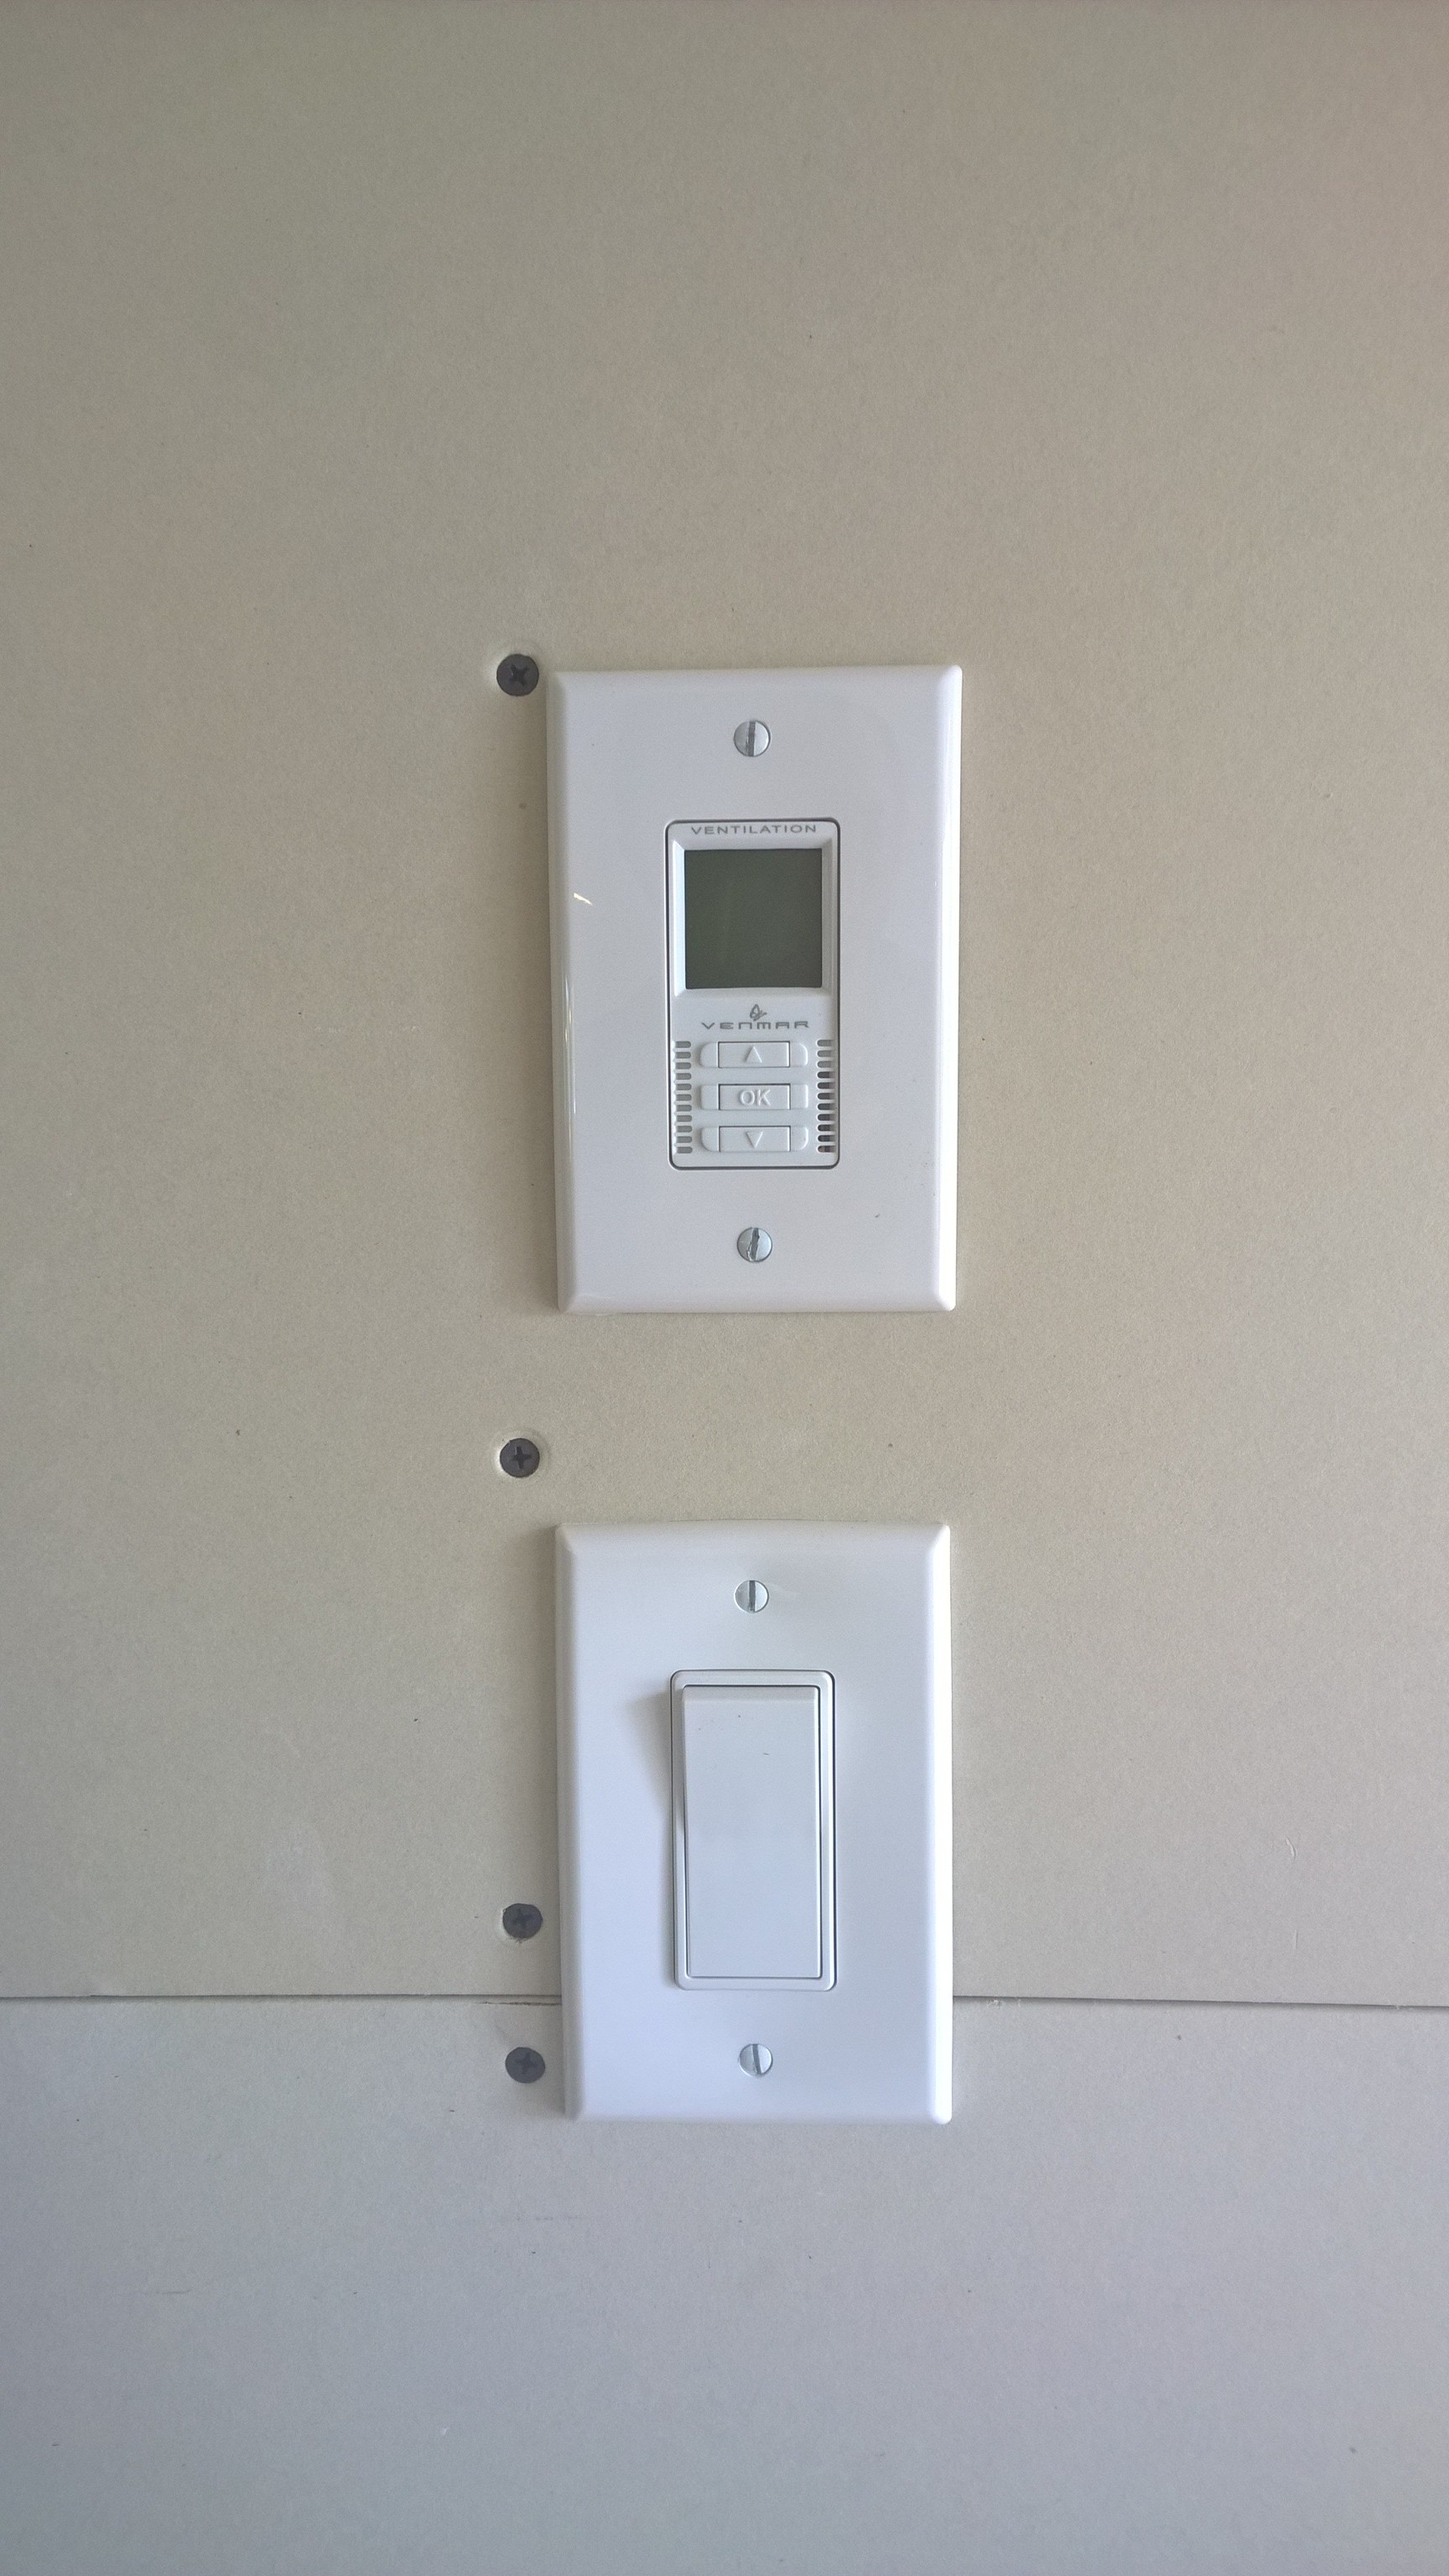
I also got around to wiring up the controls for the HRV itself. While not difficult, it was just some more wiring to be run. In the kitchen/living area we have a digital control that sets the overall state of the HRV (high/low/etc) for the house overall.
Main HRV Control
in each of the bathrooms we have installed a 20/40/60 minute timer that will override the main control and switch the HRV to high when they are used.
20/40/60 minute timer for HRV
On another front, I have been pushing forward trying to get all our electrical outlets installed, as well as installing proper light fixtures (just cheapo IKEA ones to get started). I also had to install the last two smoke detectors.
Combination Smoke / CO Detector
By code, we are required to have a smoke detector in the bedroom, the kitchen, and the basement. We opted for Kidde combination smoke / carbon monoxide detectors, as we have the generator and gas appliances, so better to the safe than sorry. It’s not like the old days either, the smoke detectors all have to be wired off of the kitchen light power (the most likely lighting you will notice is off in a power outage), and all need to be interconnected so that if one goes off, they all go off! Quite a racket when you first turn them on and test them. They also have a battery backup, but that will likely never get used as we are at no risk of losing power in a storm. One of the pluses of generating your own power I guess 🙂
Now that the washer and dryer are in the laundry room and out of the way, I was able to bring up and install the last kitchen cabinet and get it installed. I also took the opportunity to put on the drawer hardware, but did leave the protective blue film in place for now, and it’ll probably stay on until after mostly all construction is complete.
Kitchen coming together
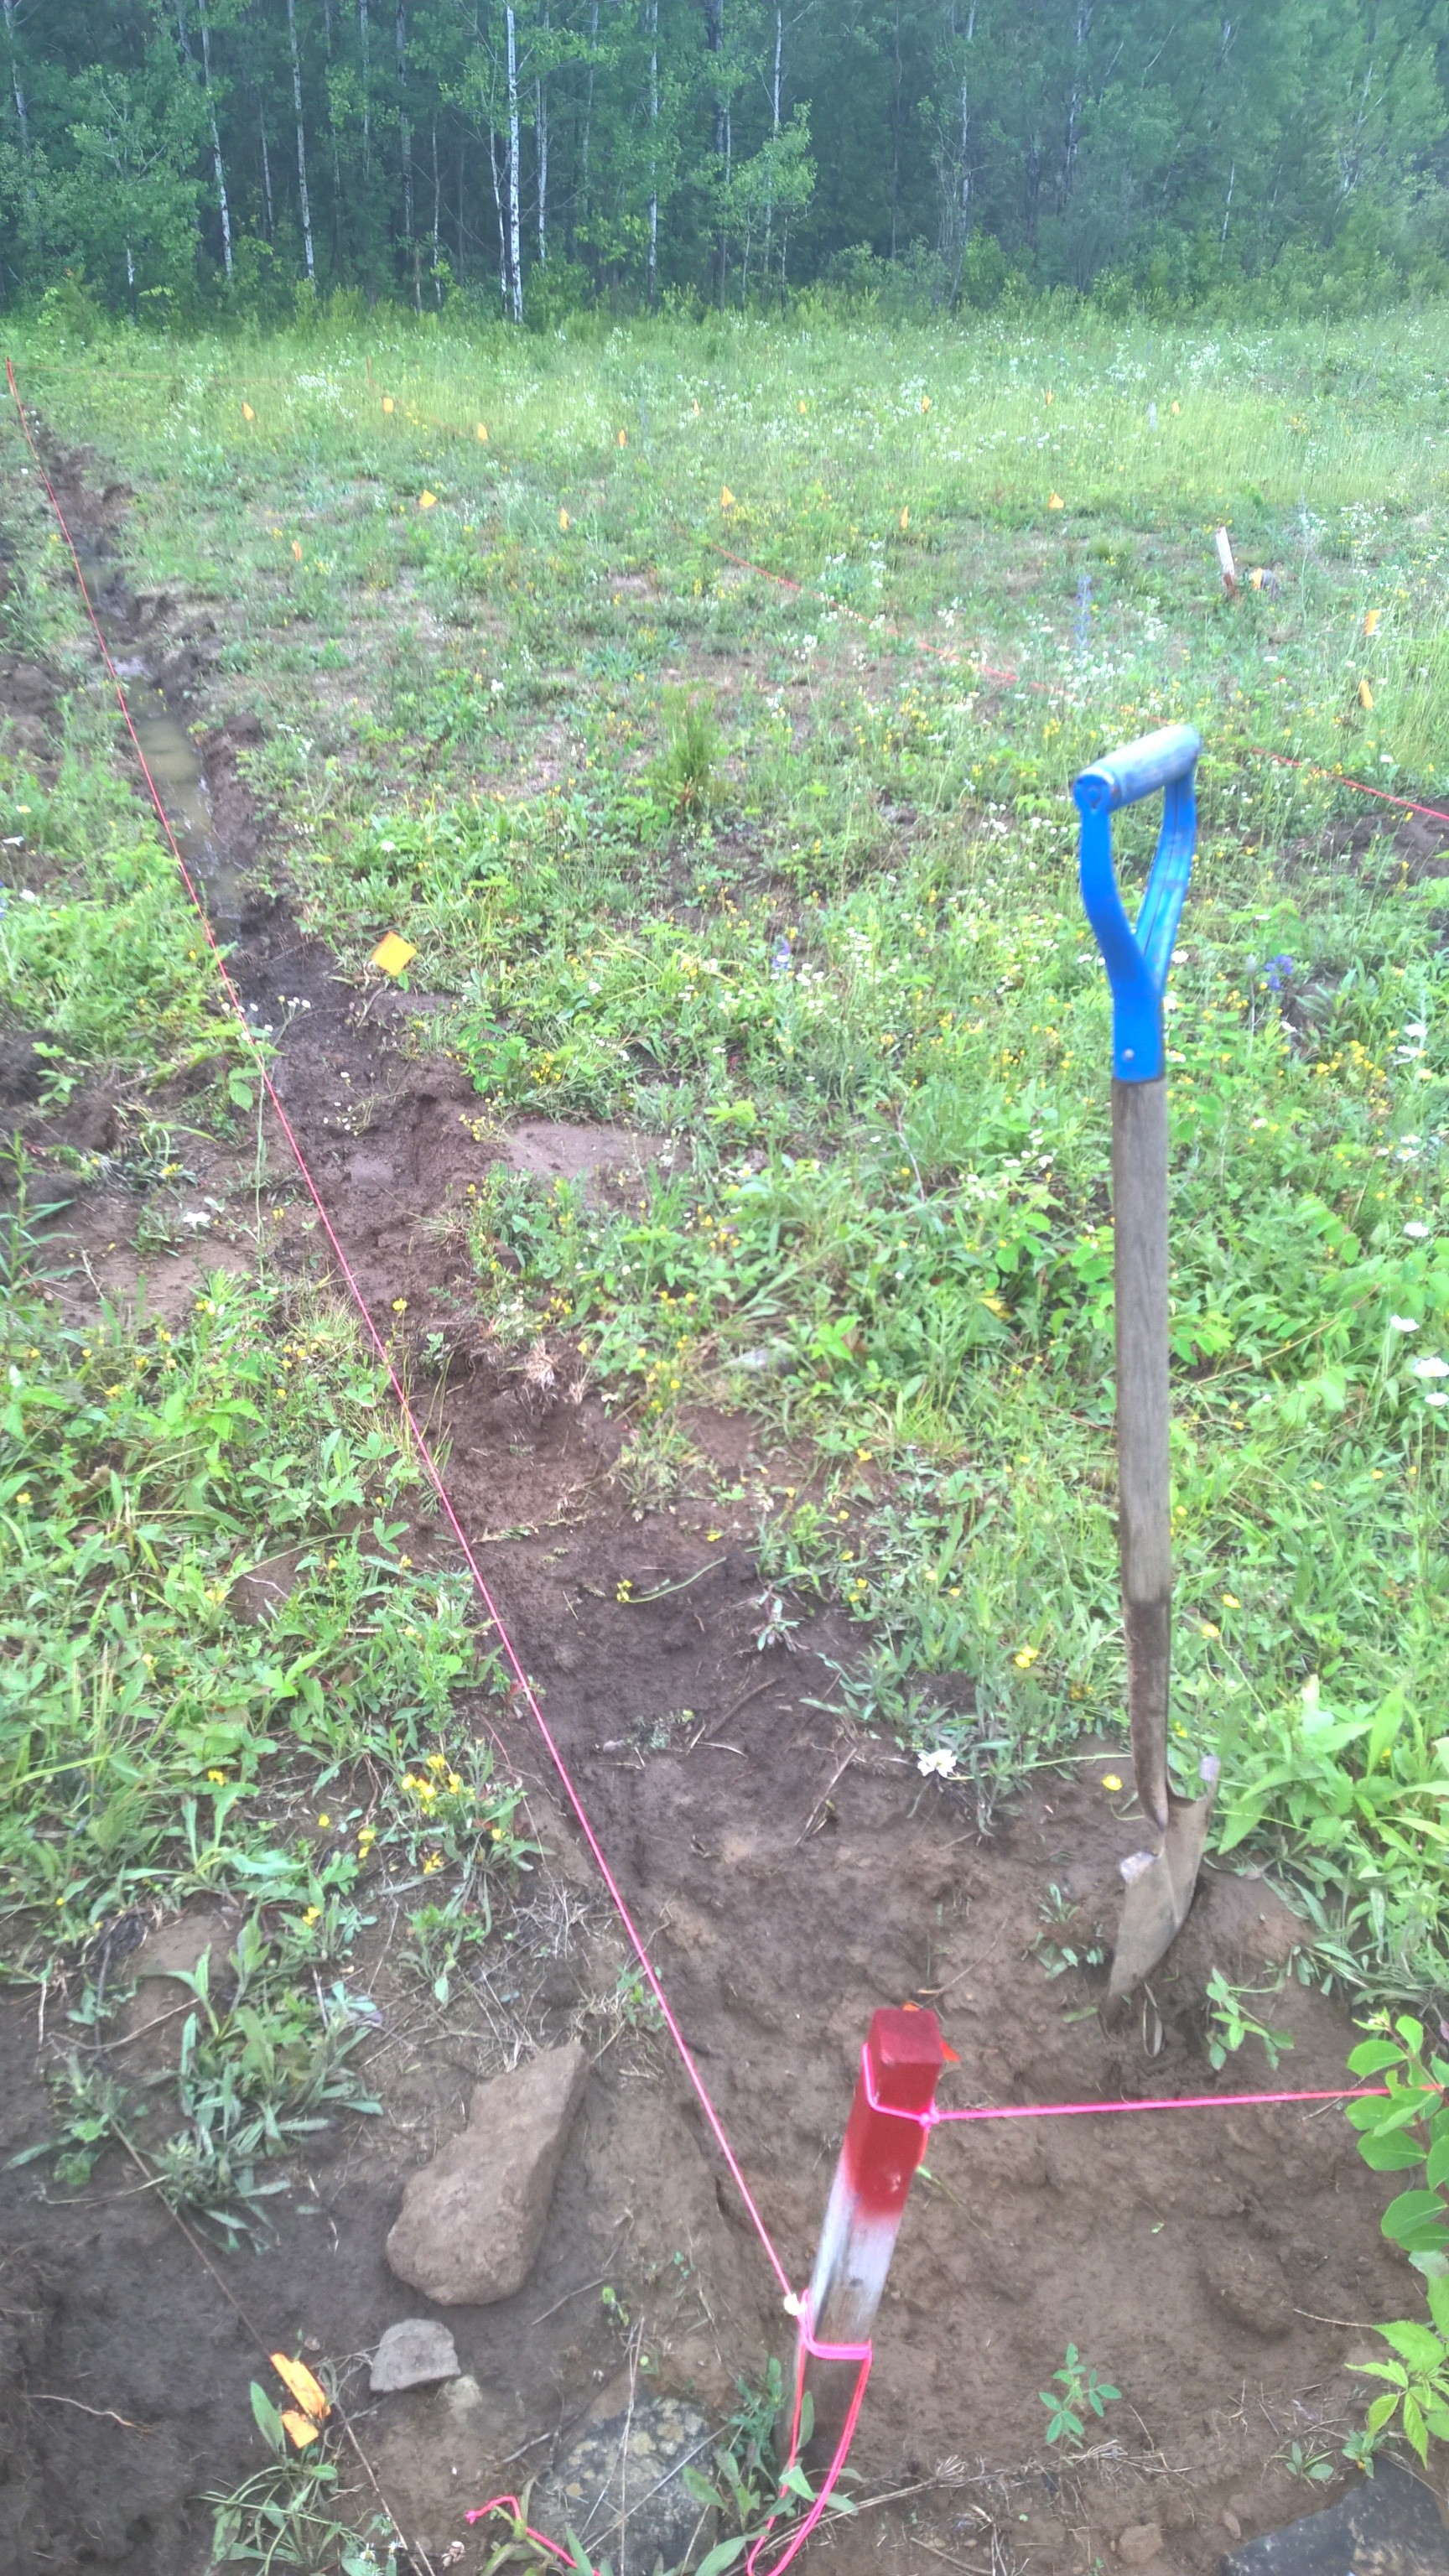
Finally, last weekend we had a lovely day, so I went out to the meadow behind the house and staked out the area where our solar panels will go. I need to remove all the topsoil from the area, then get a truckload of gravel brought in to create a level and well draining pad for the racking to sit on, so I spent a bit of quality time with my spade and moved a little dirt. A few more days at it and I’ll be ready for the gravel!
Clearing away topsoil
I’ve got to head off to the hardware store now to purchase some more supplies for the ducting, but hope you enjoyed the post and the pictures!