I found this site a few months ago – codewars.com – and having mentioned it to a few friends of mine it seems not everyone in my social circle has heard of it. It’s a great site that gives you programming problems to solve, and supports a variety of programming languages.
I’ve mostly been using it to keep up my javascript skills during the house build. There are a ton of interesting problems and you can learn all sorts of different means to solve them, I’ve found it really useful and highly recommend it to other developers. They make it more interesting by turning it into a bit of a game, where you “rank up” the more problems you solve (and at higher ranks, you get harder/trickier problems to solve). Really enjoyable way to start the day with the morning coffee!
This post is unrelated from our house building activities, but I wanted to put it out there as I had trouble tracking down this information myself. When our satellite internet was provisioned here yesterday, we noticed that it would work when directly connected to my laptop, but wouldn’t work when connected to our router, which is a Netgear WNDR3700.
After a fair amount of searching I was able to determine that the router was operating in NAT mode, and the satellite modem also operates in NAT mode, resulting in some kind of double-NAT configuration which is, I guess, a problem (not a networking expert here.) It seemed that I needed to be able to put my router into “Bridge mode”, to disable NAT. Unfortunately there is no way to do this with the Netgear admin software that is loaded on the router.
I searched some more and found that many people recommended installing DD-WRT on the router, which is an open-source router software and sounded like it could solve our problems. The upgrade was trivial – just grabbed the DD-WRT firmware file for our model of WNDR3700 (it’s a first generation unit), and uploaded it using the Netgear web admin panel. The upgrade takes a few minutes and after we logged into the DD-WRT software we were easily able to configure it to work with the satellite modem. Here’s hoping this post helps out someone else one day!
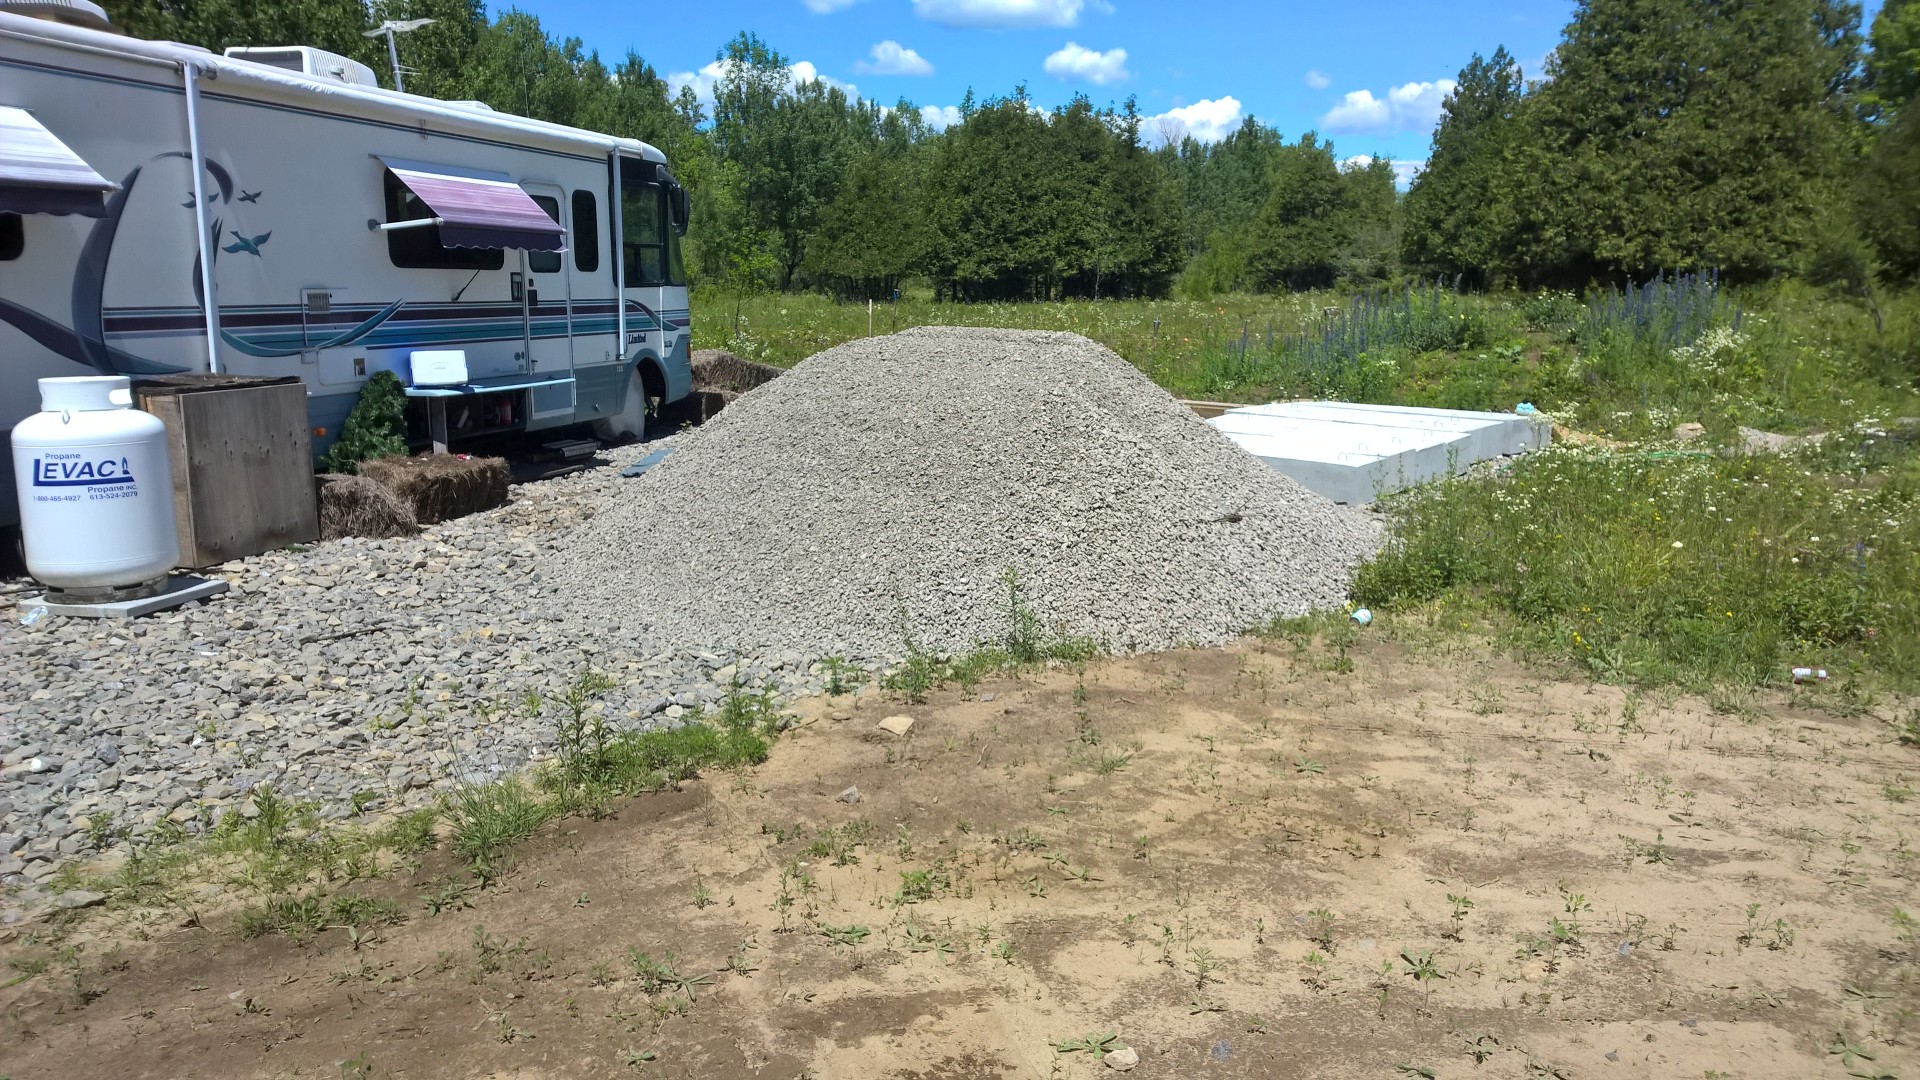
As I mentioned in my last post we needed to get some gravel to make a level base pad for our solar array. I had originally calculated we would need about 11 cubic yards of gravel which I’d figured was about 22 tons. As it turns out, after speaking with the quarry, they reckoned about 16 tons (a full dumptruck load) would probably do the job, so we ordered that up and had it delivered so it will be ready to go. It’s somehow not as big a pile as I had imagined.
16 tons of gravel
I also got out to the hardware store and picked up some floor registers, and successfully test fit one in the fresh air supply vent I’d previously roughed-in in the living room floor.
Test fit fresh air supply duct
One of the other things on our to-do list on our road to occupancy, was “coverage of combustible insulation”. This is specifically regarding our basement insulation – we’d previously installed 2″ XPS foam, but apparently this is a flammable product, so it needs to be covered with something fire-proof. We considered just framing and drywalling in the basement walls, but that will bring on further electrical work, so instead we opted to purchase some Roxul ComfortBoard IS.
Roxul ComfortBoard IS
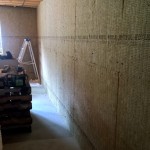
This is a rockwool product that comes in stiff, 2′ x 4′ sheets that are 1 1/2″ thick. We fasten it to the XPS foam with construction adhesive (PL300) and then use a few 16D nails to hold it in place while the adhesive sets. When we are ready to finish the basement, we will just attach furring strips every 16″ with 6″ concrete screws through the Roxul & XPS foam, securing them to the concrete wall, then hang the drywall from those.
Installing roxul 1/2
Installing roxul 2/2
We expect to finish this off in the next day or two, and that’ll be another task off the list!
Finally, we have been struggling with a solution for decent internet out here for some time. Until now, we have been relegated to using the internet over a 3G modem on Rogers, but the charges for data usage are absolutely ridiculous. We finally decided to do something about this, and had the internet folks around today to install satellite internet for us. It’s about the same speed as our previous connection, but is significantly cheaper. We hope it will continue to serve us well!
xplornet satellite internet
That’s about all the news that’s fit to print, hope you enjoyed the update!
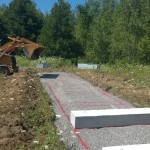
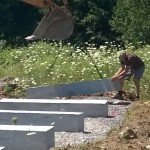
In the past couple of weeks we have been preparing to set up our solar panels. As previously mentioned, this involved clearing away the topsoil in preparation to make a gravel pad with the 16 tons of gravel we got delivered.
With some help, we managed to successfully clear out all the topsoil, and I spent a couple of days shoveling gravel into the wheelbarrow and pouring it in the hole we dug to create level base for the concrete ballast blocks. In the end we probably used about 12 tons of the gravel we ordered, the rest we will use for various things (creating pathways and such).
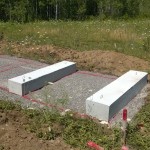
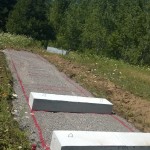
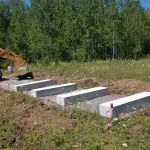
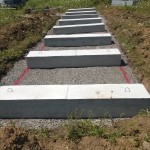
Heather and I spent a little time measuring and marking out where the blocks had to go, and before we started moving the blocks into place the gravel pad looked like this:
Gravel pad marked for blocks
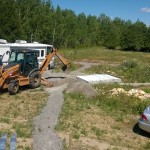
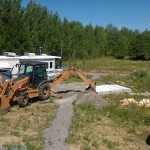
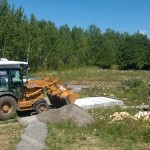
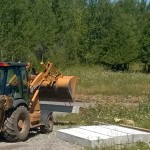
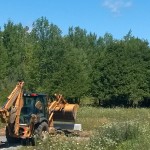
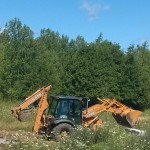
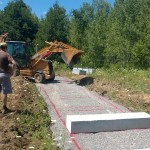
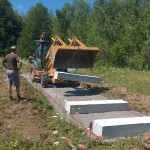
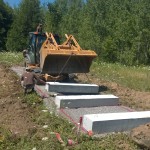
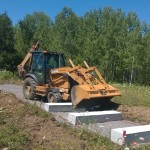
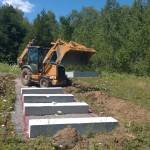
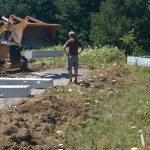
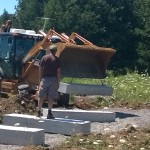
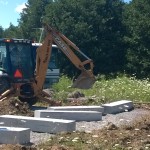
Through word of mouth we found a guy with backhoe who said he could help us move the blocks. He showed up last Friday afternoon and we got the blocks moved in no time at all. We might have spent and hour and a half at it in total, and it sure feels good to get that done!
Moving away the remaining gravel 1/2
Moving away the remaining gravel 2/2
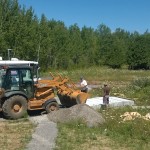
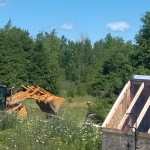
Into position to lift the first block
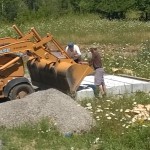
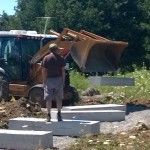
Connecting the chain
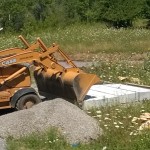
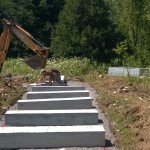
Lifting the block
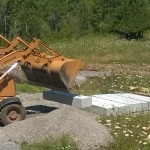
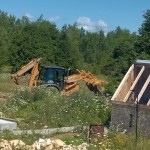
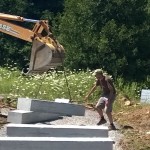
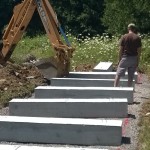
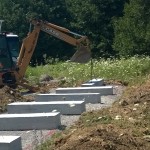
Moving it to the pad
Soon we will start assembling the racking for the panels atop these concrete blocks and then we will be able to wire them up to the solar charge controllers. Thanks for reading and hope you enjoyed the photos!
I meant to include this in the last post…when I was working out how big to make the gravel pad (and before I do most stuff), I always like to do a little sketch before I start doing too much work, to make sure I get everything right. It’s really easy to miscalculate or mis-measure, hence the old adage “measure twice, cut once.”
I took a picture of my workbook, I guess it just looks like the scribblings of a madmen, but just thought I would show a little insight into my process of doing stuff.
Ravings of a madman
You can (perhaps) see that I worked out, I’ll see about 11 cubic yards or 22 tons of gravel, to create my level pad (50’1″ x 9′ x 8″ thick). This should give me about a foot of extra pad beyond the extents of all the racking and concrete ballasts. It also means I’ll be shoveling out about that amount of topsoil, or perhaps a little more, to get down to the bedrock. A good honest workout, to be sure.
The other day I got a picture of our motley crew of animals (not pictured, our newest rabbit Chewie, who is segregated from the others until he gets settled in), and thought I would share it. You can see poor Fluffy’s head is quite tilted which is causing him some issues, but he is hanging in there and doesn’t appear to be in any pain.
The Motley Crew
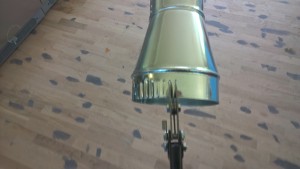
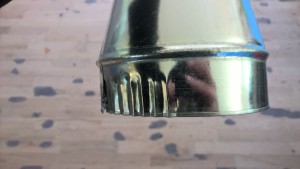
On the house front, I have been continuing with the duct work for our HRV. While possible to use flexible duct, I opted to use rigid ducting as much as possible, as it provides better airflow than flexible duct. Sometimes connecting the ducting together involves using a set of crimping scissors, to add a crimped end to a duct where it was un-crimped originally, as follows:
Crimping tool in action
Partly crimped end
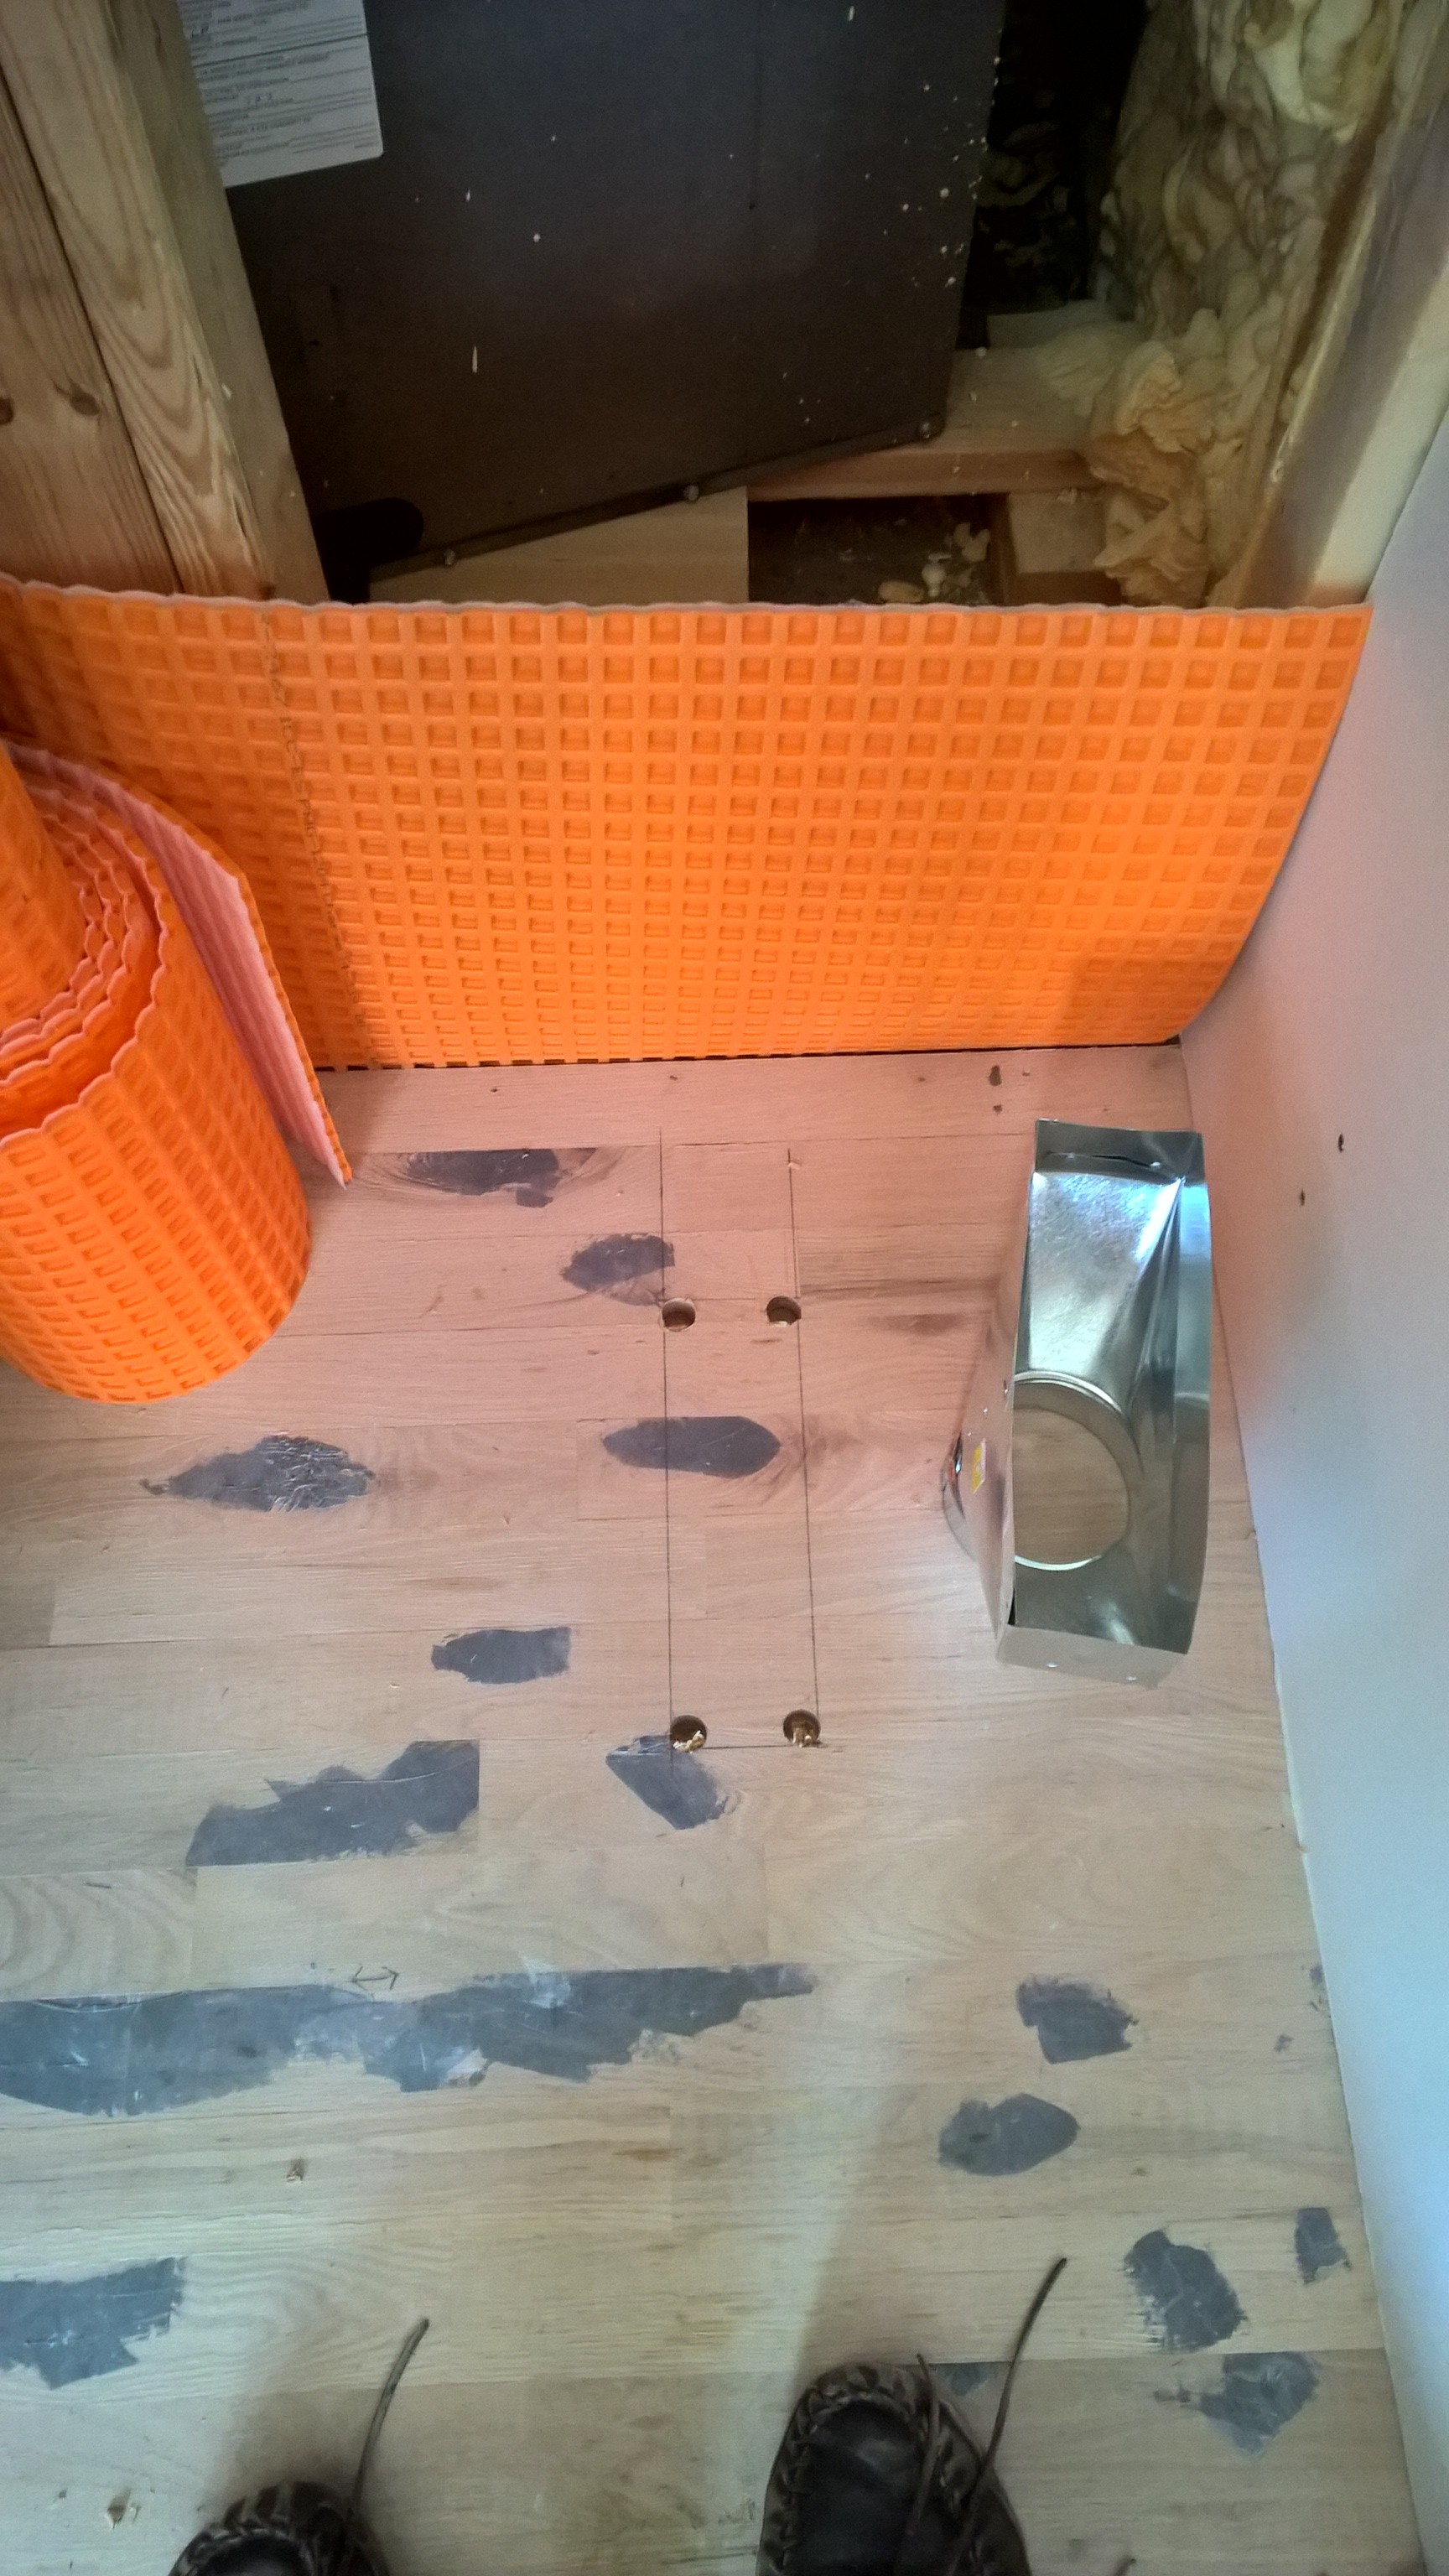
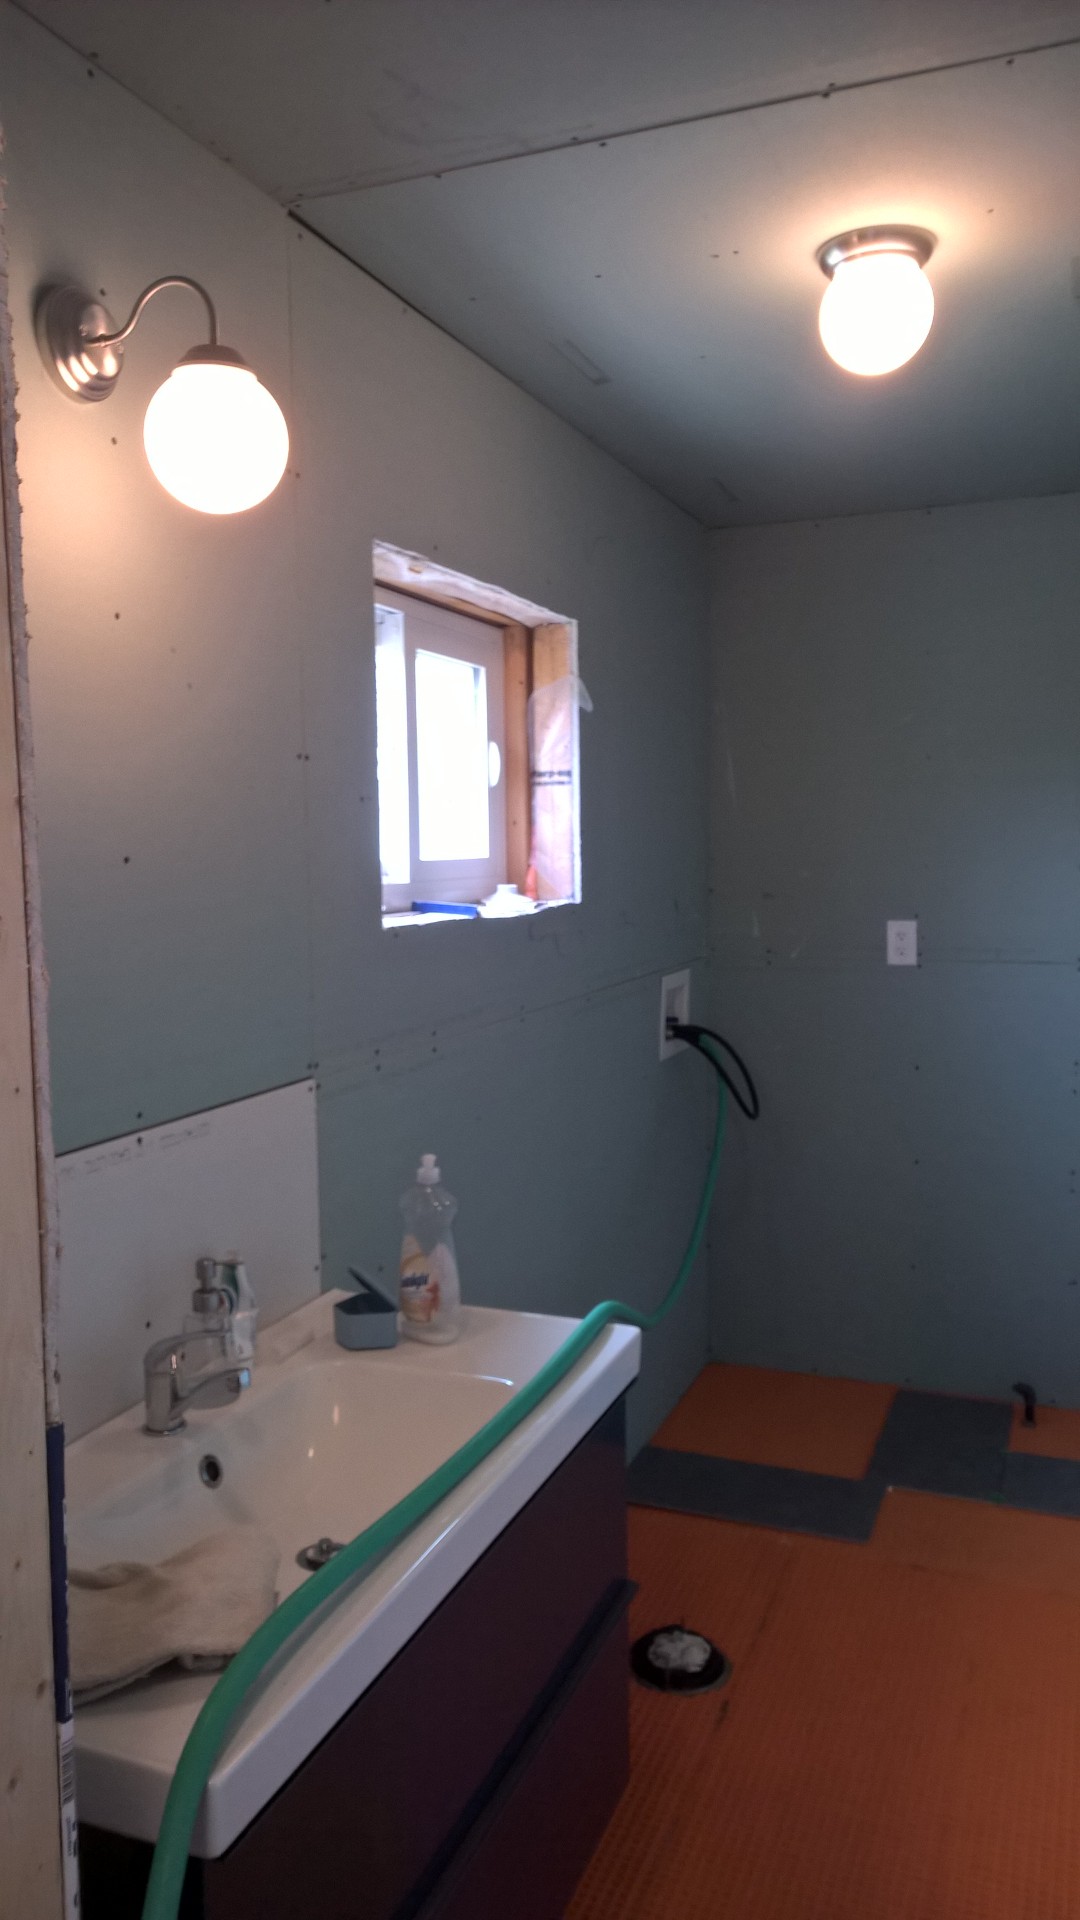
I also brought up the main 6″ duct for the exhaust air through the main bathroom/laundry room – from here it branches off to 4″ ducting into the main bathroom. This 4″ branch is terminated with a “T” as we will connect a 4″ exhaust vent both in the main bath, and to the master bath which is on the other side of the wall you see on the right:
Main exhaust duct
You can also see that the ducting stack at the back is reduced from 6″ to 4″, then goes through the vapour barrier and into the attic at the back there. In the attic, I will use 4″ insulated duct to get a run over to the kitchen, as you are also required by code to have an exhaust register in the kitchen, separate from the range vent hood.
As you are also required to have a fresh air supply to the basement, living room, and bedrooms, I started cutting in the hole for the vent in the living room floor. As we are using a 4″ duct for fresh air, we chose a 3″x10″ rectangular register for the job. First step is to select a spot which is free from obstructions in the basement (make sure we are clear of any floor joists and gas piping), and at least 3″ from the wall. You start out measuring and marking, then you drill holes in each of the 4 corners:
Starting the hole for the fresh air floor register
From there, time to crack out the jigsaw and cut along the lines, connecting the holes. You might have to do a little finish work in the corners to get them nice and square.
Finish the hole with a jigsaw
Before I actually go down in the basement and connect the ducting boot you see in the picture there to the floor from below, I’ll pop out and pick up a couple of floor registers, and test fit them, just to make sure we won’t have any fit issues.
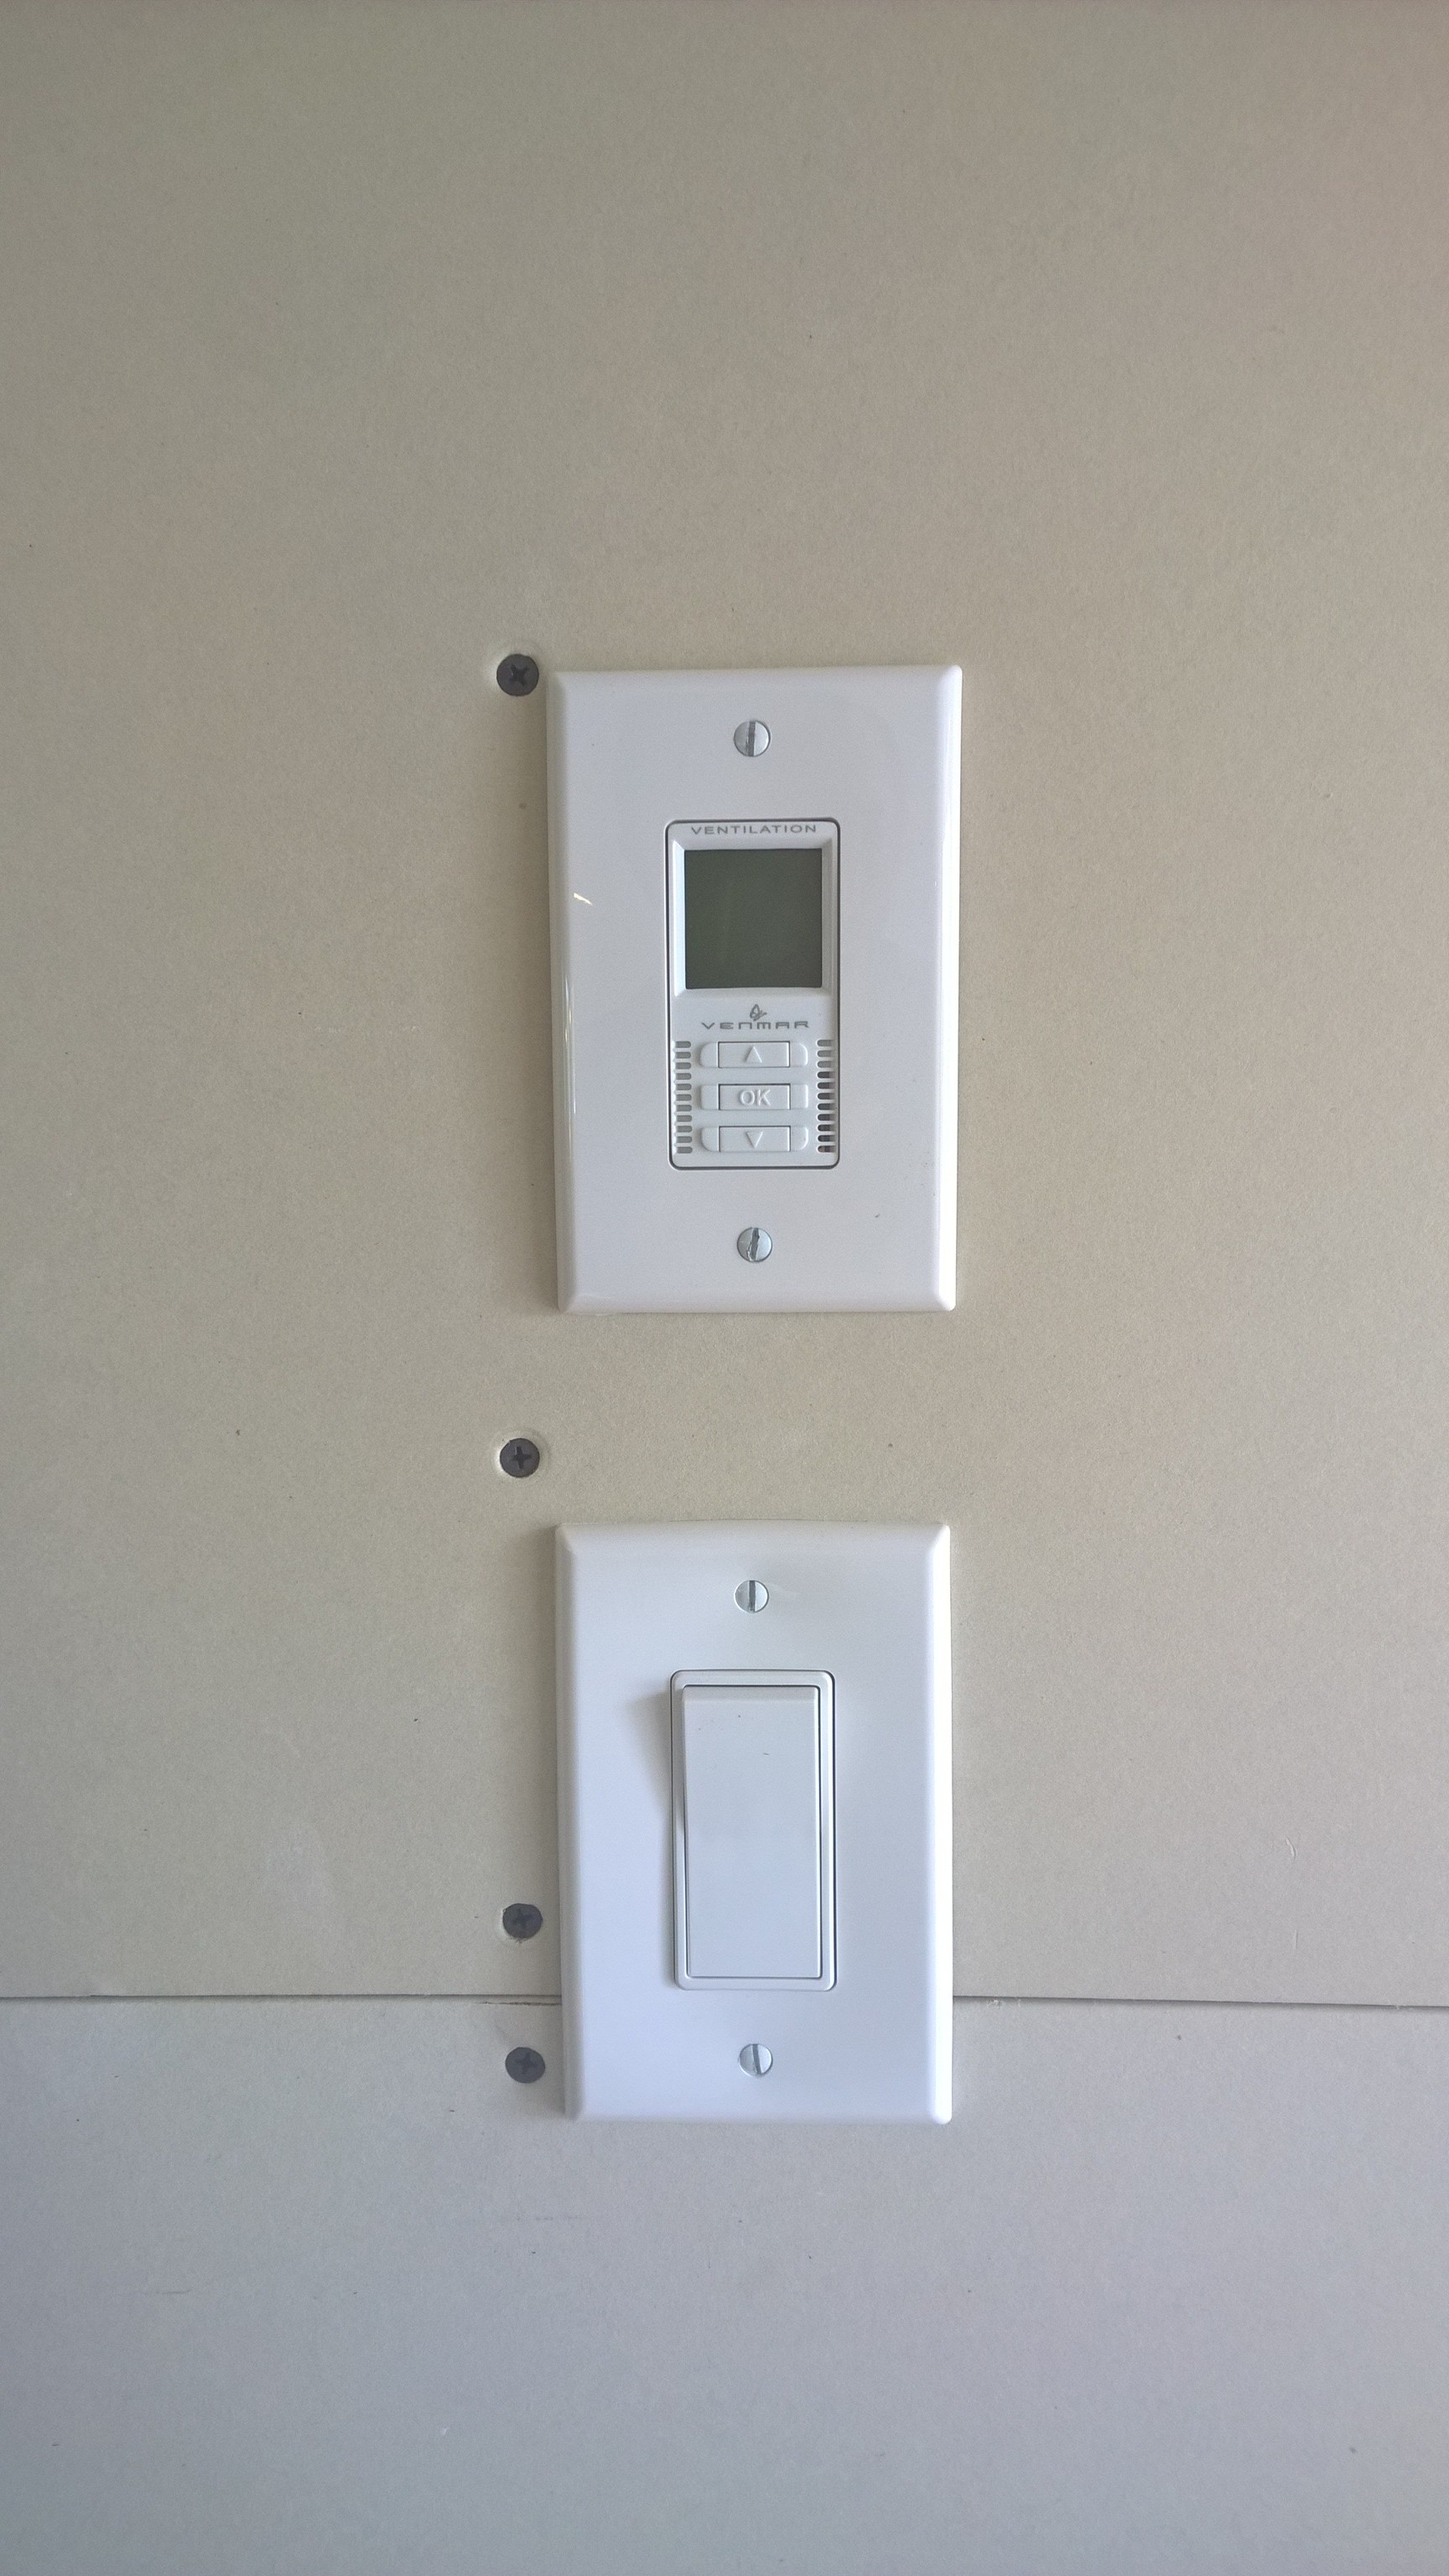
I also got around to wiring up the controls for the HRV itself. While not difficult, it was just some more wiring to be run. In the kitchen/living area we have a digital control that sets the overall state of the HRV (high/low/etc) for the house overall.
Main HRV Control
in each of the bathrooms we have installed a 20/40/60 minute timer that will override the main control and switch the HRV to high when they are used.
20/40/60 minute timer for HRV
On another front, I have been pushing forward trying to get all our electrical outlets installed, as well as installing proper light fixtures (just cheapo IKEA ones to get started). I also had to install the last two smoke detectors.
Combination Smoke / CO Detector
By code, we are required to have a smoke detector in the bedroom, the kitchen, and the basement. We opted for Kidde combination smoke / carbon monoxide detectors, as we have the generator and gas appliances, so better to the safe than sorry. It’s not like the old days either, the smoke detectors all have to be wired off of the kitchen light power (the most likely lighting you will notice is off in a power outage), and all need to be interconnected so that if one goes off, they all go off! Quite a racket when you first turn them on and test them. They also have a battery backup, but that will likely never get used as we are at no risk of losing power in a storm. One of the pluses of generating your own power I guess 🙂
Now that the washer and dryer are in the laundry room and out of the way, I was able to bring up and install the last kitchen cabinet and get it installed. I also took the opportunity to put on the drawer hardware, but did leave the protective blue film in place for now, and it’ll probably stay on until after mostly all construction is complete.
Kitchen coming together
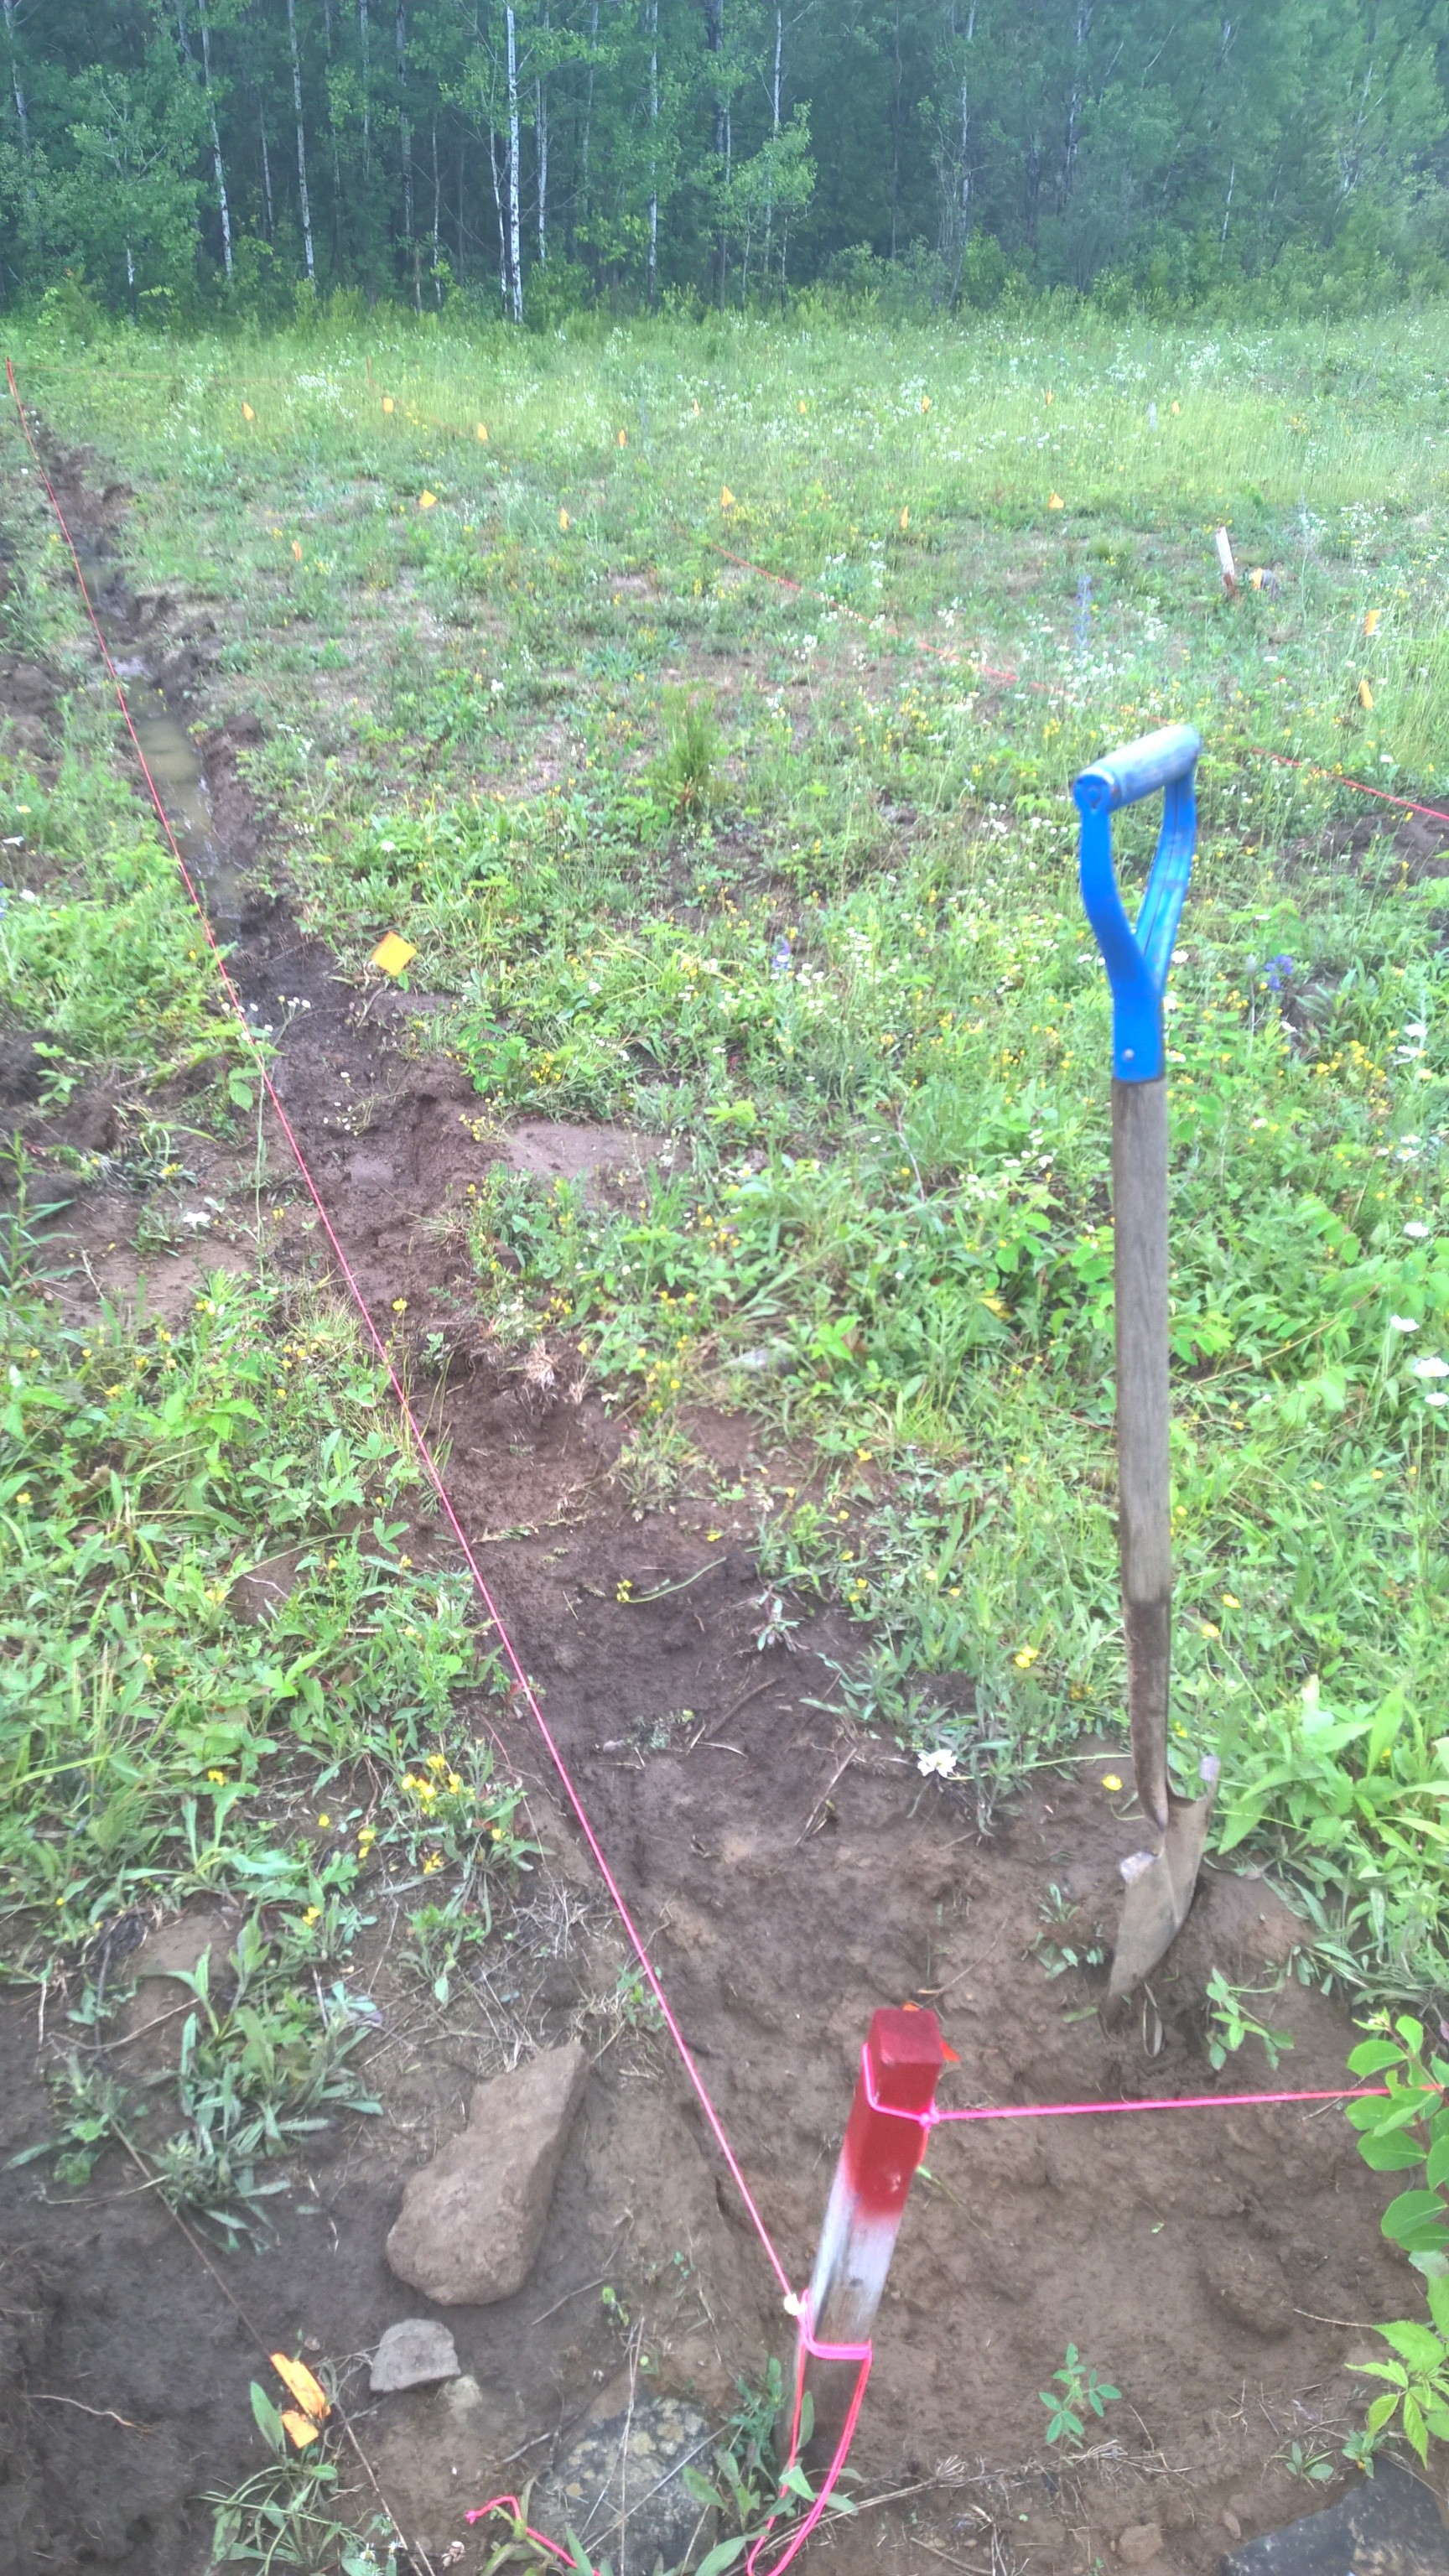
Finally, last weekend we had a lovely day, so I went out to the meadow behind the house and staked out the area where our solar panels will go. I need to remove all the topsoil from the area, then get a truckload of gravel brought in to create a level and well draining pad for the racking to sit on, so I spent a bit of quality time with my spade and moved a little dirt. A few more days at it and I’ll be ready for the gravel!
Clearing away topsoil
I’ve got to head off to the hardware store now to purchase some more supplies for the ducting, but hope you enjoyed the post and the pictures!
I spend a lot of time writing about the trials and tribulations of building our house, but I haven’t really talked too much about some of the more intangible benefits that come from living out in the country. Even though, we are only about a 45 minute drive from Ottawa, we are in quite a rural location. Considering that from our old house in Toronto, if we drove for 45 minutes on the 401, we wouldn’t even really be out of the city and surrounding townships in that time. So we are quite pleased to be able to enjoy the rural lifestyle, and still not be too far away from a major city.
There are some great things about living the rural lifestyle. The silence, for one. It is so nice to be outside and all you hear are birds singing, and the sound of the wind rustling through the leaves. There are a lot of wetlands around here, and on quiet nights in the spring, the sound of the frogs singing is almost overwhelming.
That’s the other good thing about being out of a major city centre – at night there is a lot less light pollution, and the stars you can see are quite an incredible sight!
We also get a number of visitors which pass through from time to time. We used to have quite a lot of wild turkeys which would pass through, but I haven’t seen too many since the last hunting season. There are also some deer that visit our apple trees in the night, but we have so far not been lucky enough to see them in person. We also often see foxes, there used to be a pair that would play in a meadow just down the road from us, it was nice to see them having fun!
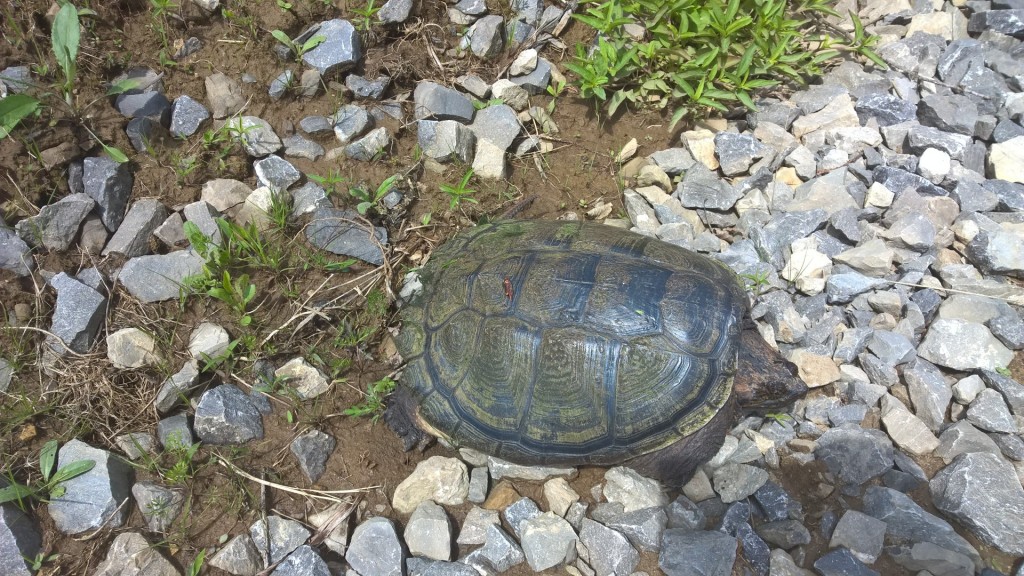
Today though, on our way back from town, we found this little fella relaxing in our driveway. One thing I know for sure – it’s important to be able to distinguish a garden turtle from a snapping turtle – and this guy was s snapping turtle (you can tell by the way his shell has pointy bits on it around his tail / rear area.)
Snapping turtle!
You don’t want this guy getting ahold of your fingers!
A good sized snapping turtle like this guy has got to be respected, if you get your fingers anywhere near him you’re liable to lose one! I just held our local newspaper folded up in the picture for reference, I wasn’t poking at him or anything 🙂
Anyway, those are just a few of the reasons we love living out here. The city life does have it’s benefits, but it’s really hard to beat the simple beauty of nature. Hopefully this sheds a little light on why we embarked on this somewhat crazy journey to begin with!
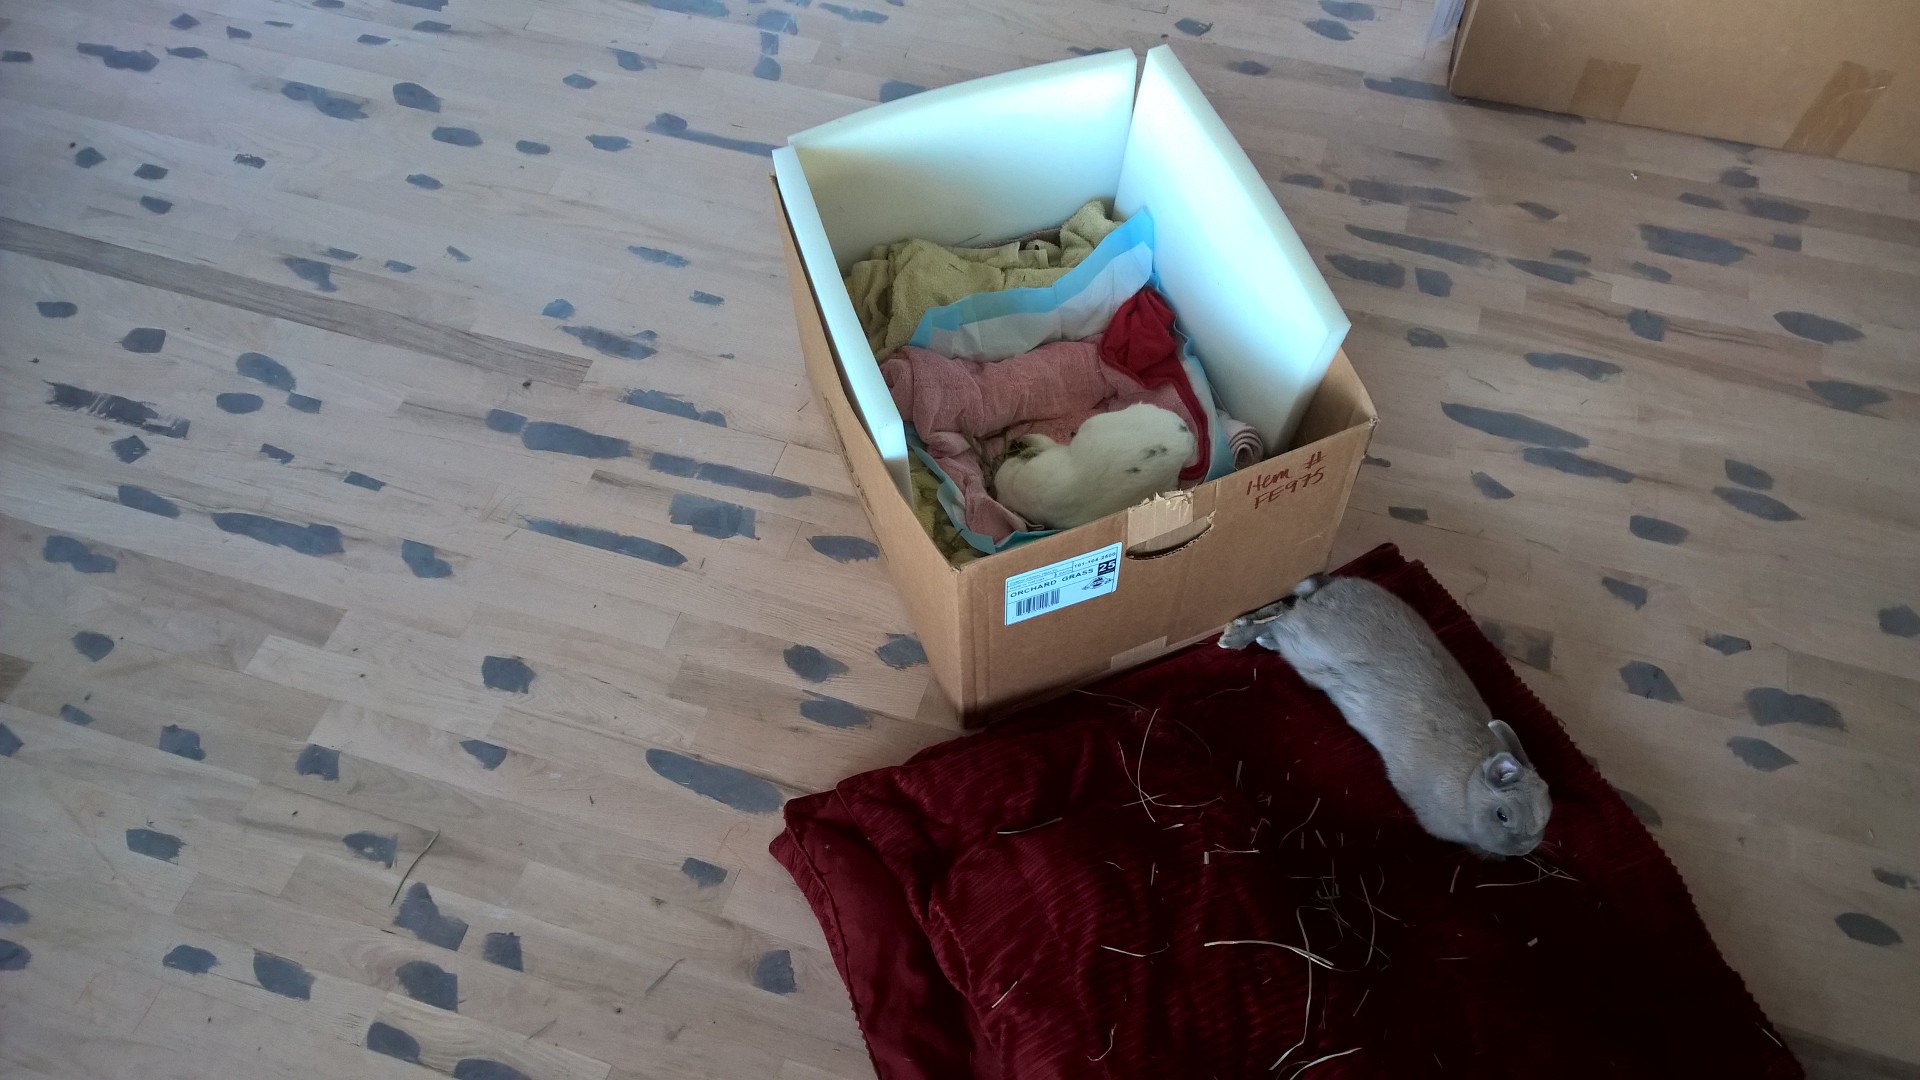
The past month has seen us complete a number of things, though it has been, as usual, slow going over here. While we have been working on the house, one of our rabbits has taken ill and requires a fair amount of attention, so it is good that I am around during the day to keep an eye on him. We are hopeful that with a lot of TLC (and antibiotics), that he’ll be able to recover and stay with us for years to come!
Here’s a picture of his girlfriend, lounging beside the box that we need to keep him contained in – for his own safety.
Miss Ivy keeping a watch over Sir Hops A Lot
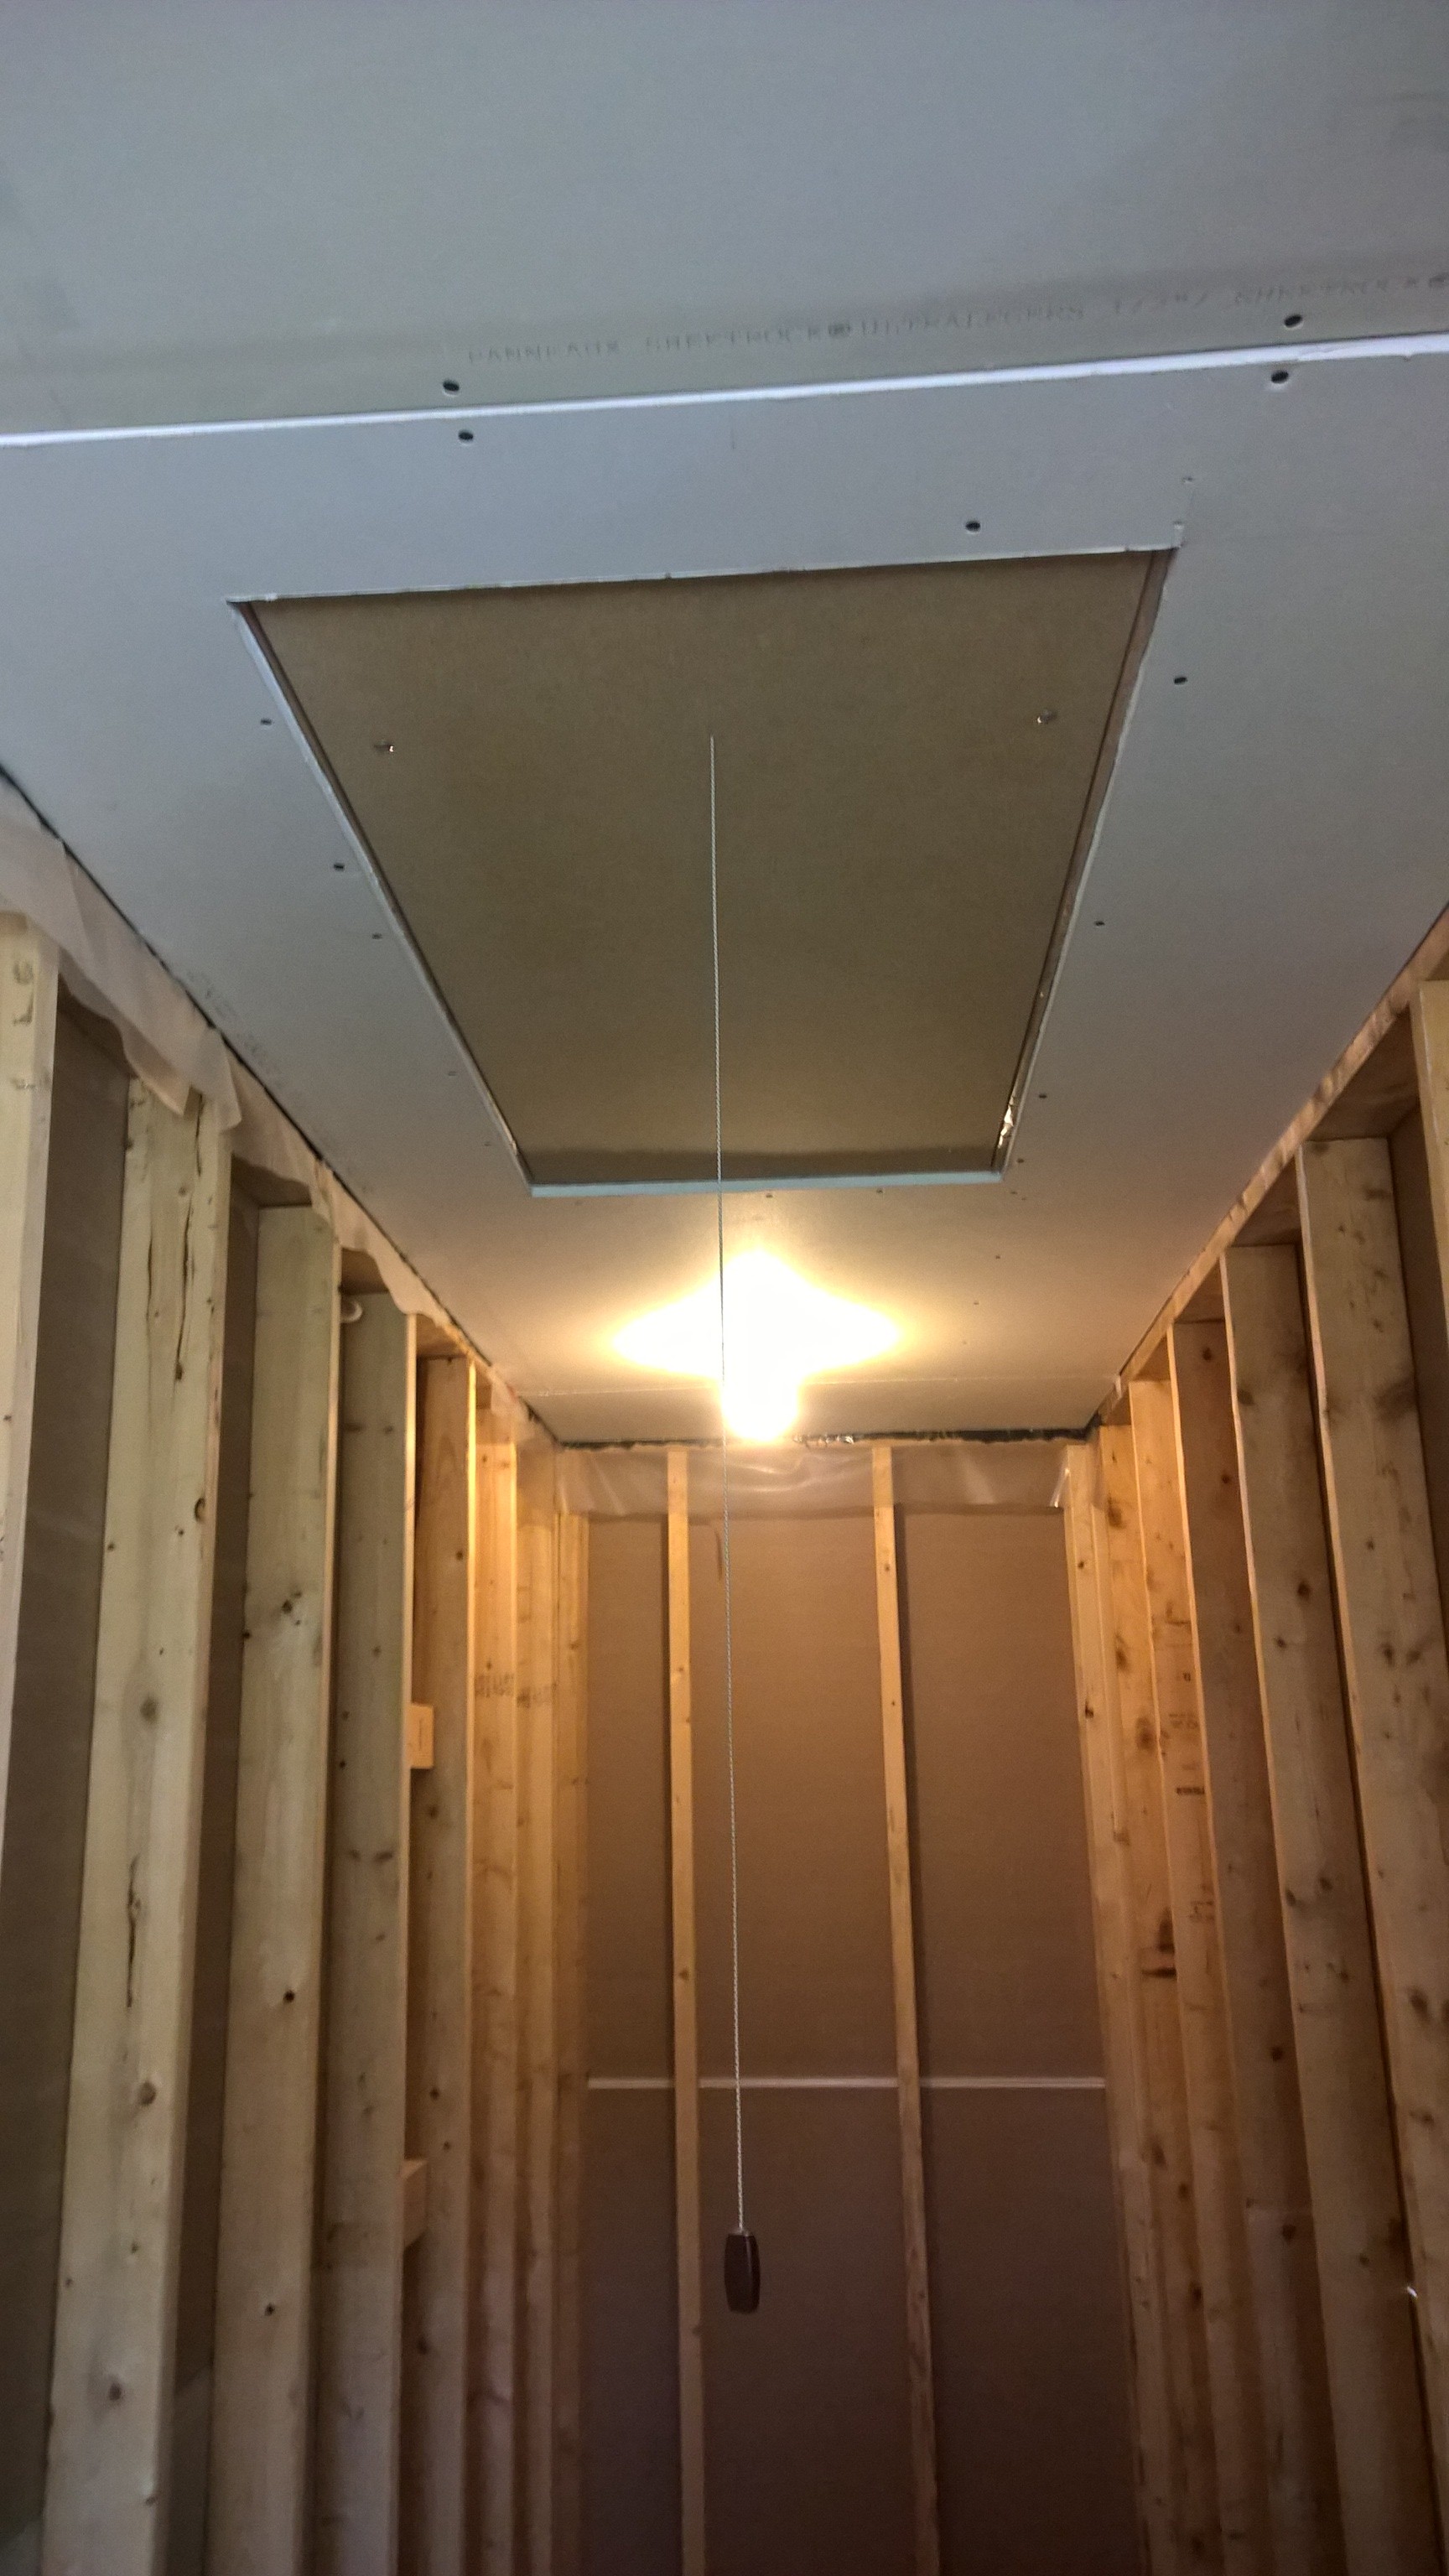
On the house front, with some help from my mother (who has been coming around to help out from time to time), I managed to get the drywall installed on the ceiling above the stairwell, which was fairly tricky business. Not only did I have to accurately cut a hole in the drywall to allow access to our attic hatch/stairs, but we also had to build a platform over the stairs that we could put ladders on, to hoist up and fasten the drywall into place. Thankfully, this all went fairly smoothly, as you can see in the following picture.
Drywall above stairwell
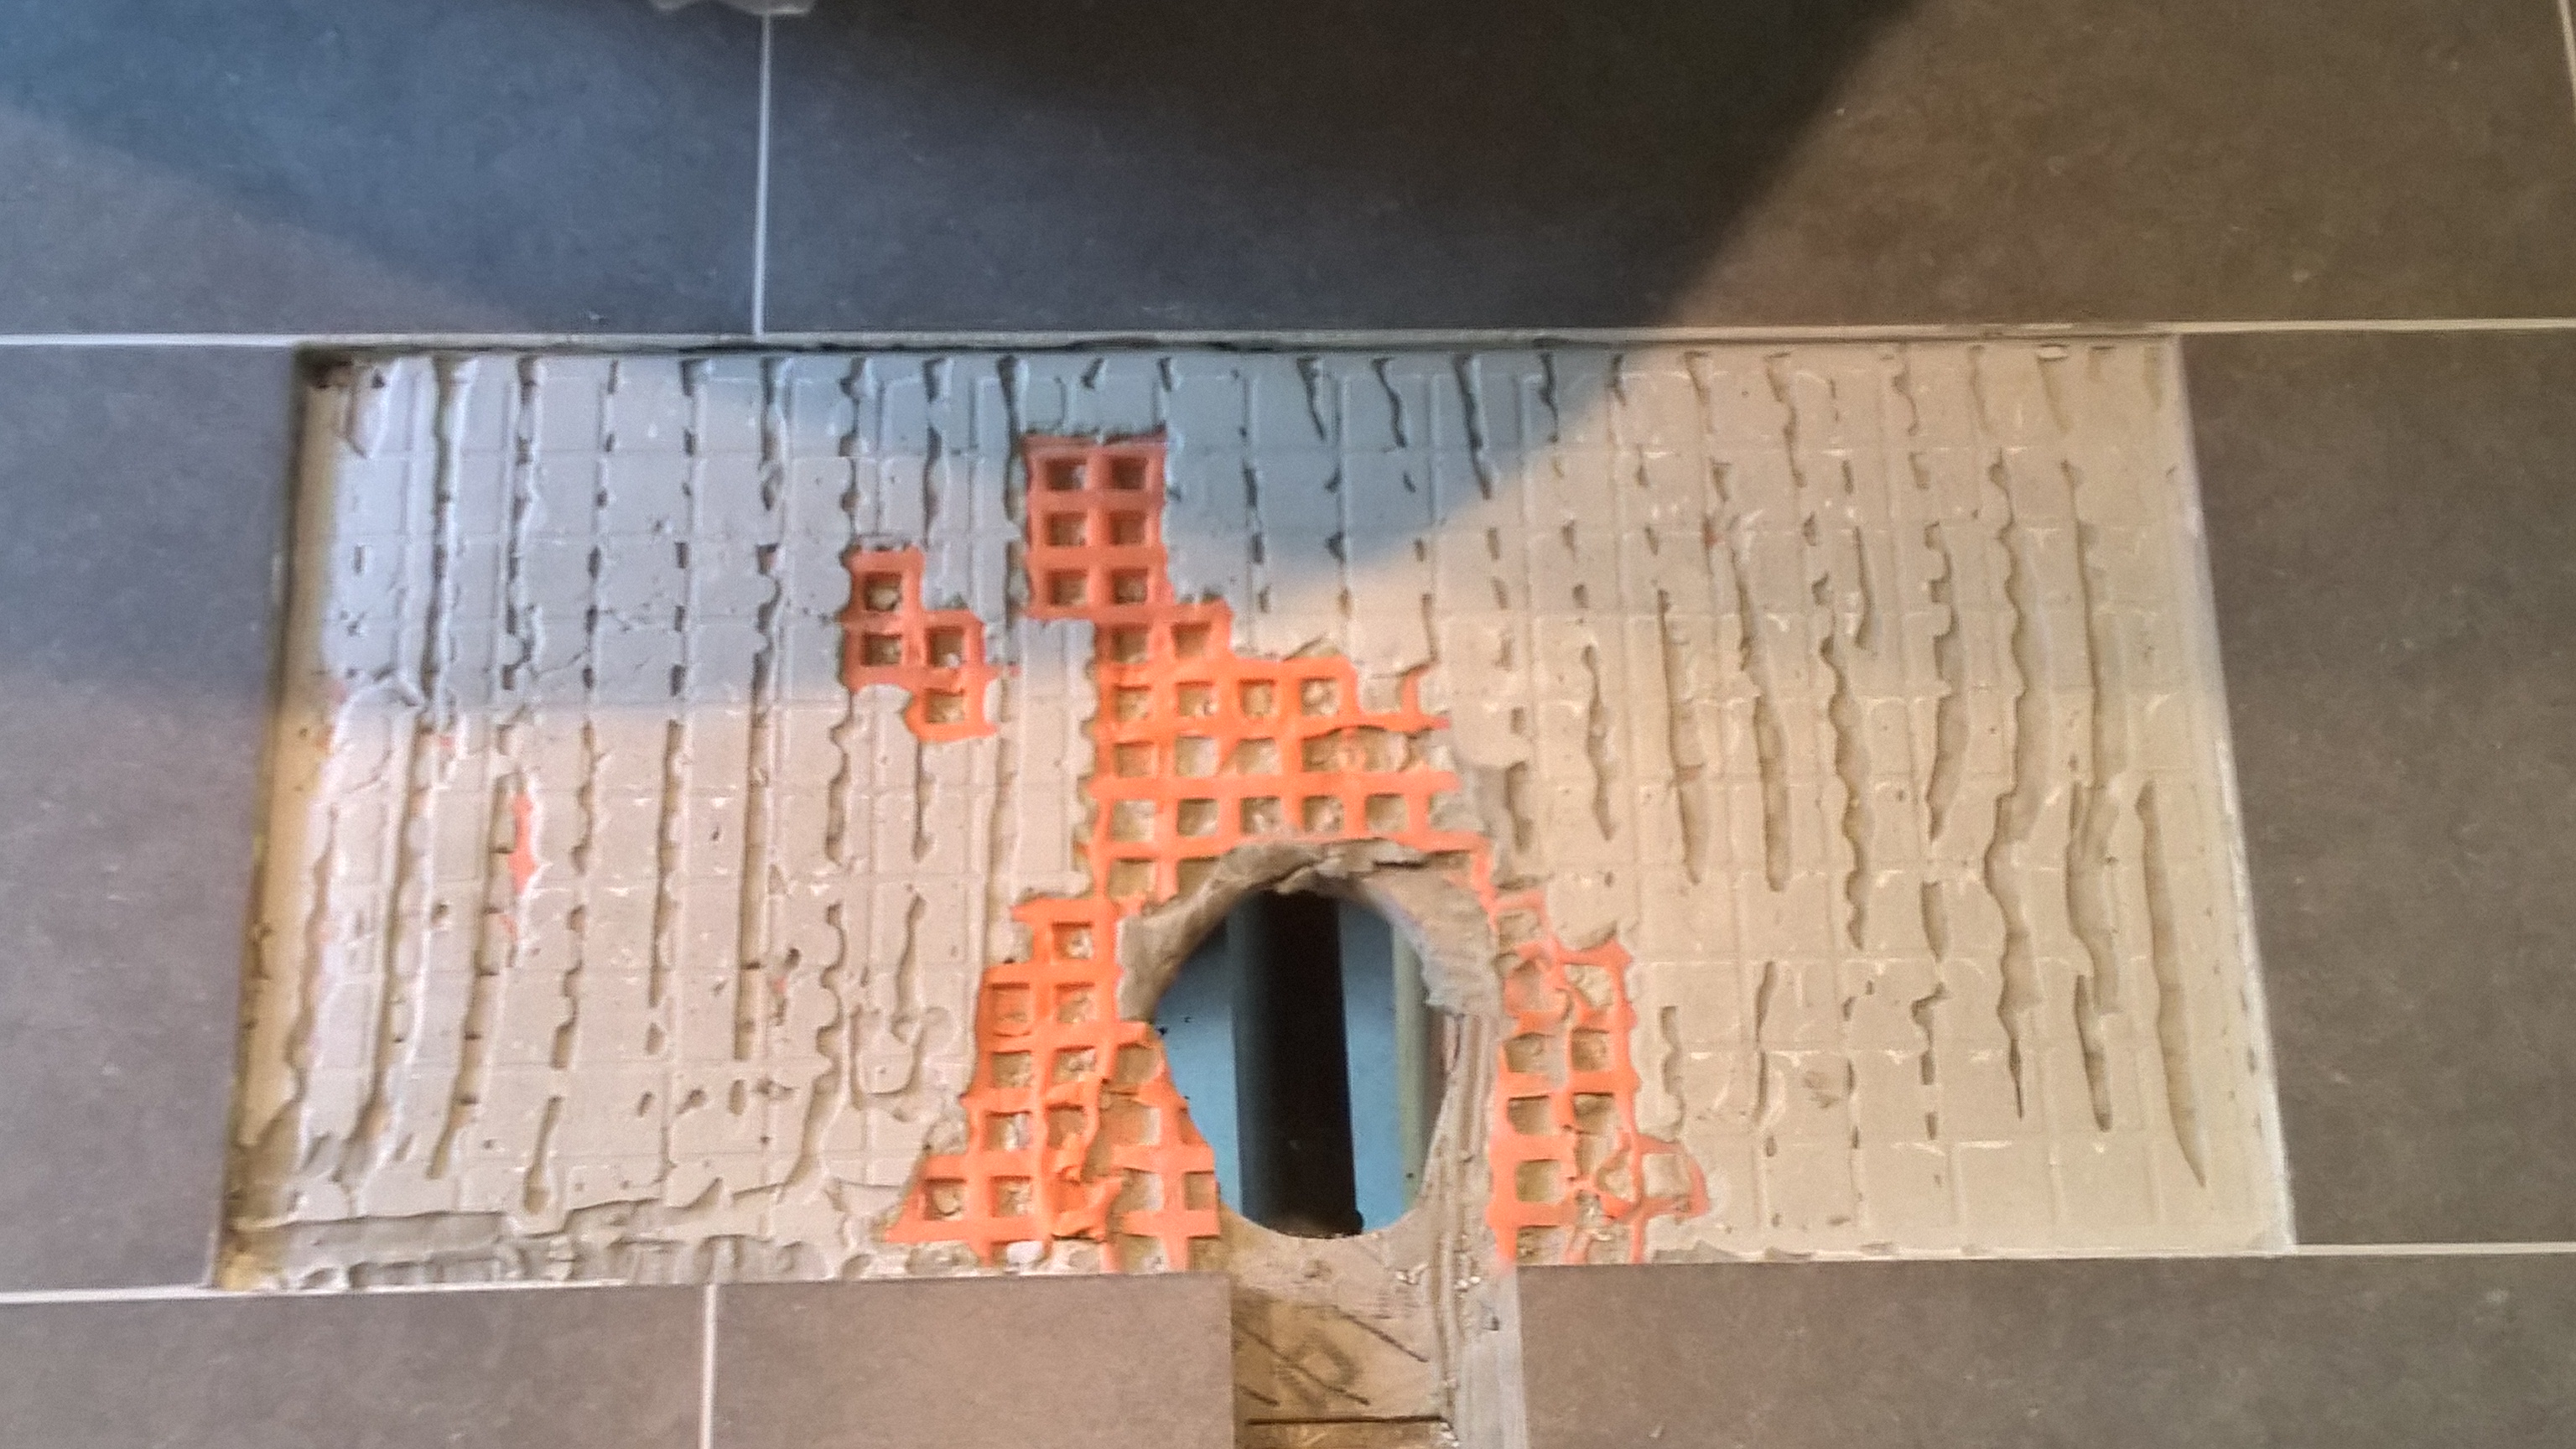
It will still be a bit of a chore to finish the rest of the drywall on the walls in there, but not as bad. As I mentioned in a previous post, I messed up when I cut one of the tiles for our master bathroom floor, and was waiting for when I tiled the floor in the main bathroom to fix it. I got around to this about a week ago, and fixing the tile wasn’t as bad as I thought. I first pulled up the improperly cut tile, leaving me with a bit of a mess to clean up.
Improperly cut tile removed
I carefully went over the area with a small prying tool and popped out as much of the thinset as I could, to leave me with the best possible starting area. It was difficult to get all the thinset out, without damaging the Ditra, but it’s not super important that the Ditra got a little banged up in the process. After I was done prying everything out, I carefully vacuumed the area out to remove any last remnants.
Cleaned up area for new tile
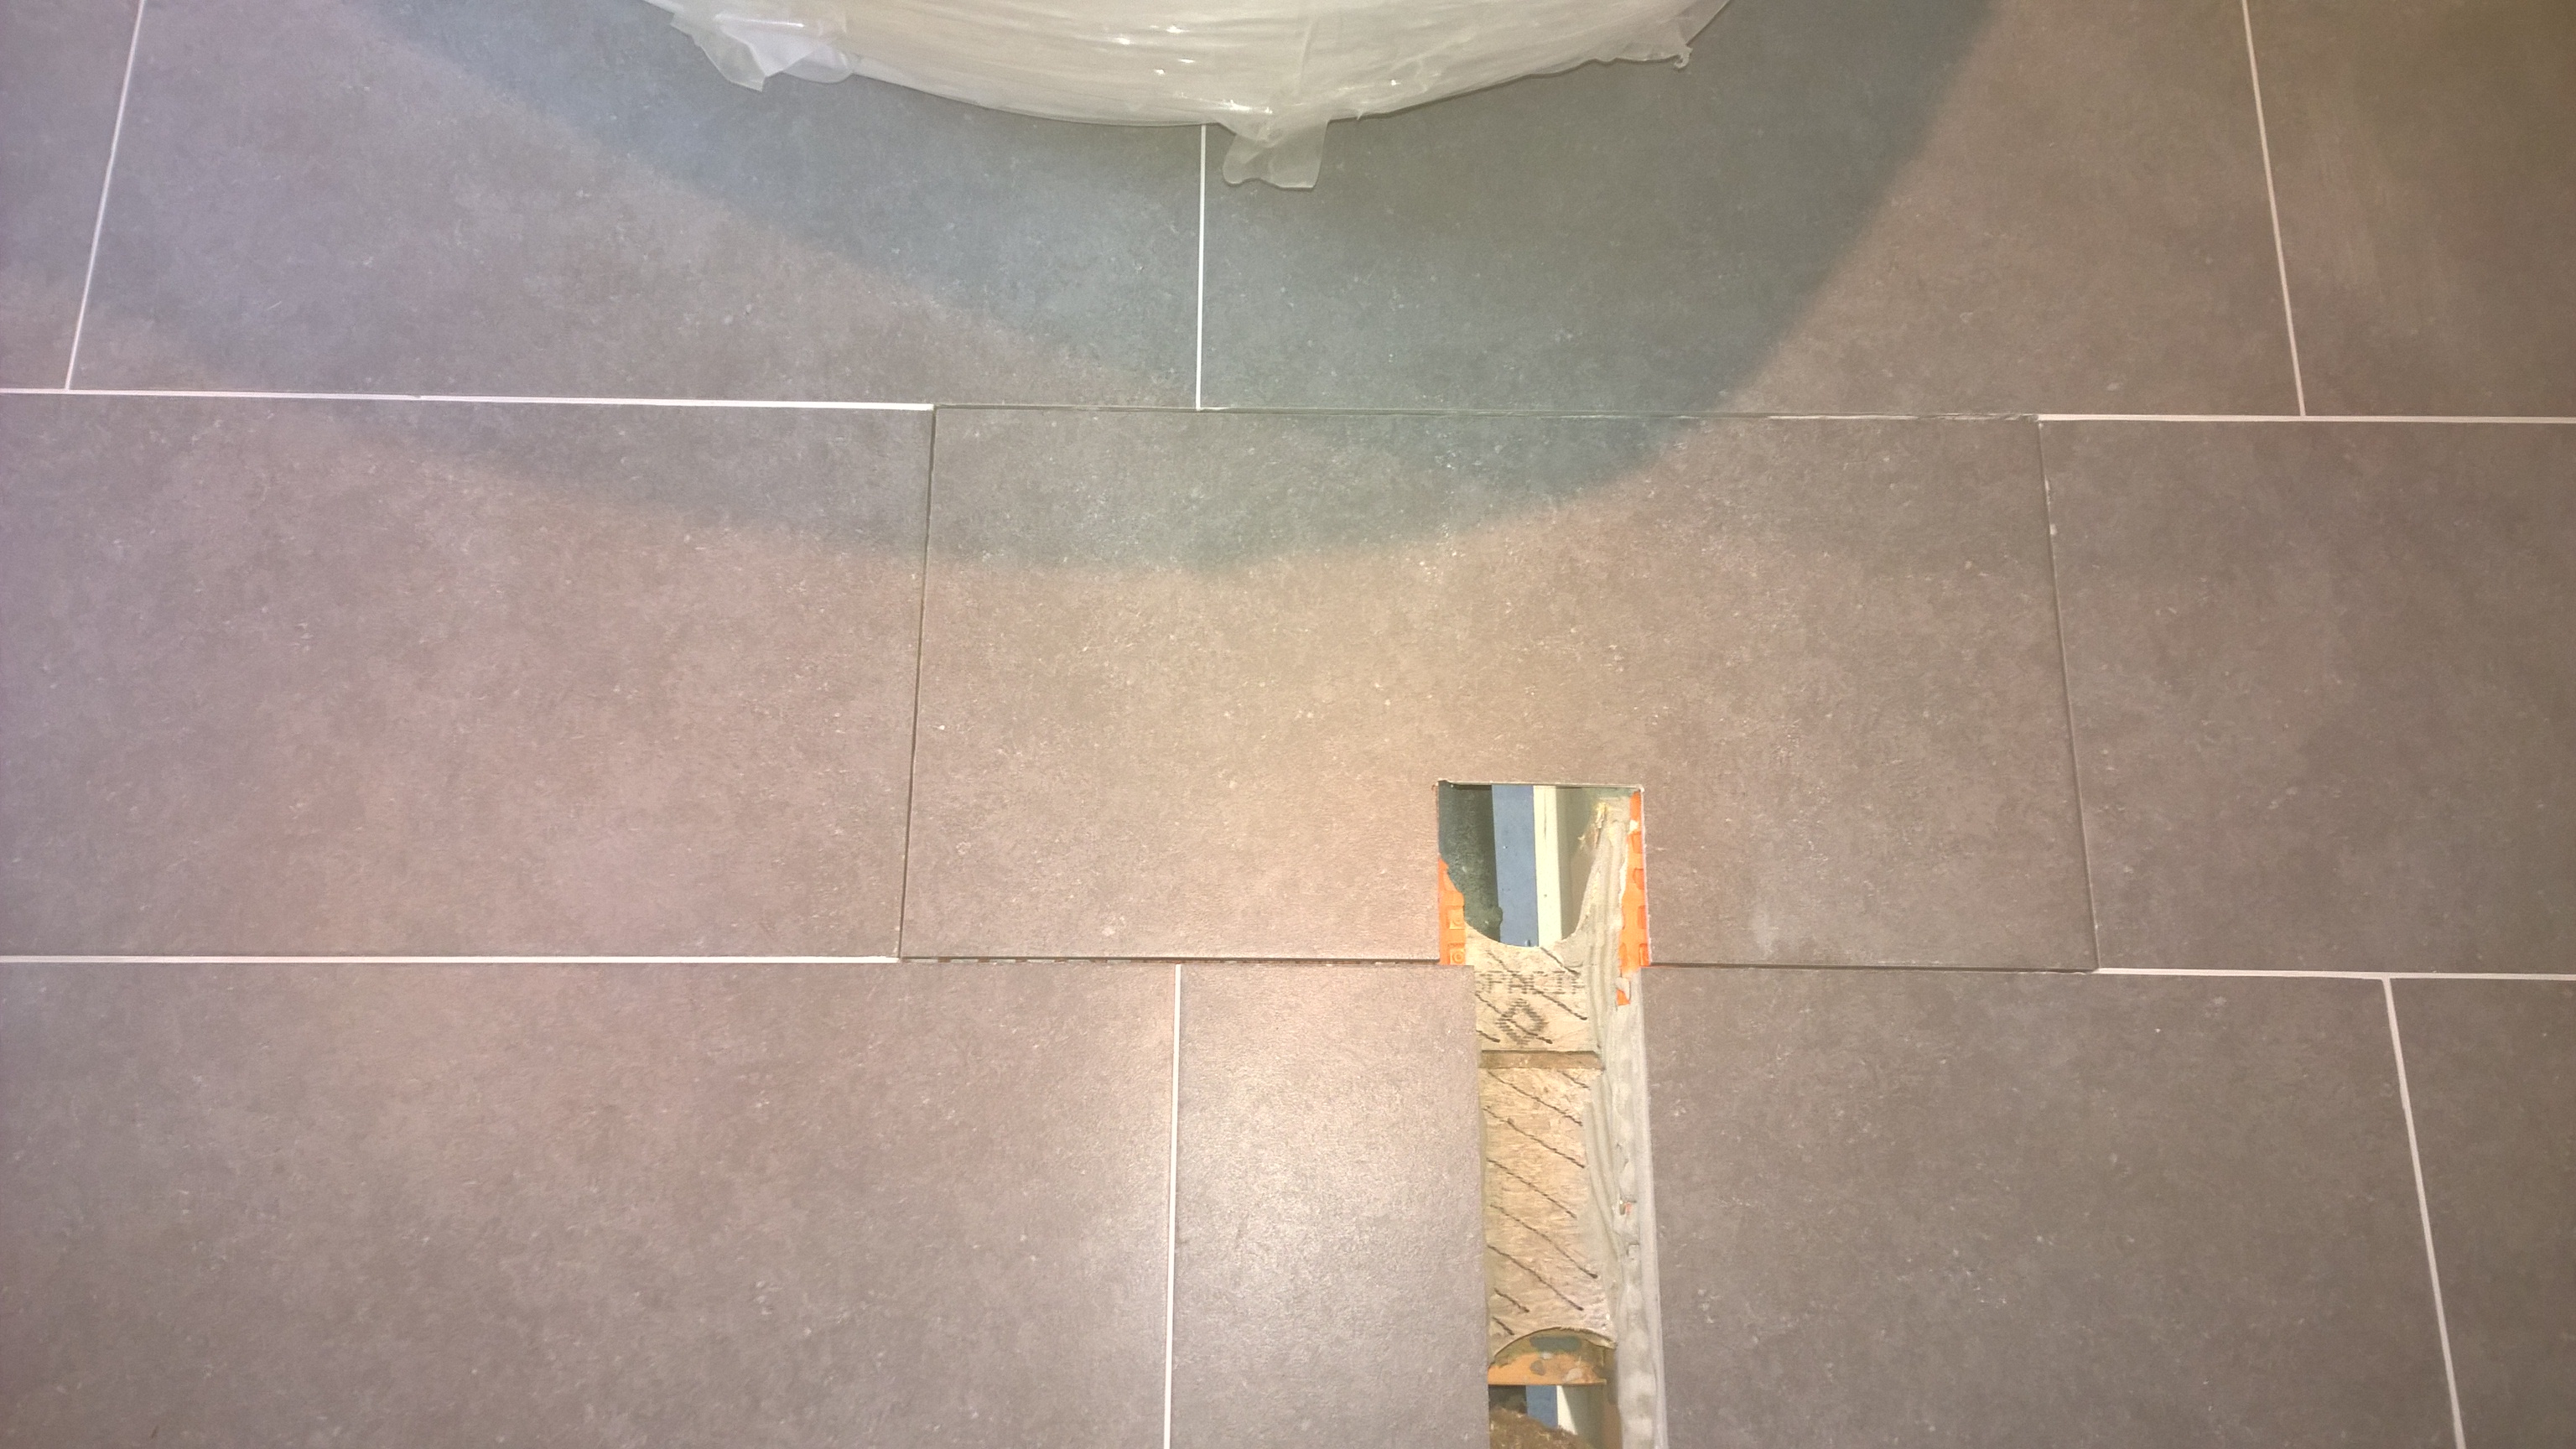
And here’s a couple pictures of the tile laid and then grouted, you can’t even really tell that I made the mistake to begin with! Thankfully I still had some grout left over from tiling before, so it was no problem to match it perfectly.
Laying in the replacement tileReplacement tile grouted
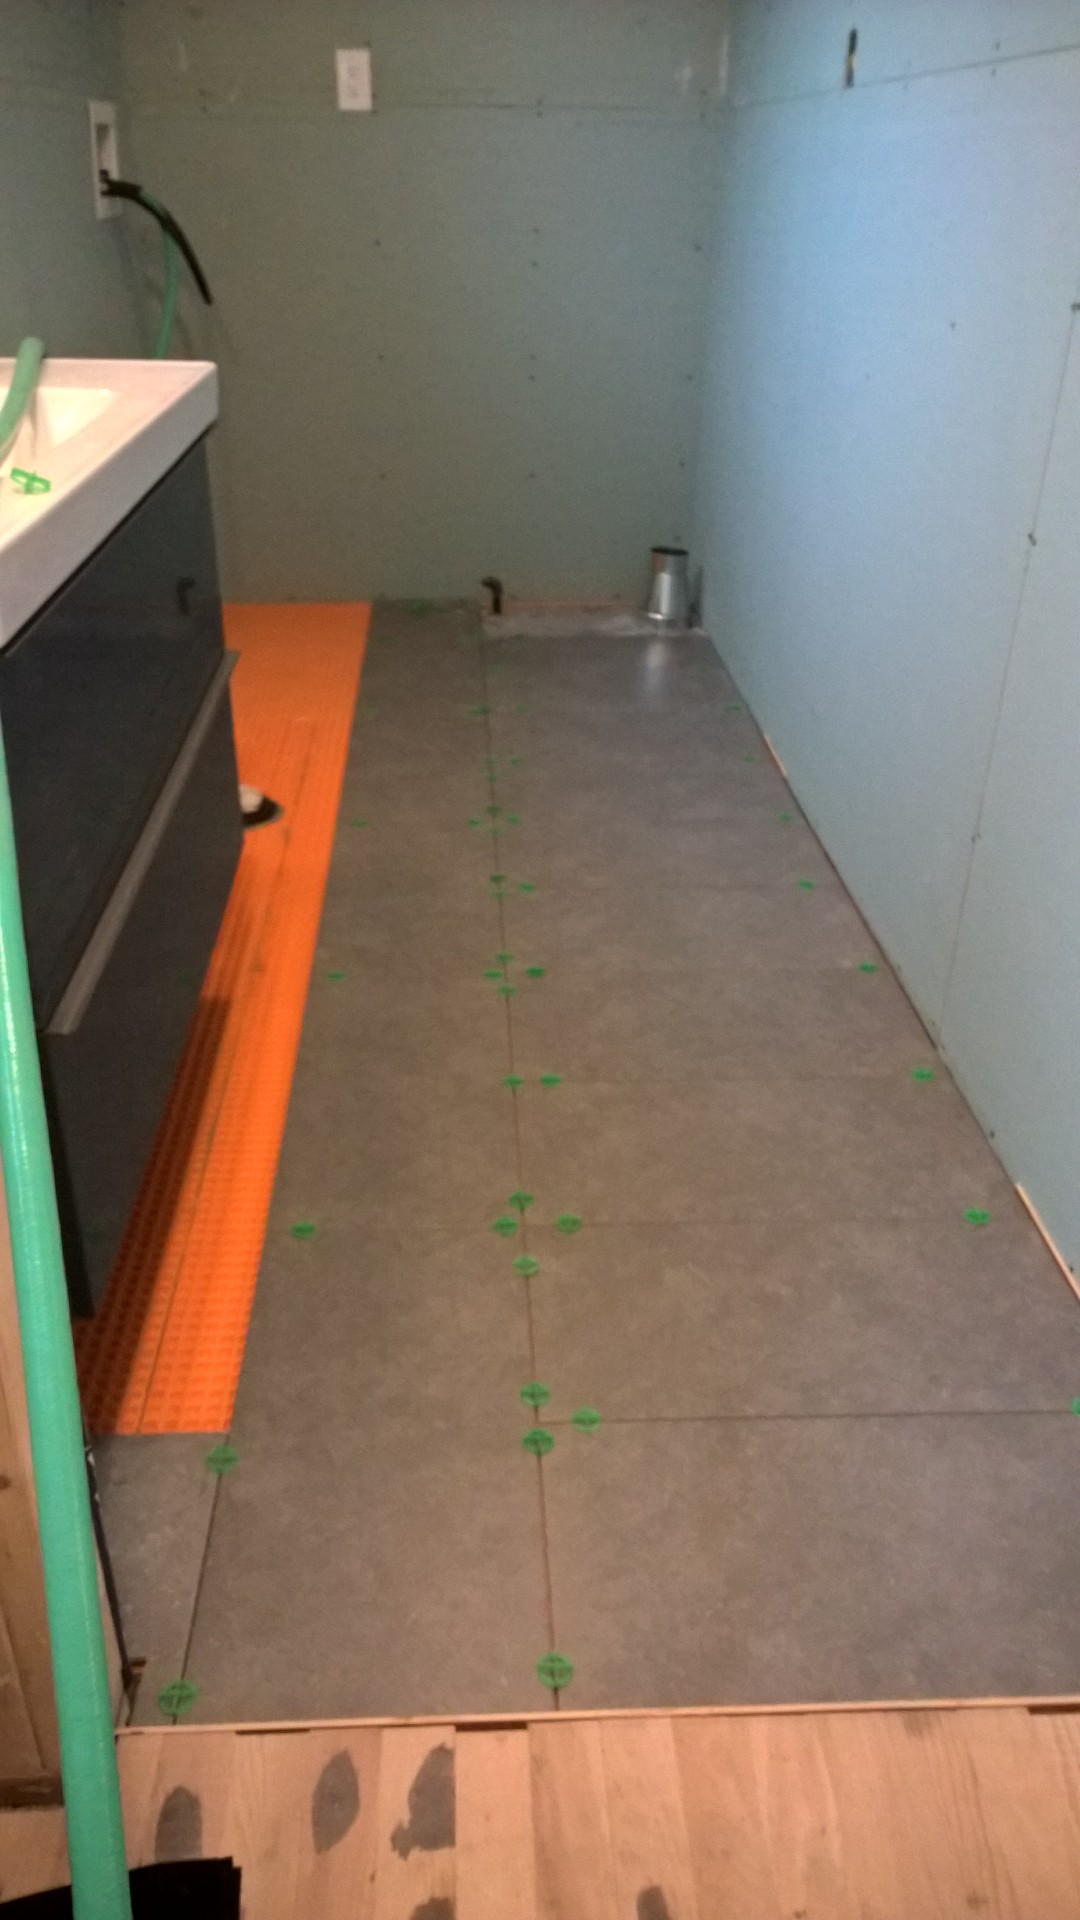
As I said, I was planning to replace that tile when I did the tiling in the other main bathroom / laundry room – the process was much the same as with the master bathroom. I added screws to the subfloor to better secure it to the floor joists underneath, then laid a layer of Ditra XL. We didn’t really need the Ditra here for waterproofing reasons, but it is a great uncoupling layer for putting down tile and has the added benefit of coming out level with the 3/4″ hardwood floors at the transitions. In the following picture you can see that I also spent a day or so installing our vanity in that bathroom – such a convenience to have warm and cold running water to an actual sink!
Vanity installed, Ditra laid
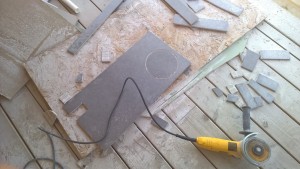
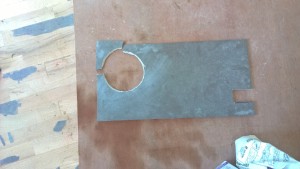
When I tiled the master bathroom, I rented a wet tile saw to cut all the tiles. Because it was a lot of bother to rent the tilesaw (quite unweildy so I had to beg another vehicle from family), this tile I decided to just use my 4″ grinder with a ceramic/diamond blade. It went surprisingly well, except for the one tile I had to cut twice because I rushed it the first time. Trick is a steady hand and to let the grinder do the work. Honestly I just watched a guy do it on youtube and then did it myself, it’s not really hard!
You can cut some clean round holes with the grinder
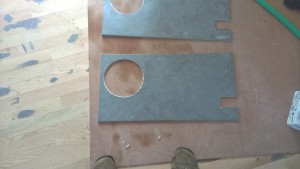
Ugh! Don’t rush it!
Victory!
Because I wanted to lay the floors all in one go, I pre-cut all the tiles in advance and dry fitted them with their spacers to make sure everything would fit correctly.
Pre-cutting and dry fitting the tiles
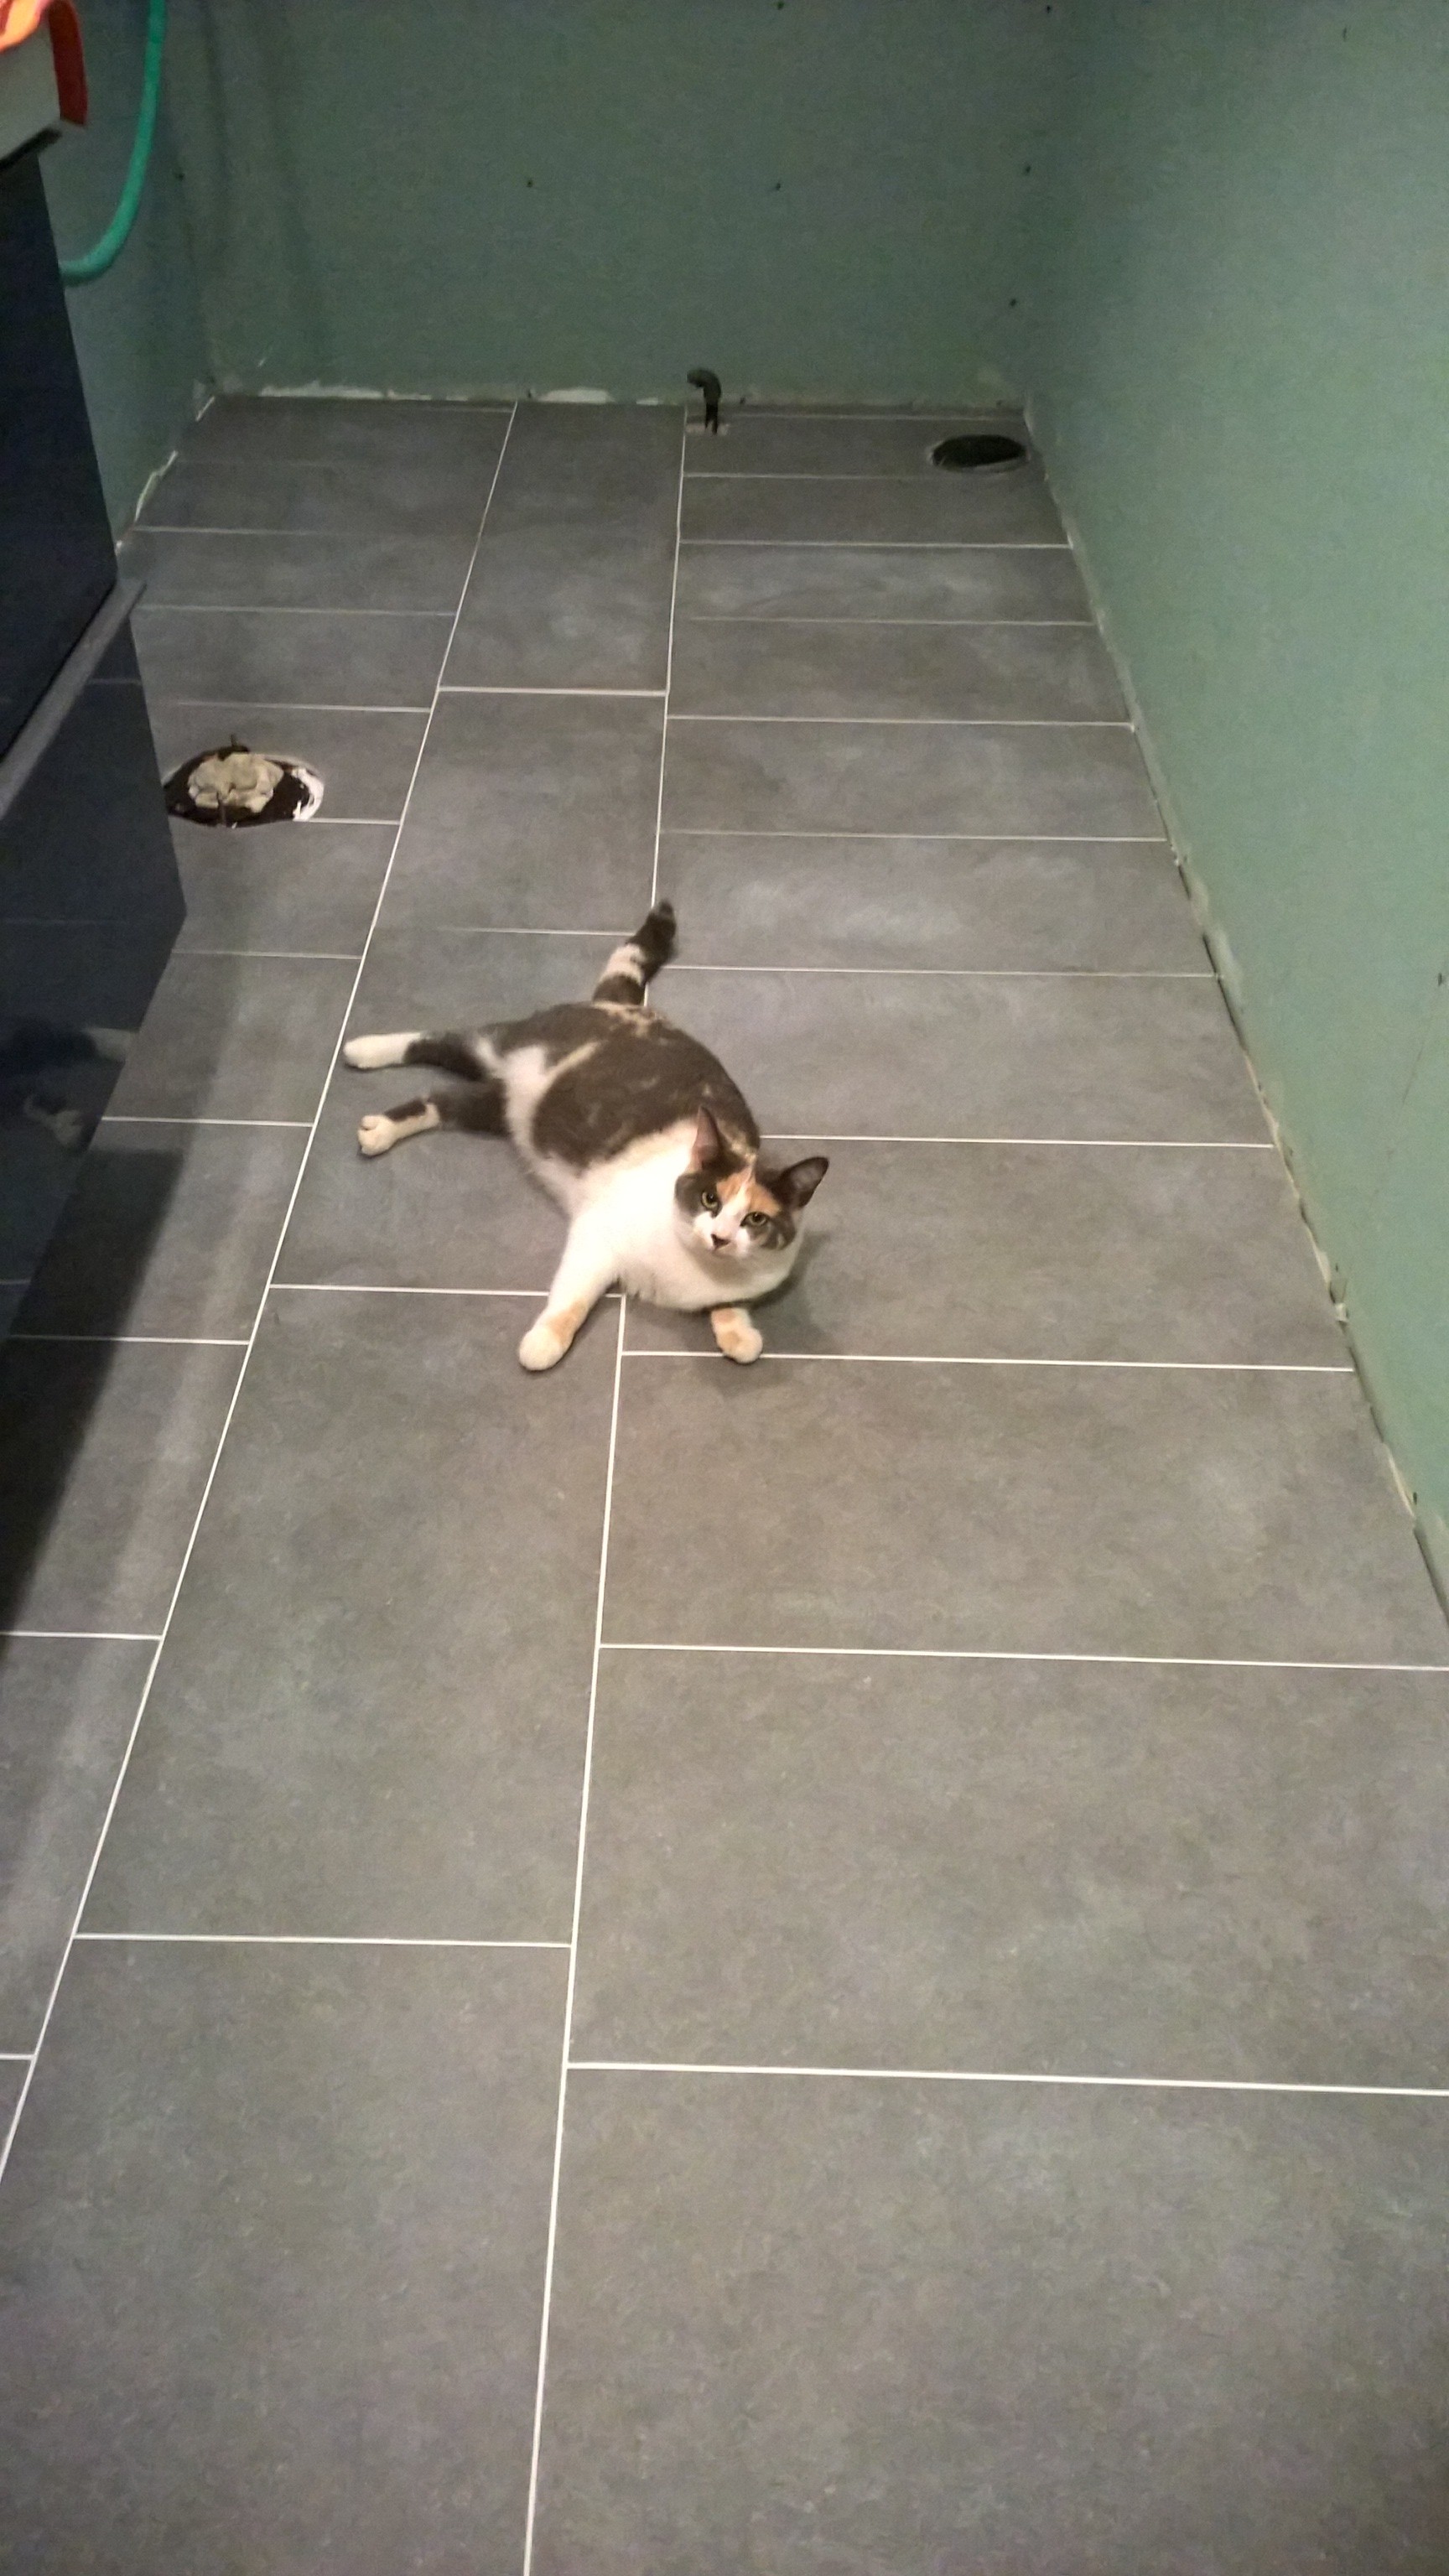
The only difficulty with this approach was that I realized, I would have to pretty well be able to lay the tiles identically a second time. When I came to that realization, I decided to do the tiles over two days – the first day I laid a row of tiles from the door to the far end of the room, and stopped there. The second day I was able to walk on those tiles, so I could lay the tiles on the other side and under the vanity. It all worked out pretty well, I think, and it seems our new cat Daisy agrees. Another wipe-down with a damp rag to get rid of the grout haze, and it’ll look super!
Completed: tiled, grouted, and cat approved!
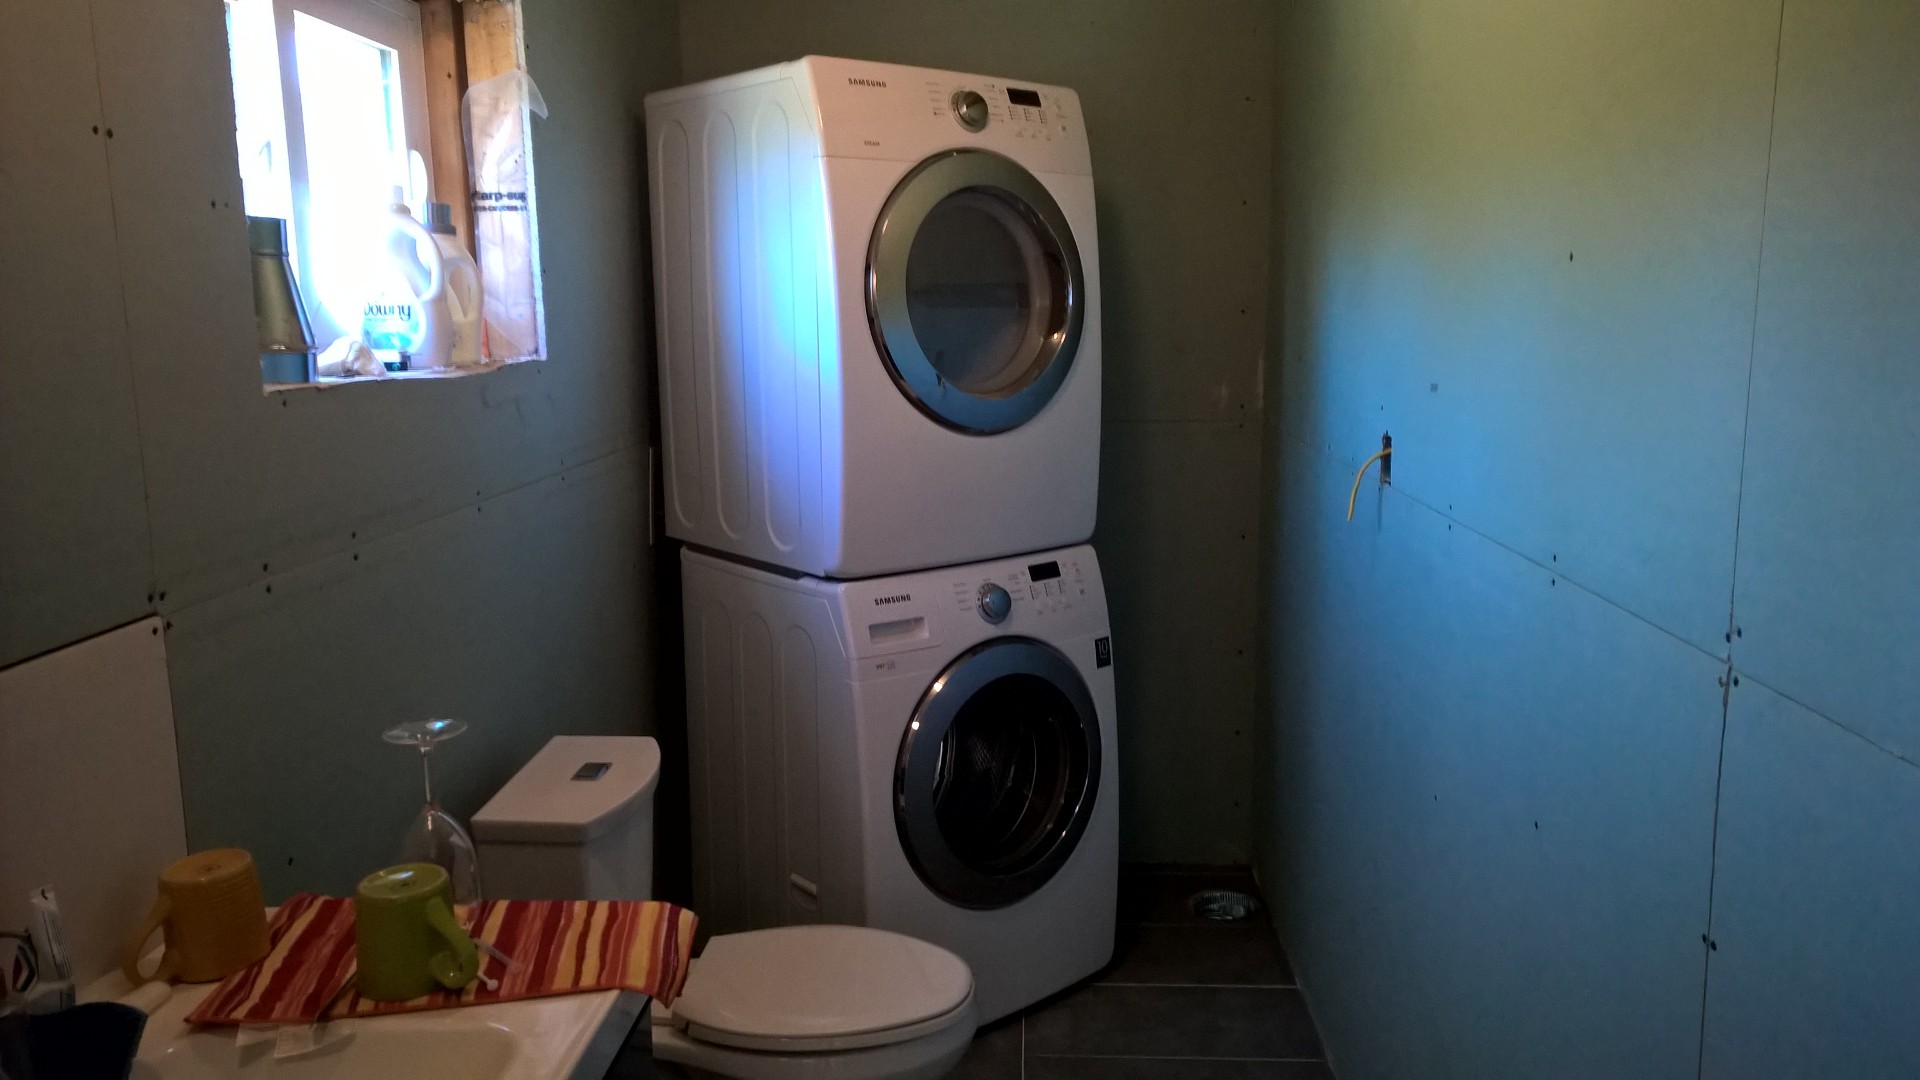
Since the floor was complete I decided to get the washer and dryer tucked away in there, to at least get them out of the way, and make it easier to do laundry (we had jury-rigged something before, but it was not really ideal.)
Washer and dryer stacked in place
At some point I will actually need to hook up the dryer, but for now we can dry our clothes on the line which is better for them anyway (and they always smell so fresh after being out on the line!) Next up, I’ll be working on the ducting for the HRV, and will endeavour to get a few photos of that as it progresses, as boring as it may be 🙂
Just a quick update – we called in to the Health Unit’s automated water testing line and found out that our water sample passed! Zero coliforms and zero fecal bacteria found, so that is another item off the list in our journey to our certificate of occupancy – officially potable water!
Another small victory in a seemingly endless struggle!
We are slowly but steadily working our way to our certificate of occupancy. The building inspector provided us a helpful list of things that have to get done, before we can get it, which consists of:
water potability certificate from the Health Unit: the contractor who drilled our well is coming by today to chlorinate the well and then we can get the water test done.
ESA certificate: We have almost completed everything necessary to get our final electrical inspection done, then we can check this item off the list.
HVAC and plumbing completion: Plumbing has been completed, but we still have to connect our radiant heating system, the fireplaces, and the HRV.
coverage of combustible insulation: we have not started this yet but hopefully can wrap it up in not too long.
drywall installed but not necessarily taped: complete!
guard and handrails installed (temporary rails are OK): complete!
So things are moving along reasonably well. As mentioned in the last post regarding the hardwood flooring, to change the direction in the bedroom, we had to use a “spline”. Basically I cut a strip of 1/4″ plywood, about 7/16ths of an inch wide, and glue it into the groove of a few pieces of the flooring:
Gluing in a spline
After about 30 minutes when the glue sets up you can change the direction you are laying down the hardwood floor by putting that spline into the groove of a flooring board:
Changing directions in hardwood floor
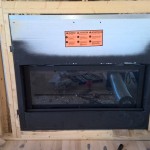
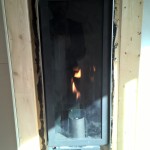
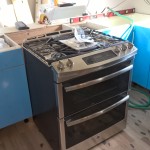
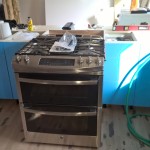
I am trying to stay focused only on the work that needs to be done in order to get our certificate of occupancy, so I figured I should connect the gas range and fireplaces and get them squared away, so that if there is any inspection required for them, we can get that done before drywalling them in.
Living room fireplace 1/2
Living room fireplace 2/2
Bedroom fireplace
Gas range 1/2
Gas range 2/2
The living room fireplace and the gas range both required that I convert them to run on propane (instead of natural gas as shipped from the factory). I diligently carried out the conversions, taking care to follow all instructions provided and then tested all connections with soapy water to ensure no gas leaks.
In the interest of wrapping up our electrical, now that the weather is nice I finally got outside and properly buried our electrical ground wires, and also closed in the 30Amp generator inlet port we’ve been using to charge the battery bank.
30amp generator inlet
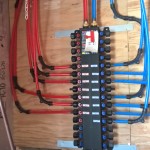
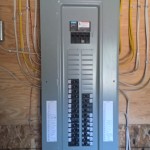
Here’s a couple pictures of the completed electrical service panel and also our plumbing manifold, with everything connected except for the two remaining lines for the bathtub in the master bathroom.
Plumbing connections completed
Service Panel closed and labeled
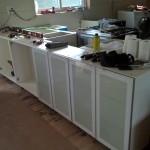
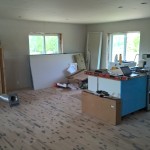
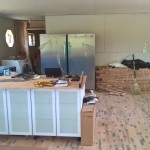
I also did a little more work on the kitchen cabinets to get a temporary working area going so that we could free up some space to work in the main bath/laundry room. Because we running the cabinets out as a peninsula type affair, I added some wood supports to that I’d have a way to securely fasten the cabinets back-to-back:
Adding supports to cabinets
Once that was done I could get the cabinets installed on the back side of that and get them all leveled and set up with a piece of 3/4″ plywood for a temporary working surface.
Kitchen 1/3
Kitchen 2/3
Kitchen 3/3
In the second picture above you can see that we still have a few more sheets of drywall, those are to finish out the main bath/laundry room and around the fireplaces.
We unfortunately still have random problems with our internet so that’s why this post was a bit late, but there isn’t much we can do about it until after we get our siding on – once that is in place we can get the tower installed to get real internet 🙂