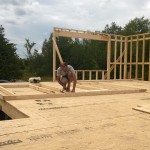
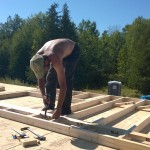
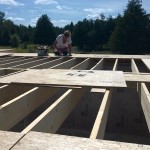
Today we made some more progress, moving bundles of wood into position, and framing up more wall sections. We had help today from my mother, and my nephew first cousin Ashton – you can see him in a few of the pictures below helping my mother nail down more of our flooring.
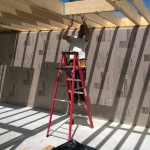
Framing the main entrance
Ashton and mum, flooring
Ashton hard at work
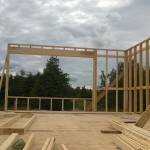
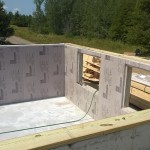
Picture window framed up
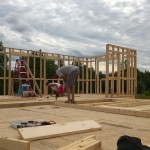
Me framing, mum and Ashton flooring
Nailing a temporary brace in place to hold the door frame square
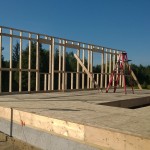
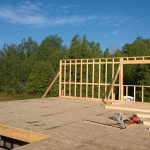
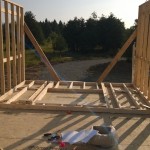
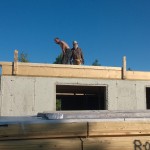
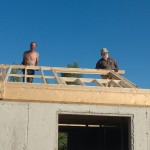
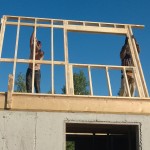
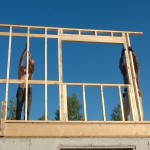
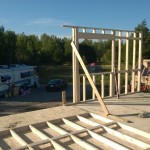
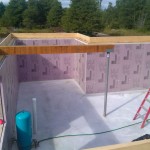
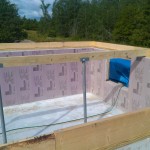
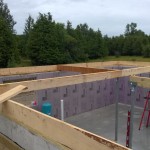
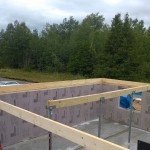
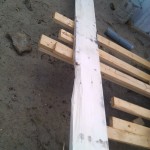
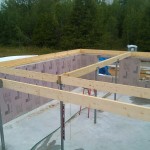
Here’s a few pictures of where we are at with the walls – the last wall depicted required some modification from how it was sent due to the fact that I wanted to ensure the window opening for the main floor will line up directly with the window in the basement directly below. Thankfully the kit house folks were able to advise how to accomplish this, and I should get that wall completely done and up tomorrow!
Wall Progress 1/2
Wall Progress 2/2
Framing a wall that needed some adjusting
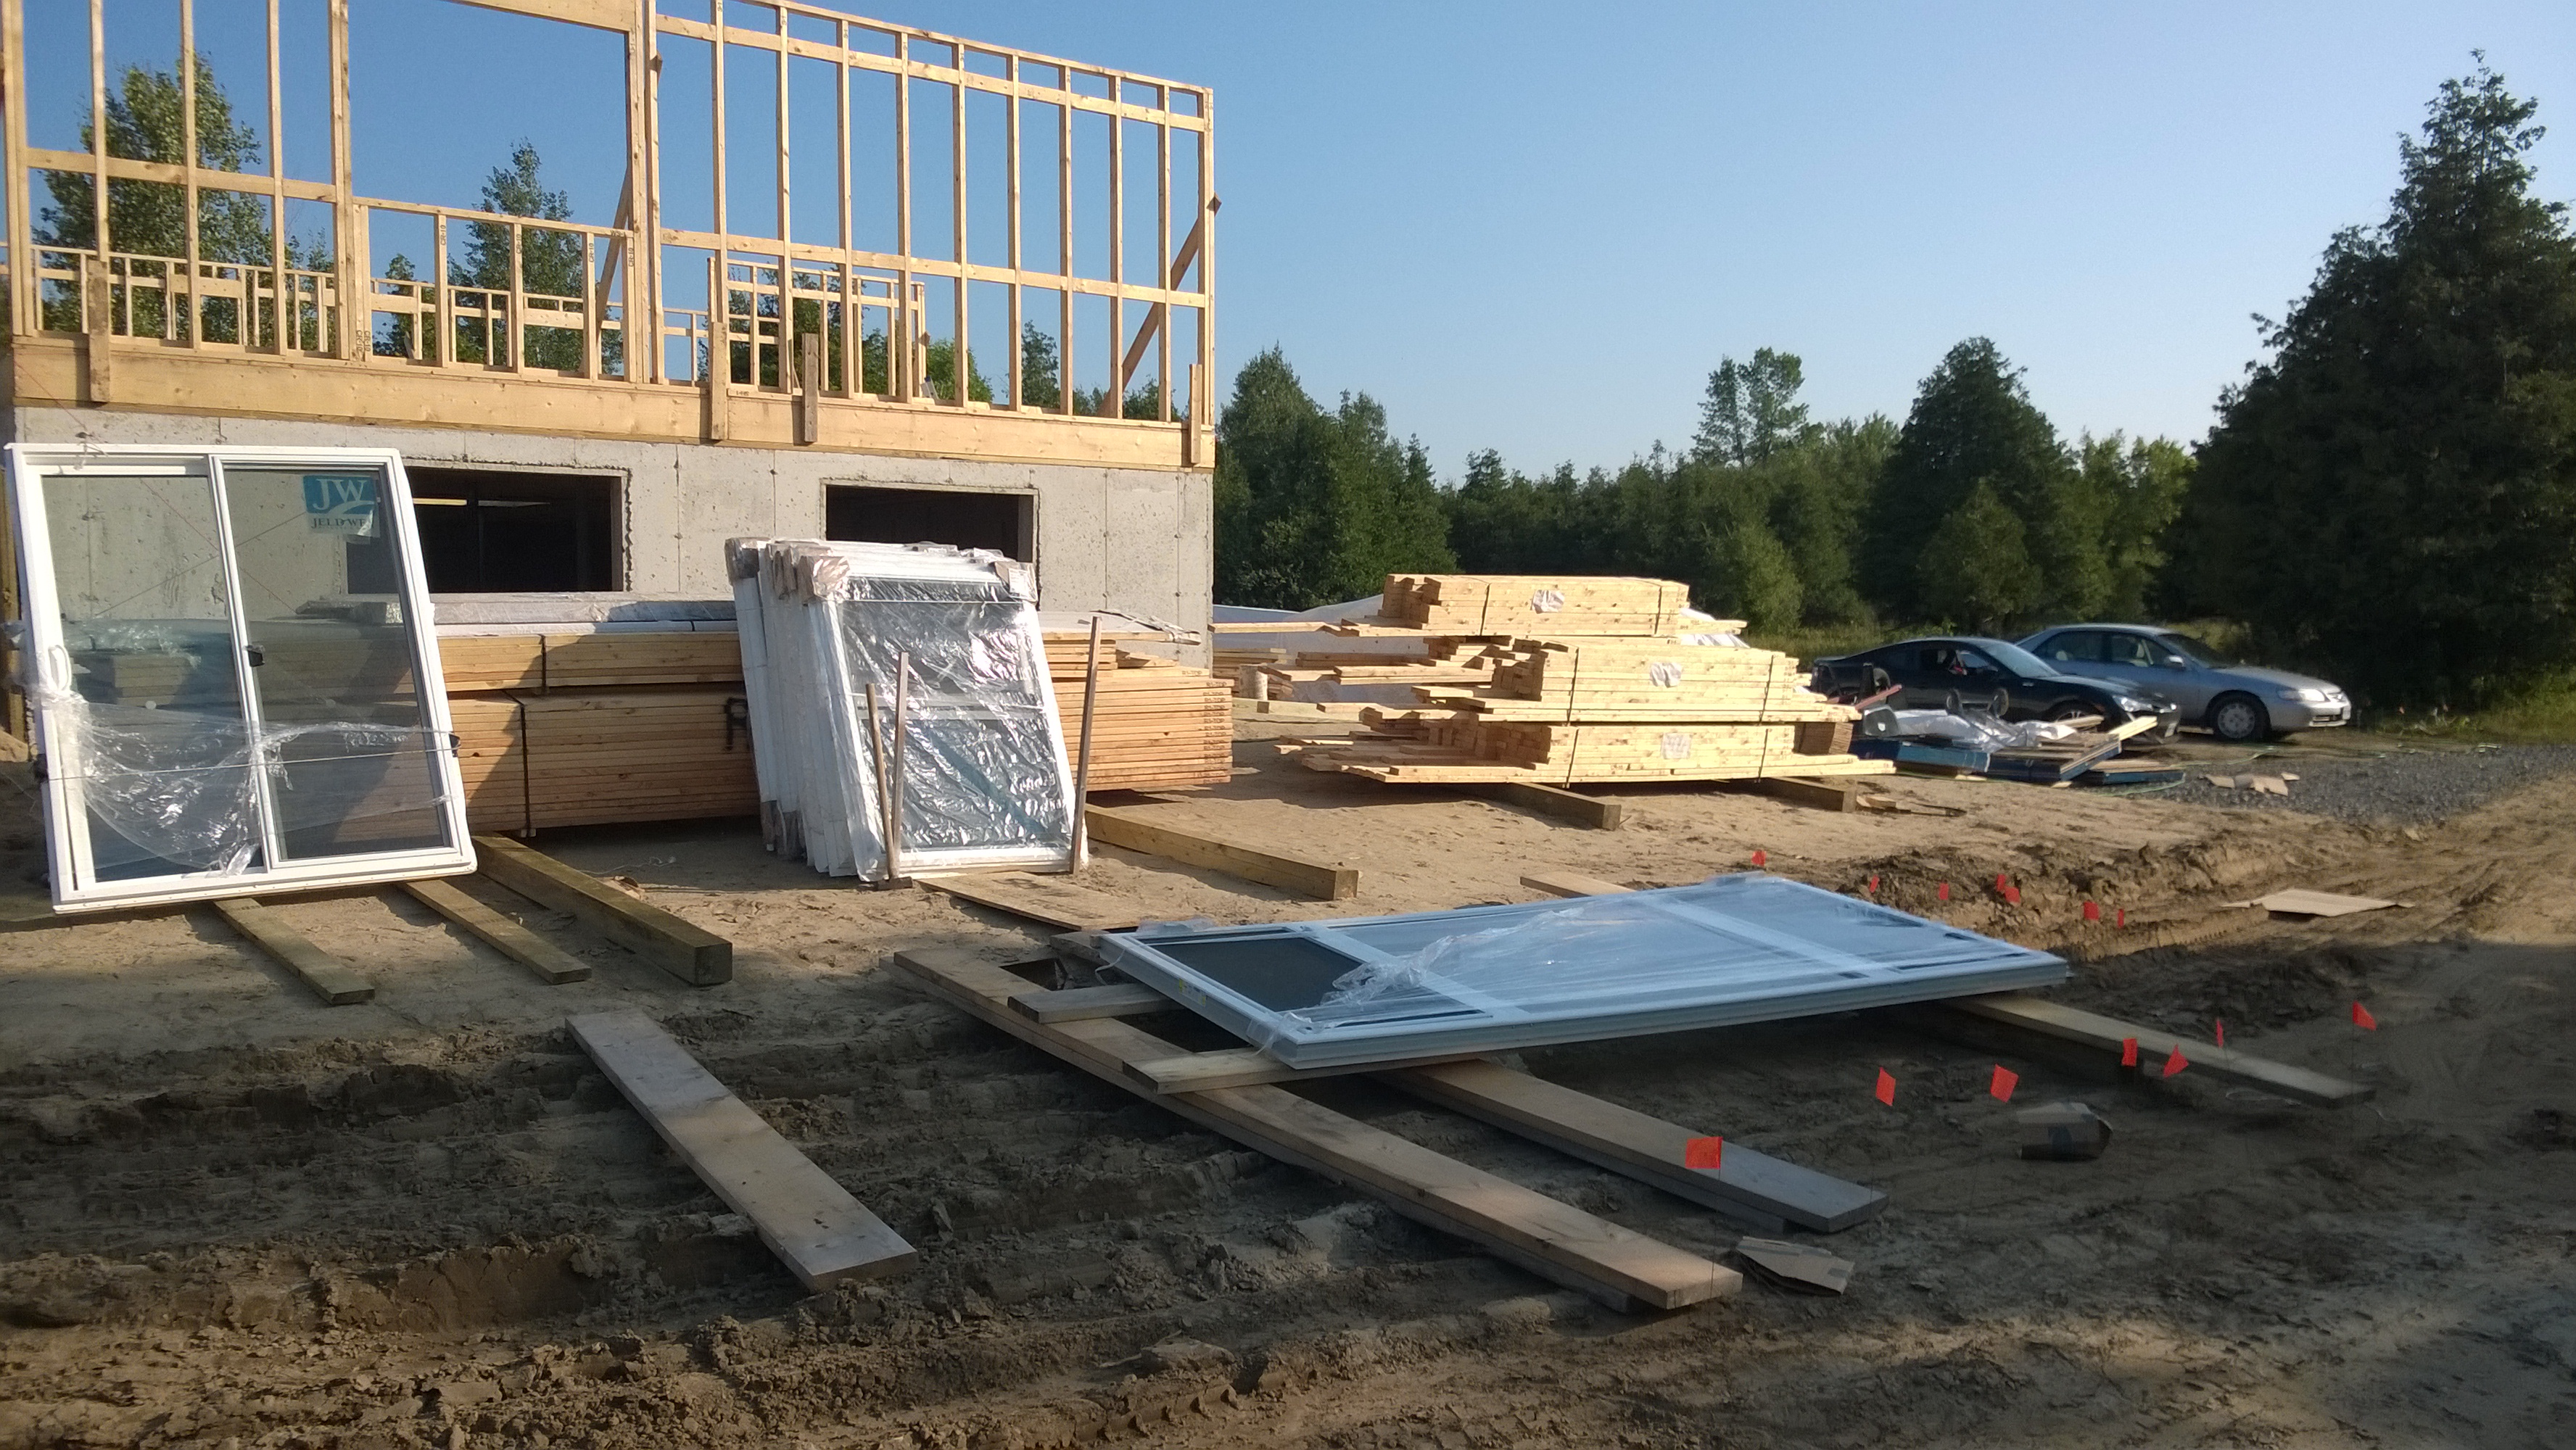
Also, our triple glazed windows were delivered today by the owner of the kit house company, he drove them up personally from New Hampshire and helped us unload them, for which we are extremely thankful. We managed not to break any glass (even though the patio door got a lil beat up on the trip).
Windows & Patio Door
The other thing I wanted to mention is that we added a new member to our family by adopting a new bunny, we call her Miss Ivy:
Today, Heathers uncle Paul came to help us out, and what a huge help he was! We managed to finish tacking down all the subfloor sheets, and start working on the walls.
Have a look at the following pictures and let us know what you think:
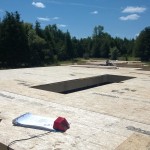
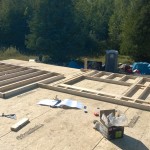
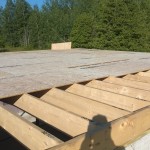
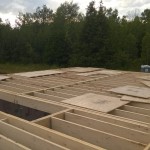
Finished subfloor 1/2
Finished subfloor 2/2
Framing first wall section 1/2
Framing first wall section 2/2
First wall section complete
Starting second wall section
Raising first wall section 1/6
Raising first wall section 2/6
Raising first wall section 3/6
Raising first wall section 4/6
Raising first wall section 5/6
Raising first wall section 6/6
First wall section up and braced plumb
Thanks for reading and god willing we’ll have some more nice sunny days to keep pushing forward.
This past week has been extremely productive and busy, and also full of bouts of rain. Since I have been so busy building the house I haven’t had time to write any posts, so I’ve decided the best way to handle this is to do one post a week with the progress we’ve made that week. There may be posts more often, but I don’t think I can commit to that 🙂
We started out by first removing the placeholder blocks in the basement floor slab, in preparation to drop the support columns into place. This actually took a bit of doing as the wood posts had swelled up from the rain / soaking up water, so we had to use a pair of jacks (one on each side of the post) to gently jack them out a bit at a time without splintering the wood.
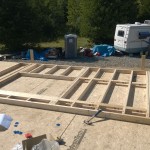
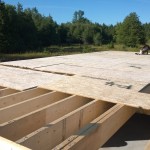
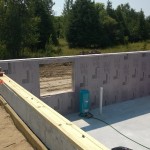
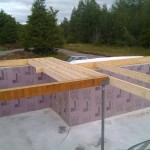
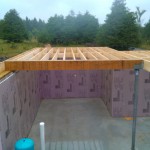
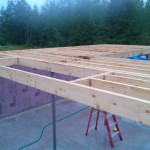
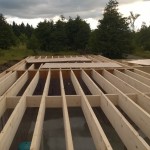
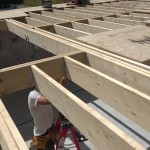
We then put down the sill gasket, the sills, the rim joists, and then cut the lally columns to size and dropped them into the holes, and put the main floor support headers in place on top of those support columns. From there we were able to install all the floor joists, and then start laying down the subfloor. My mother has been over to assist me several times in the past week and it’s a huge help to have another pair of hands on the job. Sure makes things go a lot faster!
While all this was going on, our septic system was inspected and approved by the health unit and will get covered up as soon as the ground dries out a little bit – then we can connect it to our house at our leisure. We also relocated our cellular signal booster and can more reliably get a signal here in the RV so hopefully I will get to be online a bit more often. Lastly, all our Xantrex solar equipment showed up so we are getting ready to go on that front as soon as the batteries and solar panels get to the warehouse up in Kemptville.
Sill gasket & sills 1/2
Sill gasket & sills 2/2
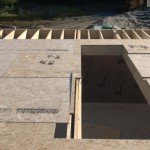
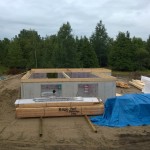
Overview of the progress
Roughing in support columns
Heavy Duty 2″ – 4″ Pipe Cutter
Using the pipe cutter 1/3
Using the pipe cutter 2/3
Using the pipe cutter 3/3
Break the concrete with a sharp hit 2/2
Main floor supports 1/4
Main floor supports 2/4
Main floor supports 3/4
Main floor supports 4/4
Joist damaged in unloading
Main floor supports / framing 1/2
Main floor supports / framing 2/2
Framing the main floor 1/2
Framing the main floor 2/2
Starting the subfloor 1/2
Starting the subfloor 2/2
My mother nailing flooring
Nailing joist hangers
Me joist hanging, my mother flooring
Nailing the last bit of blocking
Please enjoy the pictures, thanks for reading, and if anyone wants to help out we welcome any and all hands – you don’t need any experience just show up and there’ll be something to do!
Well, even though the house kit delivery was originally delayed by a week, it turned out the window supplier would still not even be able to meet that date, so we decided to revert to the original date and to ship the windows along later in a couple of weeks, in a second shipment.
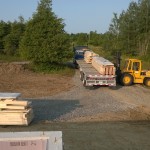
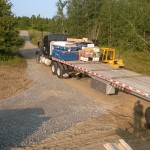
That means the kit is getting here tomorrow (Aug 8th) here now!! (sorry I didn’t get to post this last night as I had intended!) We have a heavy duty, off-road forklift here with a lifting capacity of 8000lbs, that we rented from a local equipment rental company, and we were lucky enough to find a forklift operator that we were able to hire to do the job of unloading the kit from the truck. I’ll talk a little bit more about this in a later post I’m still working on about hiring contractors.
Off-road Forklift
We expect the trucker to arrive around 7am and probably the entire unloading process won’t be much longer than a couple hours since we’ve got the forklift here to do the heavy lifting. I’ll be sure to get a bunch of pictures as usual and will try and get another post up later on after the unloading is complete.
Truck Arrives!
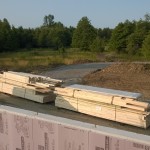
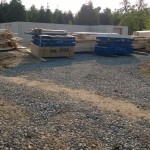
Stacking the bundles
Almost halfway done!
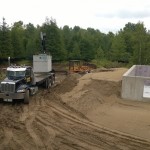
Getting a hand out of a soft spot!
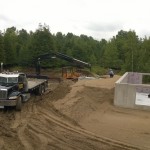
Almost done!
Completely unloaded!
Just to recap – the trucker did arrive at 7am and the forklift operator was not far behind him The whole unloading process only took about an hour, tops!
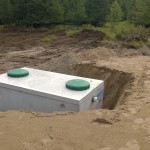
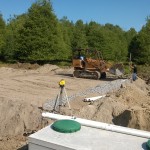
On Tuesday of this week, our septic contractor (Valley Sanitation) arrived to begin the installation of our septic system. Because our site is so shallow, with only 20″ or so down to bedrock in some places, we have to build up the site with “septic sand”, and then create the system on top of that, to ensure there is sufficient drainage and filtration going on.
This system consists of a 3600litre concrete septic tank that drains out to our septic bed – which is six runs of 11 metres of 3″ drainage pipe. Here’s the usual photos and a video (video coming soon!!) of them dropping the septic tank into position!
Preparing the site for septic system
Positioning the septic tank (1/2)
Positioning the septic tank (2/2)
Septic tank in place
Starting the leaching bed
Leaching bed complete!
At this point the system is ready for inspection, which should happen early next week, then they can cover it over and put down some topsoil for final grading.
Our well installers came back to install our “soft-start” Grundfos well pump, it’s a 240VAC unit that draws a max of 7.9Amps but is specifically designed to not require a surge of power to get started like typical pumps would. This will help when drawing power from our solar system, as surges on motor startups can drain a battery bank at a pretty quick rate.
After they installed the main line to the house, they connect it to an expansion or pressure tank (30 gallon) which is essentially a buffer to ensure water pressure from the well is always constant – as we draw water and the pressure starts to fall in the tank, the pump activates to refill the tank.
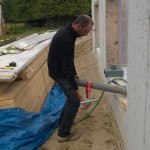
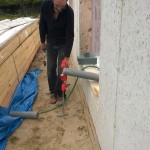
We still have a tap we can open to get water from the well, which should get us through until we have our electrical wiring done with the pump wired up. Because the line from the well is so shallow, I put down 4″ of rigid xps foam down over it which we had leftover from the basement insulation. I hand-shoveled sand over that to ensure it was bedded in well, then had an excavator fill up the rest of the trench with sand to level it off.
We heard from our kit house supplier today, that our windows and doors will not arrive in time for the original shipment (planned delivery of Aug 8th). So at this point we encounter our first real delay on the project, but, it’s not so bad, the kit is now going to get delivered either August 14th or 15th (expect a flurry of updates after that!)
Because we don’t have a set project timeline this really isn’t too much of an issue. The only time constraint we have sort of self-imposed, is that we want to be snug in the house before snow falls (even if the interior is not 100% complete), as we can’t really weather sub-zero temperatures for extended periods in the RV – it does have a propane furnace that works great, but not much insulation, so we go through propane at a ridiculous rate when we have to heat the RV.
A few people have asked for some more information about the kit house we are getting. We did a lot of searching and talked to several local kit house companies, but most of these places want to sell you a “kit” that they assemble, and are selling these kits at a crazy premium – in most cases looking at their prices you might as well just go buy an existing house, there are no cost savings to be had with this approach. While this might work for some people, we were more interested in being more involved in the building process by doing as much as possible ourselves – certainly we will not be able to do everything, but we can have a lot of fun (and save a ton of money) by doing lots of the work.
We researched a whole range of domiciles – everything from these sweet dome house kits they make out in Cali, to houses made from shipping containers (check out this really nice one built in Quebec), and then to more standard, local Ontario options like Linwood/Guildcrest/Viceroy. We ended up selecting a kit house manufacturer based out of New Hampshire, called Shelter-Kit, for a number of reasons but the first and foremost is that their kits are 100% designed from the ground up for DIYers. They also offer highly insulated designs (extremely important when off-grid) such as double-stud exterior walls with no thermal bridging. We worked with them to design exactly what we wanted – a small-ish 40’x32′ ranch style house with a screened in porch out front, and a full height basement.
Here’s the front elevation plan of the house:
House, Front Elevation
We settled on this design largely for it’s simplicity and ease of construction – we are hoping to be able to do a lot of the framing, roofing, insulation, and also the electrical and some of the plumbing (particularly the plumbing required for our radiant heating system) ourselves, so we’re very pleased we found Shelter-Kit and are looking forward to the arrival of the kit so we can get started!
The last post I’ve been meaning to put up is about the battery bank. This is the final part of our off-grid system, and one of the most important. There are a whole bunch of reputable battery suppliers out there, such as Trojan and Crown, which are commonly used. Also available, and what we are going with, are Rolls Surrette – we chose these because they are made out east in Springhill, Nova Scotia – and we like that our money goes towards Canadian jobs (especially out east where they really need them!) They are also extremely highly rated and have a 7yr warranty (though many people get 10-15yrs out of them).
We are going with the S-1860’s (PDF link) – these are 2V batteries with a 20hr rating of 1445Ah. To create a 48VDC battery bank we will need to connect 24 of these in series! These batteries are enormous – weighing in at ~130lbs each, and about 17″ x 7″ x 12″ – we’ll have to construct a fairly large insulated box for them just outside the utility room, to get them as close as possible to the inverter.
Not a particularly exciting topic, however one of great importance to the off-grid system – without the battery bank we would need to run the generator 24×7 – not really practical nor cost effective (though, still cheaper than our standard utility bills for our house back in the city).
Thanks for reading, and I’ll have a more picture heavy post soon (I know people like these more) – we got our main water line installed between the well and the house, and also have the expansion tank connected, so there’ll be an upcoming post on that soon enough.