Category Archives: Off-Grid House

Posts relating to our house build project in eastern Ontario.

Weekend Update: November 15, 2014

When I woke up this morning, it was quite cold, but sunny and clear, and most importantly, there was no wind.  I immediately took the opportunity to reach out to our friend Graham, who was more than happy to drive down from Ottawa on short notice.

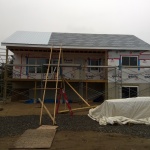
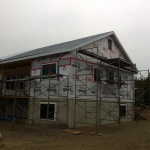
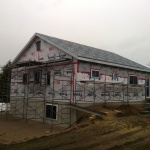
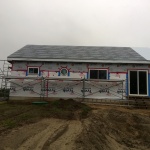
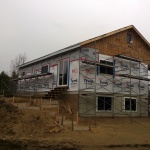
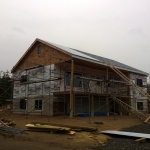
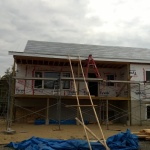
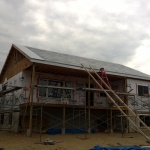
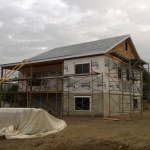
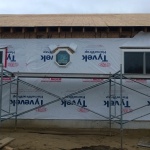
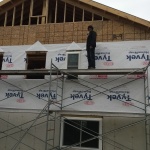
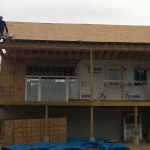
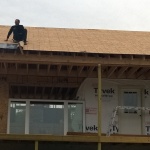
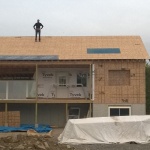
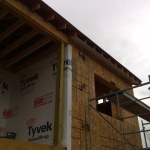
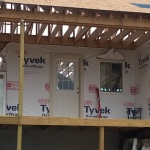
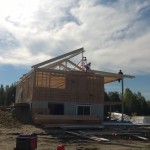
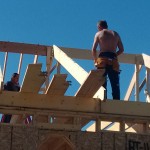
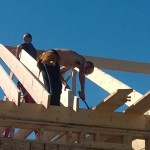
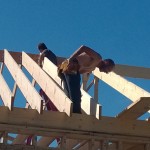
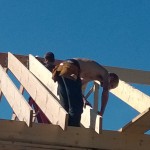
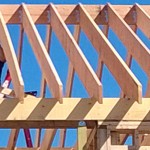
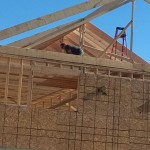
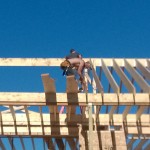
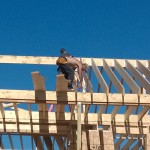
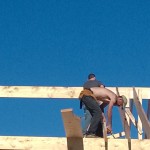
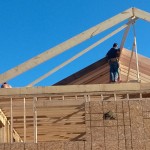
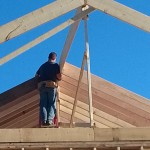
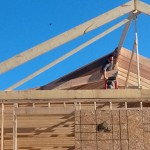
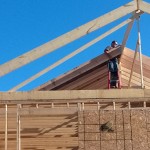
By the time he arrived, the sun had pretty much melted off the layer of frost on the roof (wet roof = terrifying roof), so we got to work installing more of the steel roofing panels.

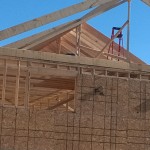
The plumber was also here doing all the drain work; he had to vent a 4″ pipe out through the roof, so we had the unenviable task of measuring, marking, and cutting a hole in the steel panel down on the ground, and crossing our fingers and hoping that we got it in the right spot.  Thankfully, we did a passable job there, and we continued to work hard all day with only a brief break for lunch.

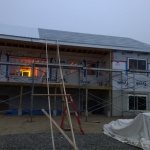
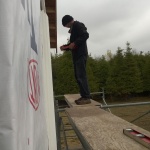
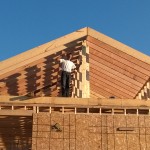
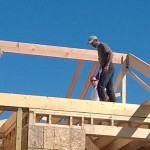
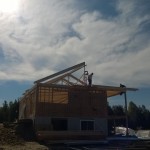
By the time we were on the last two panels, it had gotten quite cloudy and a few degrees colder – I noticed a gradual decline in the ability of my shoes to grip the roof as the temperature dropped off, and we were barely able to get the job done, but somehow we pulled it off.  The last panel was especially difficult due to poor traction, but we cracked out the parachute cord (capable of holding 550lbs) and Graham basically pulled me up the roof, as I was pulling the steel panel up the roof…quite an endeavour and not something that I’d care to repeat!

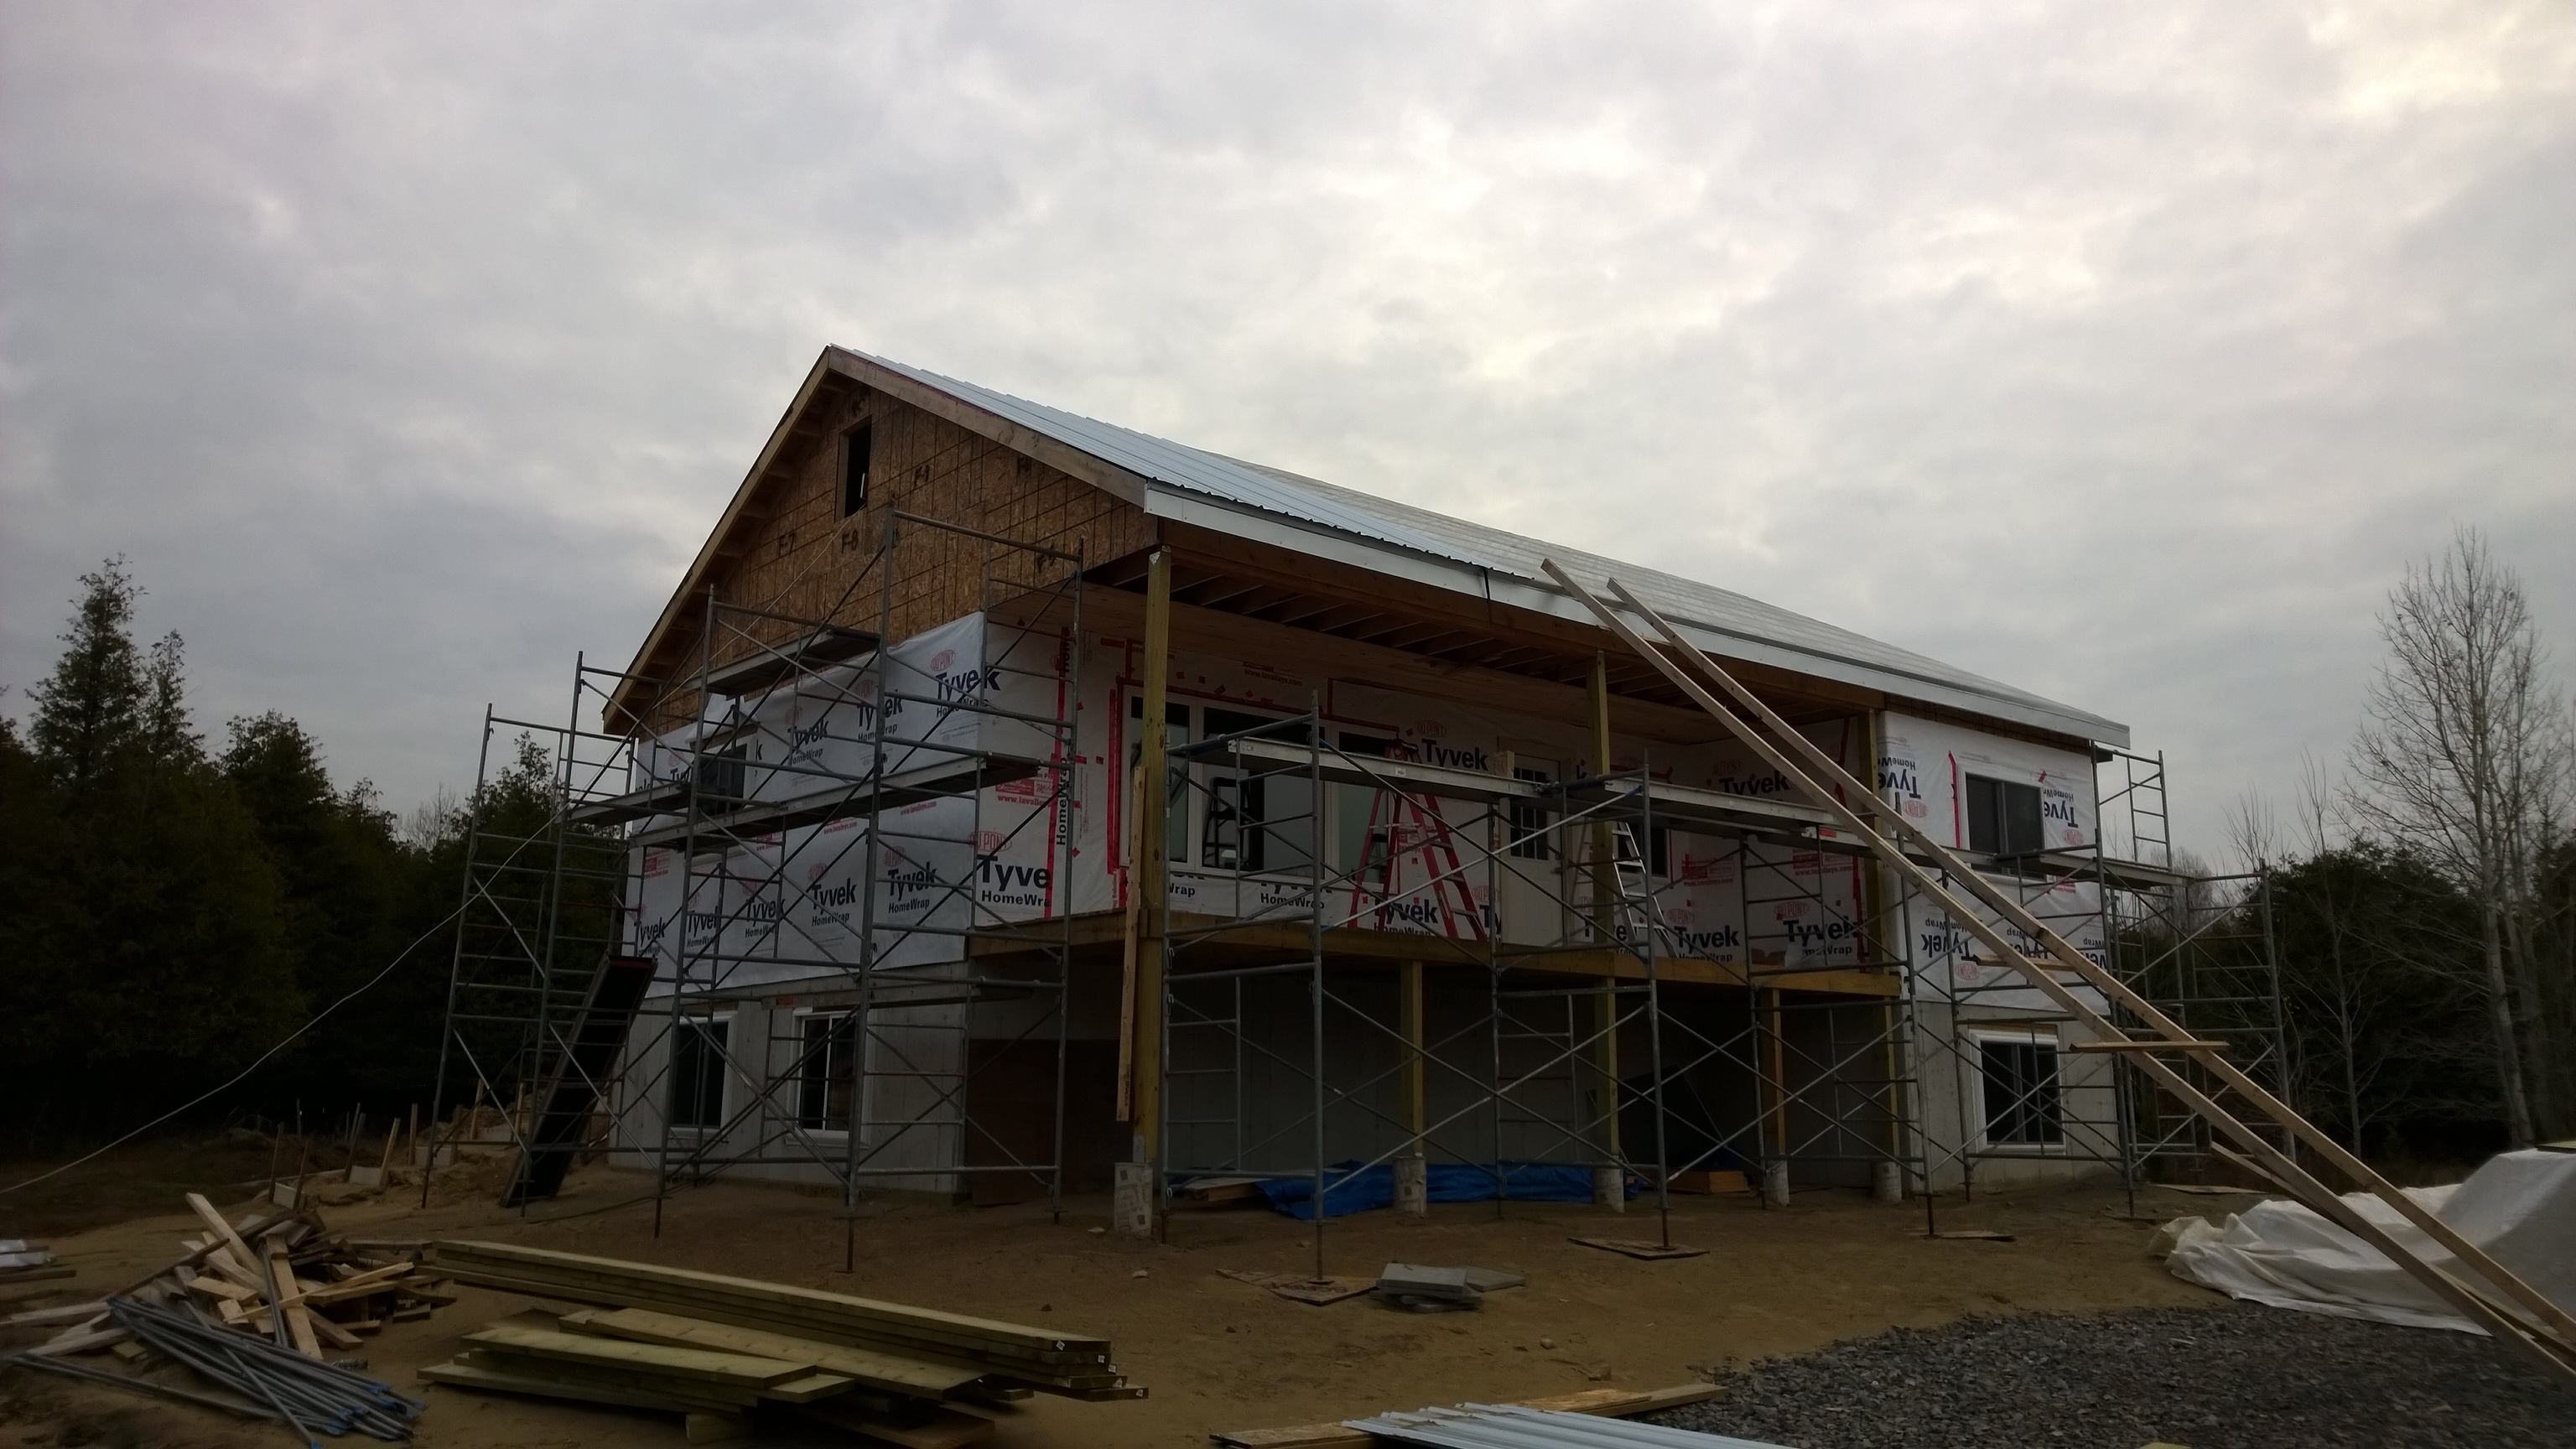
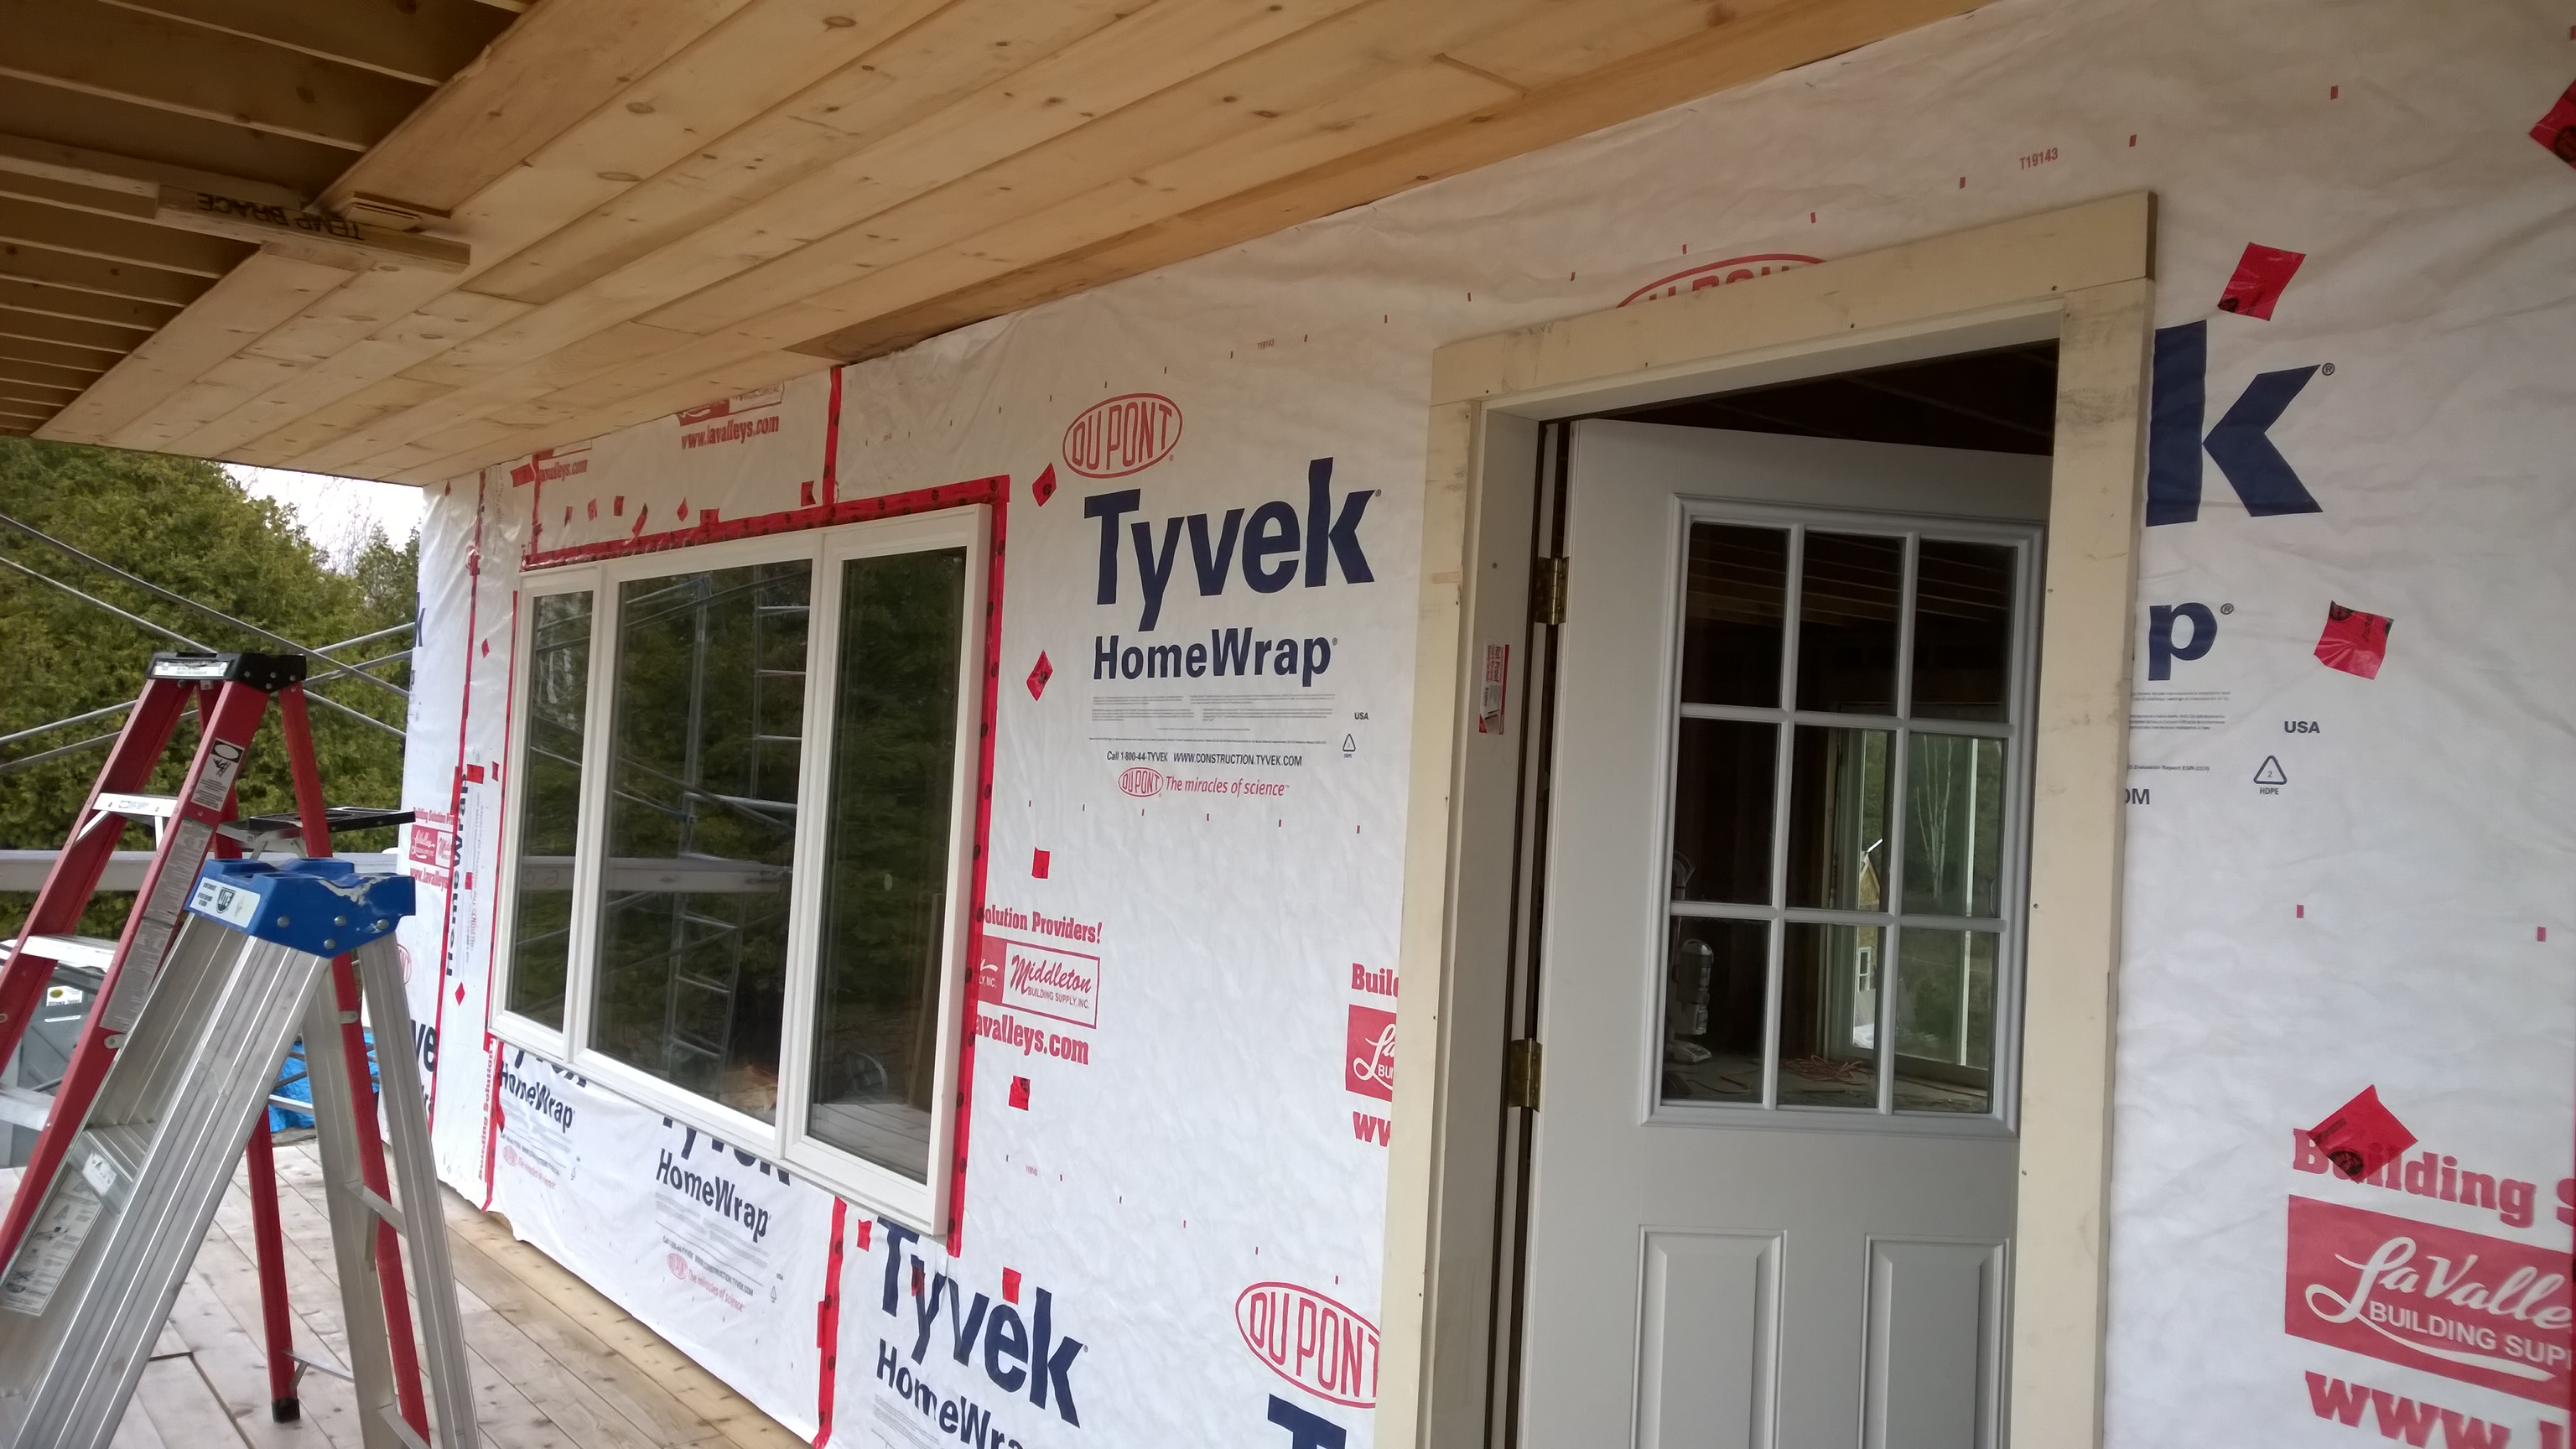
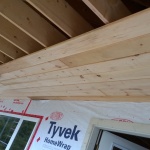
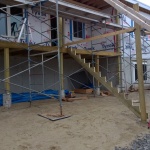
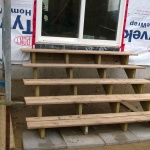
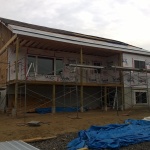
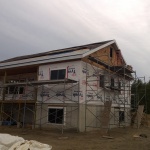
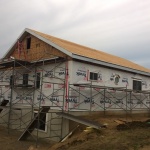
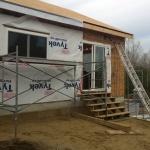
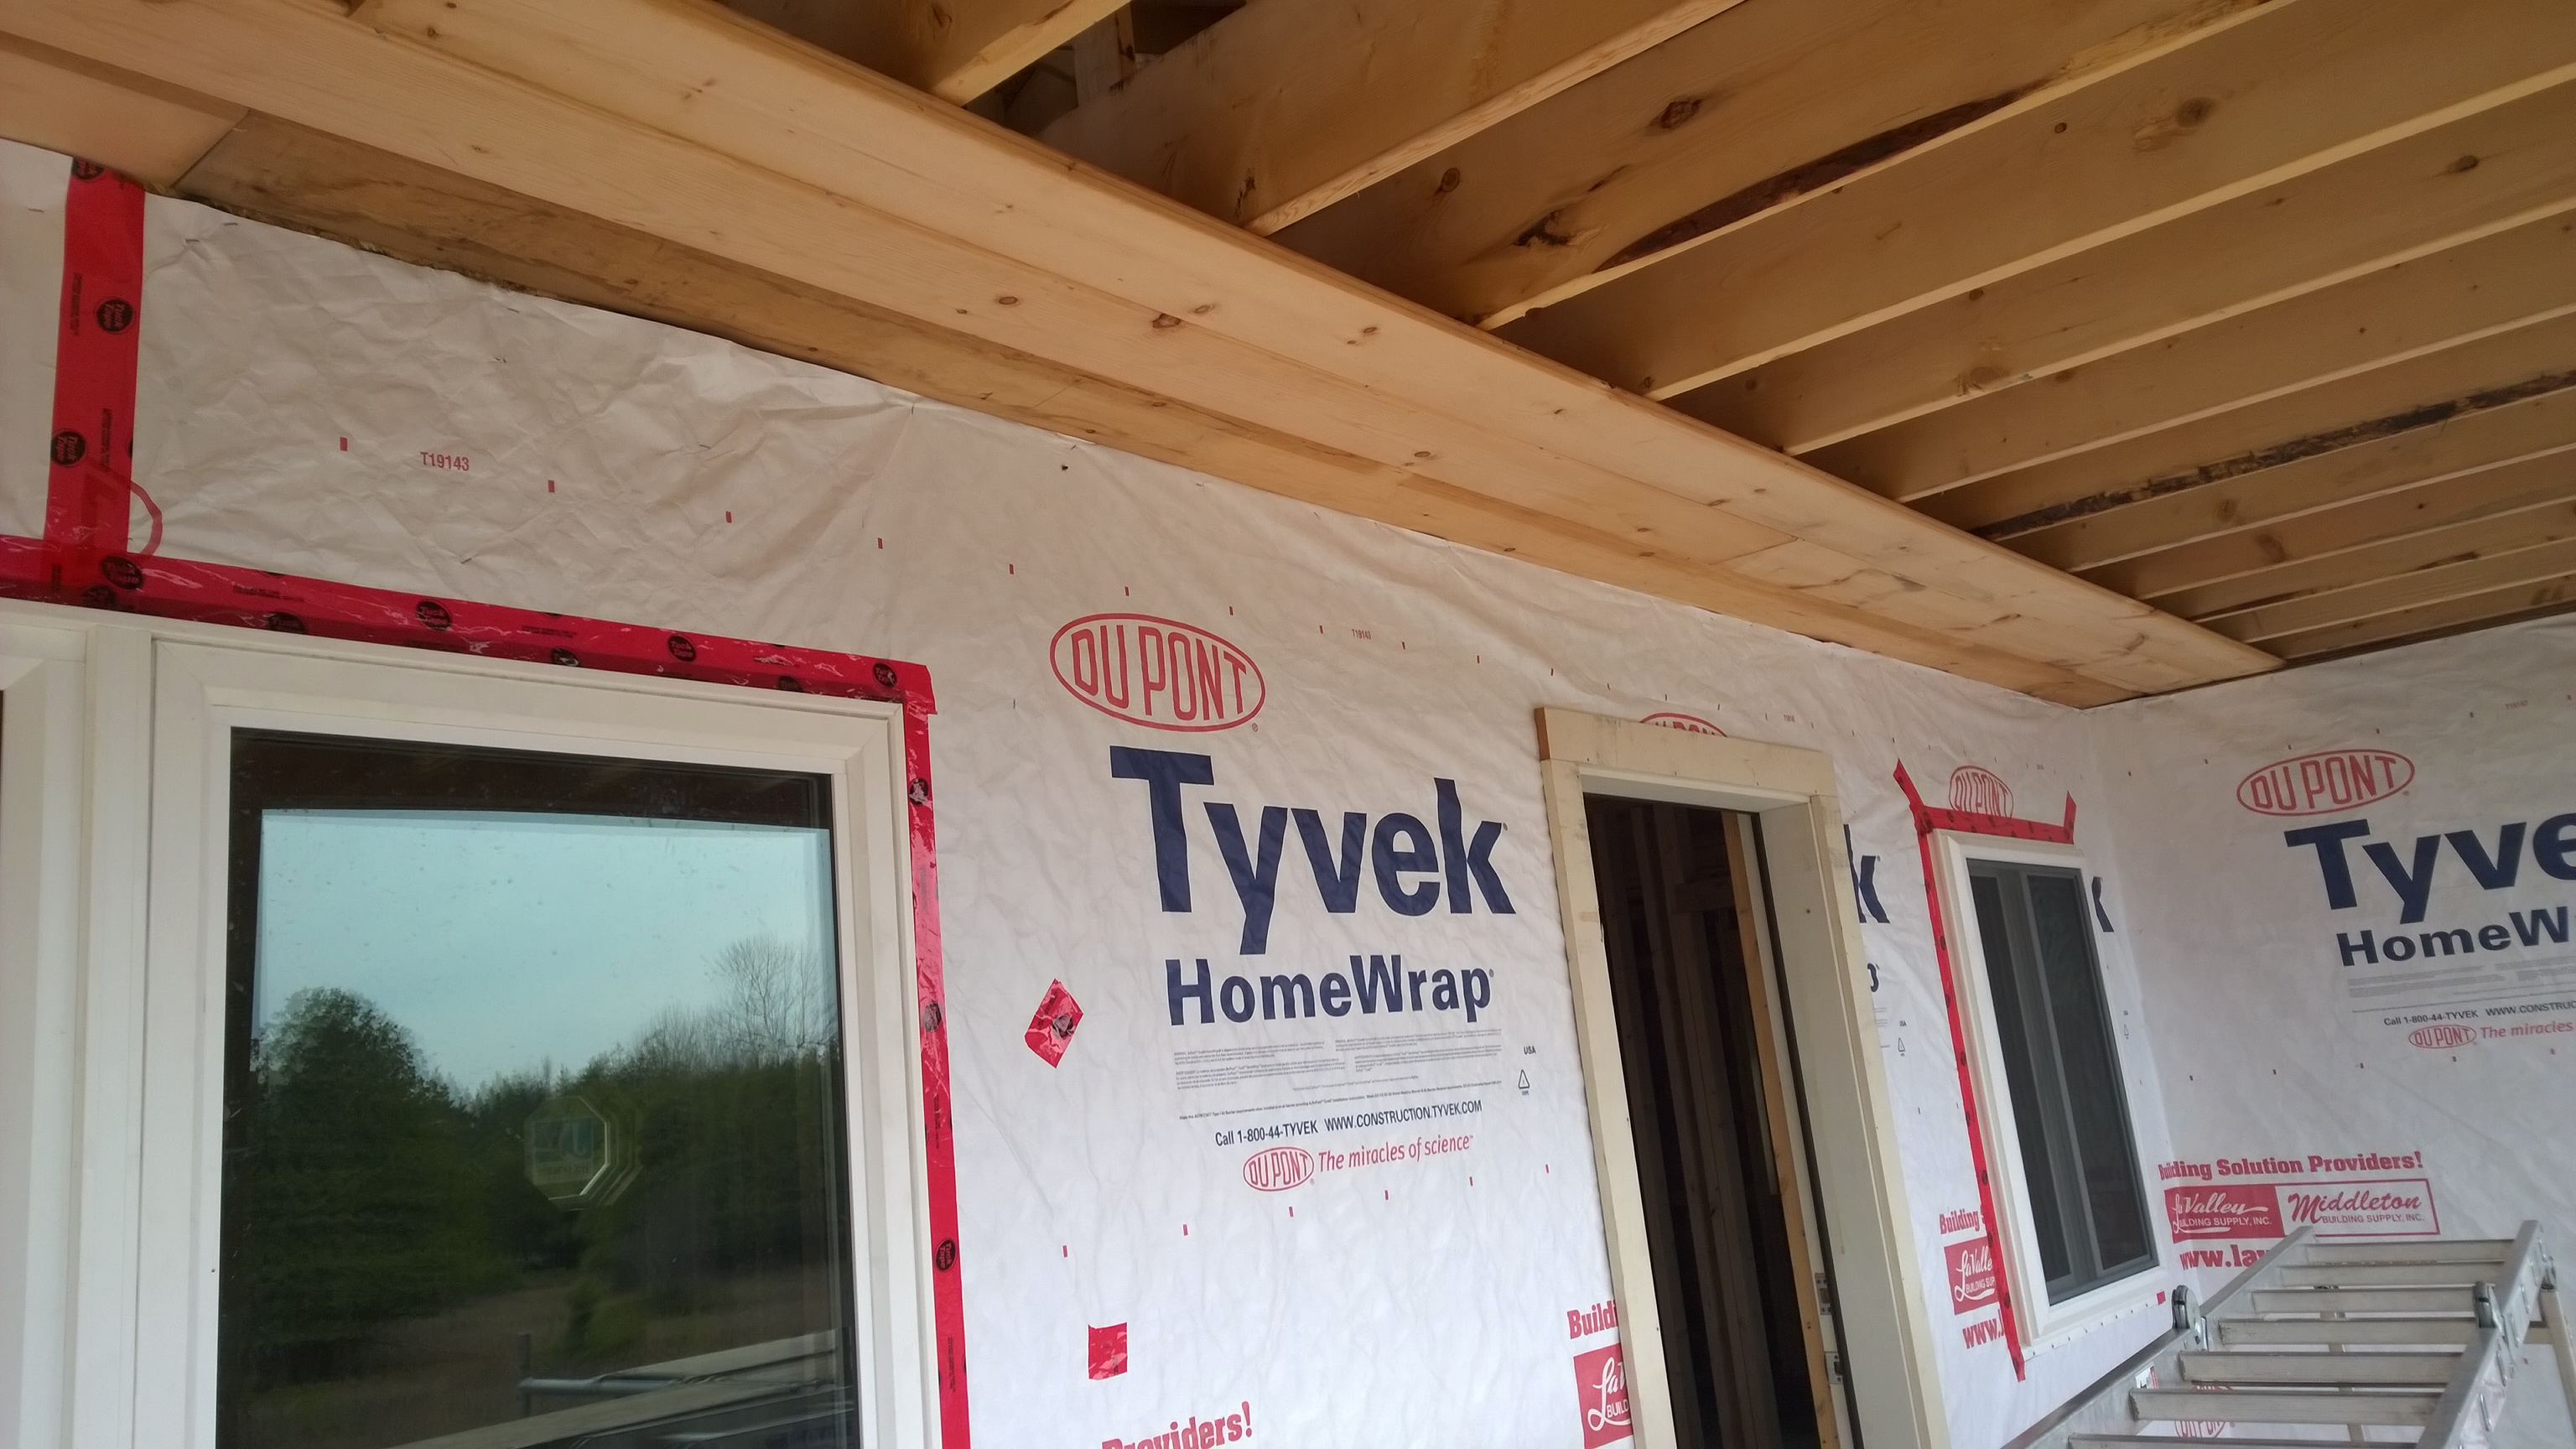
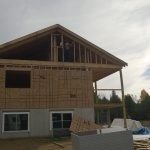
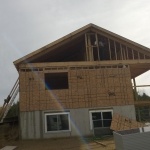
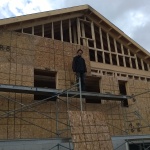
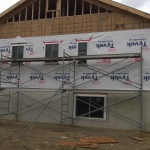
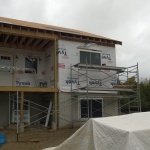
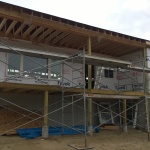
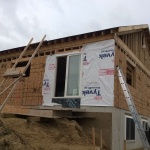
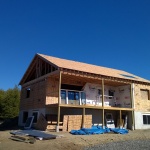
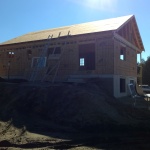
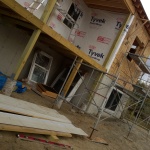
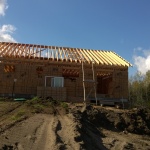
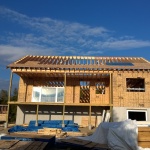
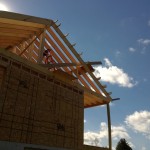
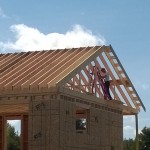
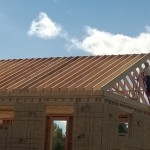
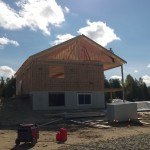
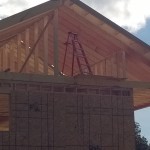
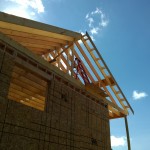
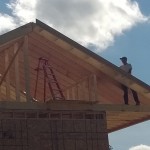
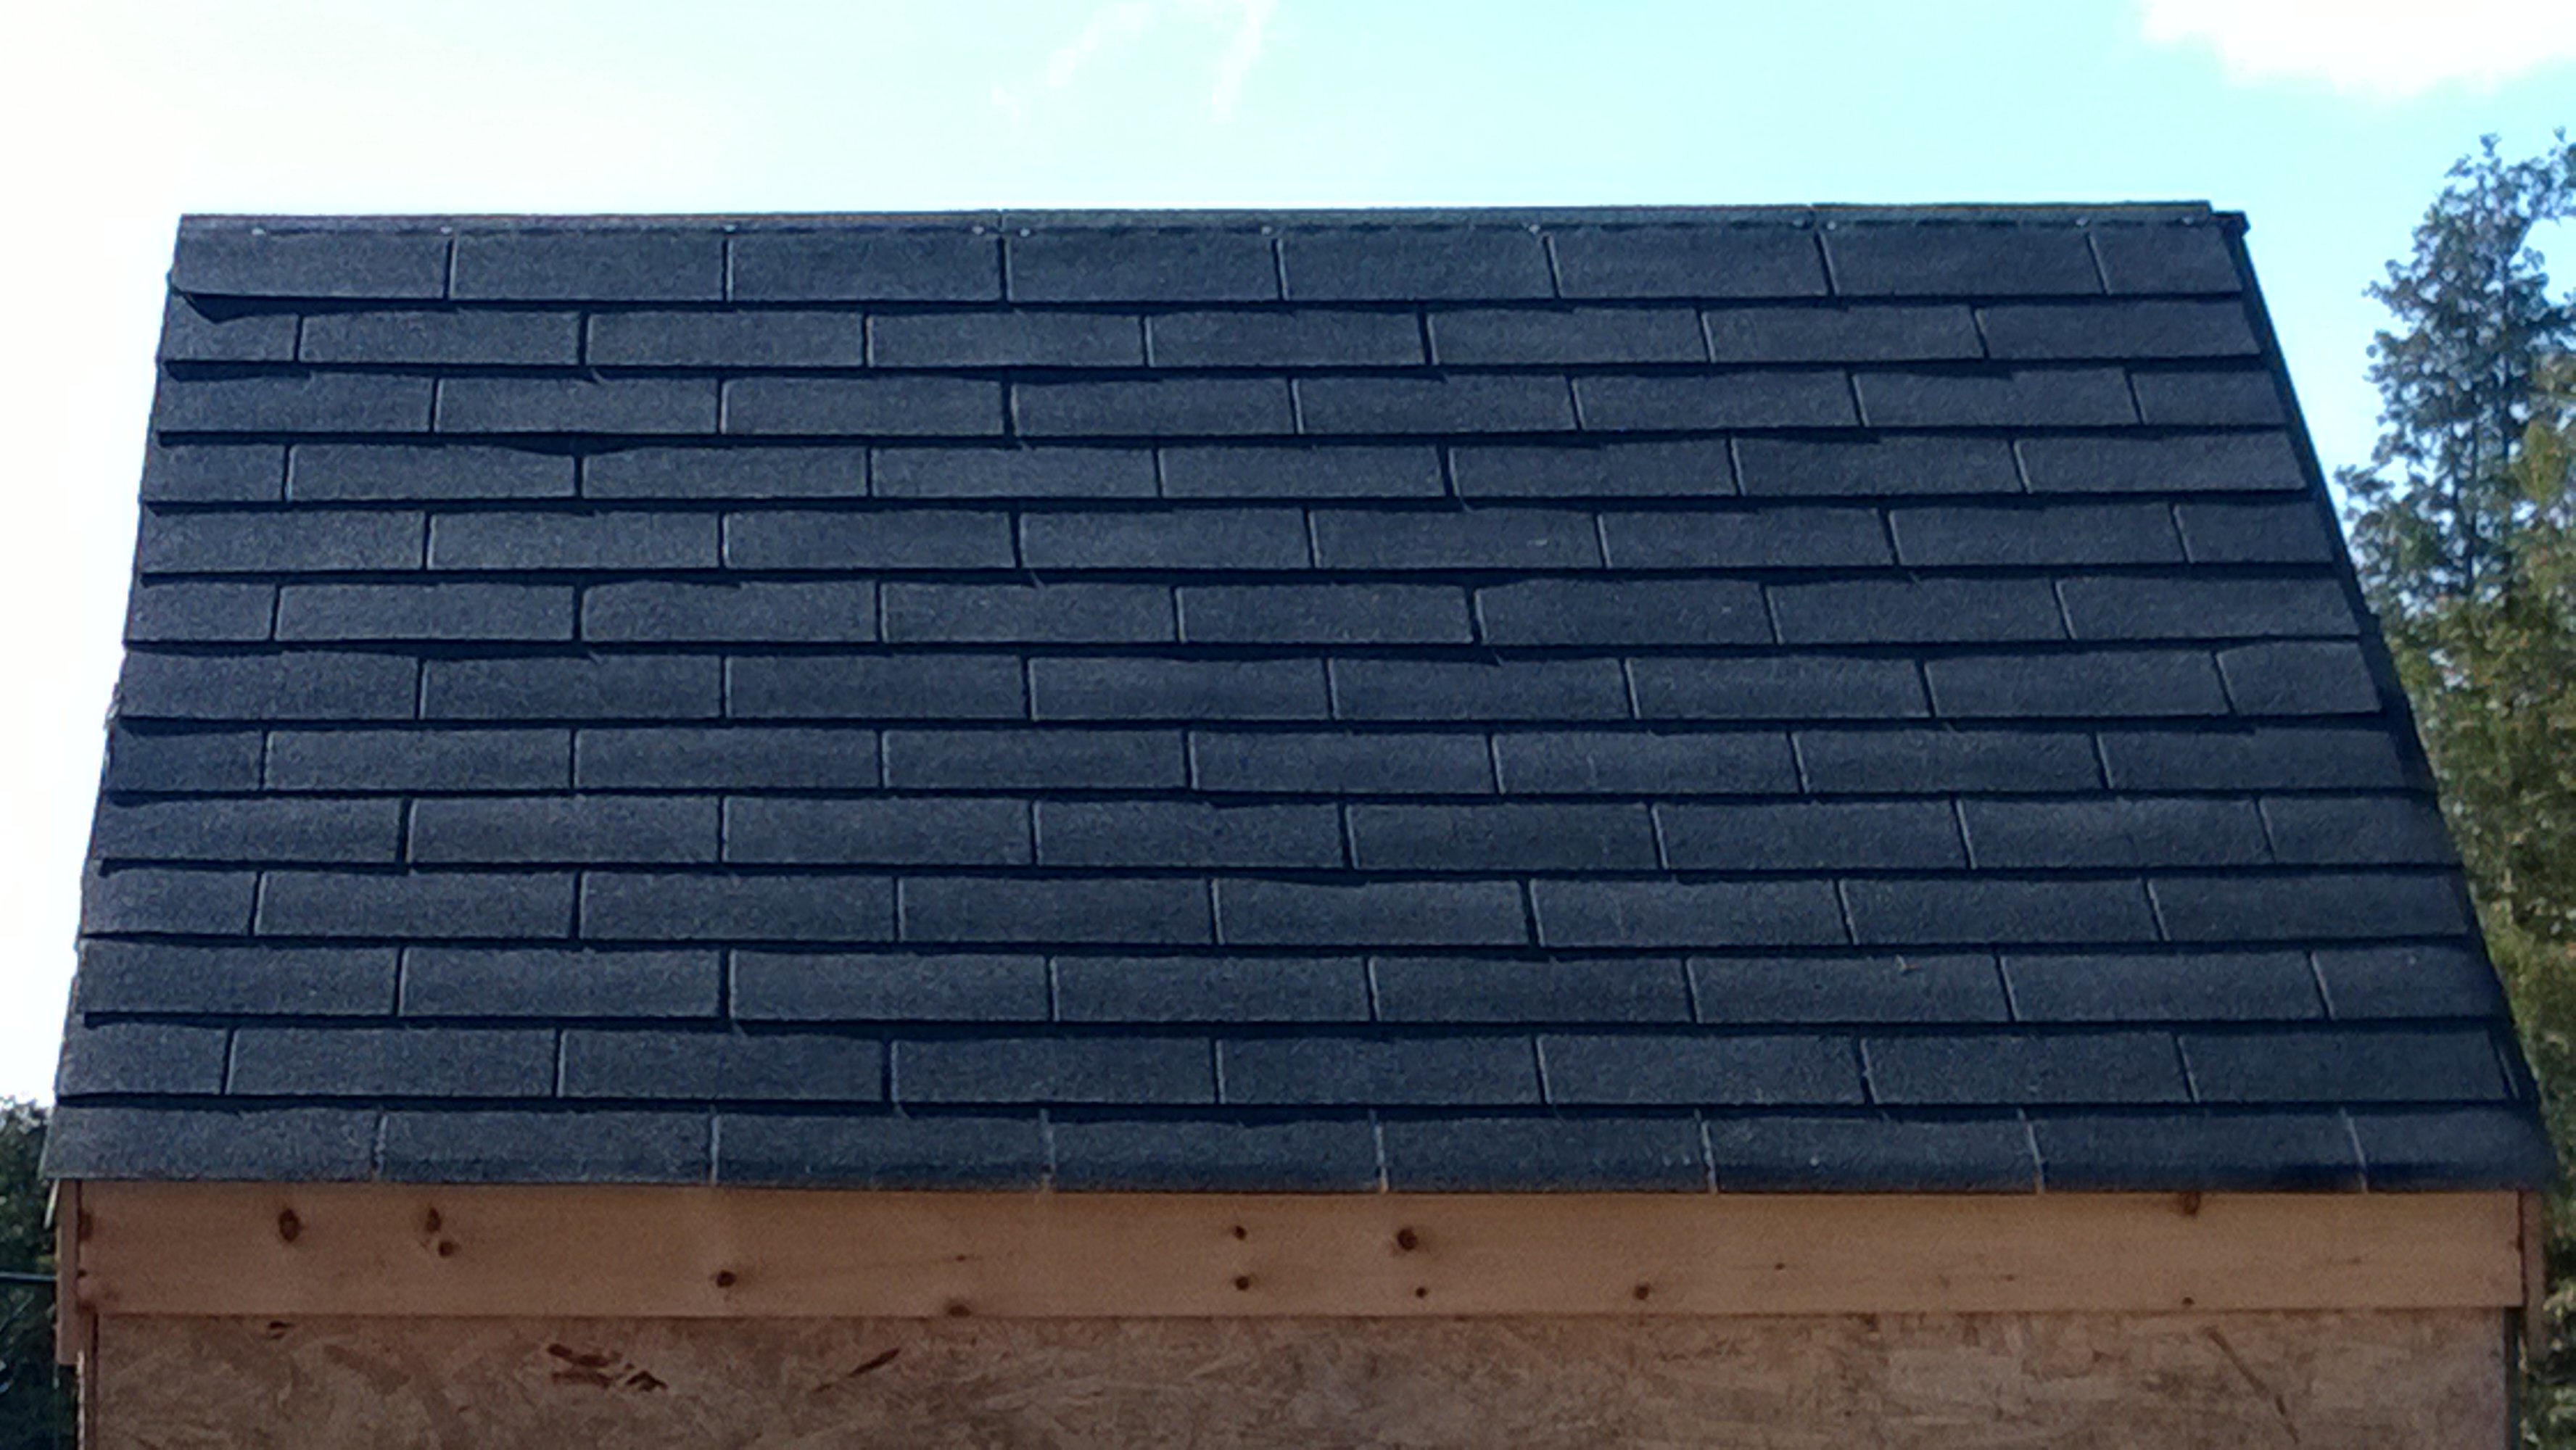
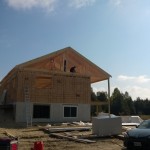
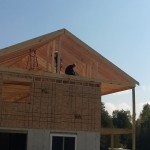
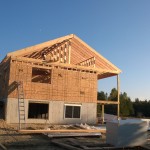
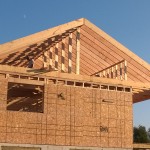
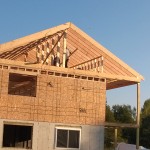
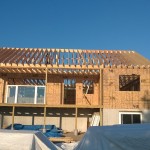
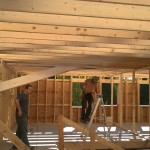
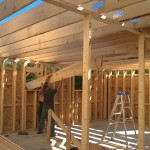
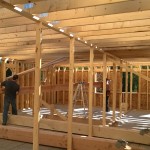
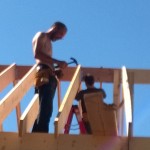
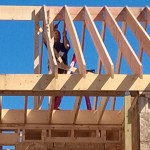
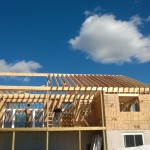
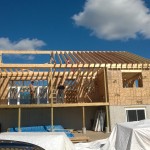
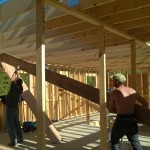
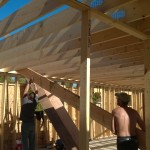
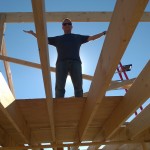
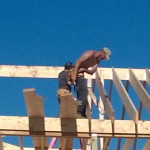
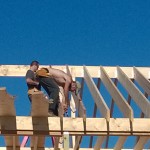
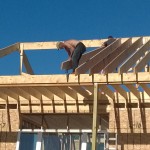
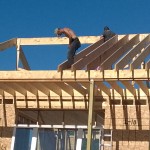
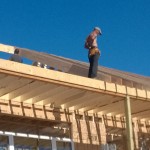
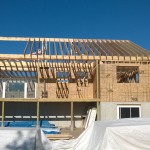
Here’s a couple photos of the results:

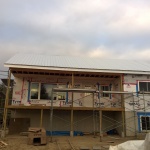
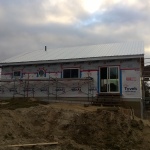
All in all, an amazing day of progress as we managed to get all the steel roofing panels installed.  There is still a bit of trim work to do at the gable ends, and I still have to drive in a few more rows of screws to finish fastening them down, but still, gotta feel good about that – one of the trickier jobs in the whole building process crossed off the list!

We are forecast to get some snow tomorrow, but if we don’t, you can be sure I’ll be up there trying to get the last of it finished!

Other stuff that happened this week, we got our bathtub and shower delivered, as well as two pre-hung interior doors, and also received eight 1350lb concrete blocks which will become the base of our grount mounted solar array.  At some point I will need to rent a machine to move these into the correct positions in the meadow – that should be fun!

Eight 1350lb concrete blocks

Thanks for reading and hope you enjoyed the pictures!

Weekend Update: November 8, 2014

I’ve made only incremental progress since the last post, but it’s snowing a little and kind of crappy outside so I thought I would just snap a few pics and recap where we are to date.

Here’s a gallery showing a 360 degree view of the house, with a little commentary about the remaining work on each side:

Overall we are very nearly ready for siding – which means that I’ll actually forego that for the time being and transition to the indoor work of setting up our plumbing and electrical stuff.  Of course we also still have to finish installing the rest of the steel roofing panels.

Thanks for reading and hope you enjoyed the pictures!

The End is in Sight

It’s been about three months since we received the house kit and it seems like the end is finally in sight.  The big piles of lumber surrounding the house have been reduced to only a single pile of siding and trim boards, and we continue to plug away, trying to get everything done before it really starts getting cold.

After the last post, I did some searching around and managed to find some additional Grace Ice&Water Barrier – then removed the somewhat tattered tarpaper and the two rows of Ice&Water Barrier I had already installed, in preparation to begin anew.  As it turns out, I ended up having to trim about an inch off the bottom of the roof sheathing on the front of the house, to get the metal eave trim to properly install, so removing all the underlayment and starting fresh seemed like the way to go.

WP_20141103_12_18_36_Pro

The fact of it is, the Grace Ice & Water Barrier is such a great product, I should have planned to use it all the way over the roof in the first place – with this stuff installed there is only a small gap at the roof ridge (for ventilation) for raindrops to get in (and not too many get in!), so the house is now pretty well weather-tight.

After that, the next time my mother was out to help, we took the rig that I built to get the sheathing onto the roof, and modified it so we could get the steel panels up onto the roof.  They aren’t very heavy but at around 3′ feet wide and 19′ feet long they are super unwieldy – the wind likes to catch them and treat them like a big sail.  In the end we got four (of fourteen) metal roofing panels installed on the front side of the house, and two (of fourteen) installed on the back side of the house.

We also had some quite windy days which were not ideal for working on the roof, so focused on continuing to close in the rest of the house – we got the last gable end fully sheathed in:

WP_20141106_08_03_23_ProAnd I continued to apply house-wrap and tape up the seams.  I also managed to finally get out to the hardware store and pick up the self-adhesive flashing to go around all the windows, and you can see it (the blue stuff) in some of the pictures.  Managed to get about half the windows sealed up, it goes fairly quickly as long as you don’t let it stick to itself.

We also discovered that all the tongue&groove finish boards for the ceiling of the porch, were all cut to incorrect lengths, so we took down the two rows I had installed, trimmed the boards, and started to re-install them – we got about halfway through, and it looks really good so far!

WP_20141106_08_07_10_ProNow that we are wrapping things up on the front of the house, the scaffolding isn’t needed as much (only to finish the siding), so we started to take that down and in it’s place I cut the first stringer for our front steps:

WP_20141106_14_41_41_ProHere’s a recap of all the photos you can sift through!

Thanks for reading and I hope you enjoy the pictures!

Progress Update: Oct 29, 2014

For the past week we have been slugging it out, and have gotten quite a lot done.  We assembled some scaffolding across the back of the house so we could complete the final row of sheathing, finish off nailing all the sheathing down, and install the three windows on that wall.  We also built and installed a proper set of stairs to give us a proper entry through the patio door.

We got a little rain during the week, and I’d thankfully planned ahead and had some lumber delivered in advance, so I was able to continue working indoors (which is mostly dry even when it rains now) and start framing up the interior walls – it really changes  the feel of the space to finally start properly defining the rooms with actual walls!

We also continued installing soffit and fascia boards, and put up some of the steel flashing/eave trim which is one of the last steps before we can install the steel roof and we will finally be weathertight!  We have only the soffits left to install on the one gable end of the house so we are pretty happy about that.  As you can see some of our tarpaper was tattered by the strong winds we had last night – we will actually replace this with the superior Ice & Water barrier as it can handle rougher conditions than the tarpaper!

The other thing we got started on was installing a few courses of the tongue & groove finish board which completes the ceiling above the porch.  Once we get that closed in it should stop a lot of the wind from coming into the house!WP_20141029_08_23_23_Pro

Thanks for reading and sorry for the delay with this post, but we are in just such a rush to get everything done before the snow arrives.  Of course, yesterday when my mother and I were working out there, I had unfortunately forgotten to put my steel-toed boots on – and on the one day I needed them.  We were moving some scaffolding and I dropped it on my foot and broke my baby toe  🙁  So I will need to take a couple days rest to recover, before we can continue!  Just another reminder to always be thinking about safety first!

More windows and the patio door

The past few days we have been getting a lot of rain so trying to get much done has been a challenge.  We started out by finishing framing in the gable ends, and then installing another course of sheathing on the far side of the house so that we could wrap the first course of Tyvek around the front and that side of the house and get the windows installed there.

After that I took a slight break from the house building to get a load of hay bales delivered (from a farmer up the road who donated them to our cause) to stack around the bottom of the RV to help us get through the colder nights a bit better – this actually makes a fair difference in how cold it gets in here!

Fortifying the RV with hay bales

Then we got back to the house, finished wrapping the Tyvek on the front and far side and installed another four windows:

Finally, I hired in some help to get the patio door and big picture window installed, both are extremely heavy so doing those alone was out of the question.  I’ll have to re-apply the Tyvek around the patio door once we finish the last course of sheathing on that back wall, but still, it’s a huge improvement.

Tomorrow we will, I think, continue installing more soffit and fascia boards (assuming the rain clears out) so we can finally get the rest of the ice & water barrier, and tar-paper, down on the roof so the water stops coming in!  Thanks for reading and hope you enjoyed the pictures!

Completed Roof Sheathing

The past week has been fairly hectic as you can imagine – it was quite chilly (frost for a few days) that really got me motivated to keep at it and get stuff done.  Of course now it is back to >20 degrees C and muggy as heck, such is the turn of the seasons.

At any rate, I managed to get the roof sheathing completely installed:

And even managed to start trying out installing the “ice & water barrier” that goes down over the sheathing, under the metal roof:

This stuff is super heavy, and very difficult to unroll and stick down.  If you look closely you can see I’ve built a kind of handle for the roll, so I can unroll a bit at a time and then tack the hammer to the roof, to make sure the roll doesn’t get away from me.

Today we got some scaffolding delivered to make it easier to finish up the rest of the exterior wall sheathing, and I did a test installing a 12′ piece of HardiBoard vented soffit – super long so I had to build a couple temporary braces i can rest the soffit on until I get it nailed up – you can see that in these pictures:

We’ll continue to set up scaffolding and work our way around the house  to finish off nailing the exterior sheathing (many sheets just tacked in place) and we should be able to keep the scaffolding in place for doing the Tyvek house-wrap and for installing the siding as well.  Sure makes things easier than going up and down a ladder!

Take care, and thanks for reading!

More roof work and the front door

The past couple days have been pretty busy, with lots getting done in between the rain.  I have about half the roof covered in sheathing so far, and expect to start the next half tomorrow.

Getting 4’x8′ sheets of OSB up onto the roof is no easy task, especially working by yourself, so I built a rig on the back side of the house, that I use to get the sheets up there – I can push them up half way standing on the ground, and they rest in place on my rig, from there I can go up on the roof and lock a C-clamp onto the end of the sheet and pull it up onto the roof, climbing a series of “stairs” I set up for the task, the dropping the sheets down the front side of the roof into position.

Also today my mom came out to lend a hand, and we managed to get some of the Tyvek house-wrap installed on the porch, and put the front door and a smaller window in.

Thanks for reading, hope you enjoyed the pictures!

Solo again

Well, I’m back solo again and just wrapping up the framing for the roof.  As mentioned in the last post, all the rafters were in place, but at each gable end of the house, the roof has to be extended out over the side of the house.  This is a little tricky to do alone, but I came up with a pretty good system that was safe and reasonably easy.  I got the first gable end done today and am prepped up to do the other end when the rain stops (starts tomorrow morning, apparently).

I discovered one small issues with my process to install those gable rafters, resulting in this minor injury:

Small injuries abound

Also, we forgot to post this before, but Paul managed to finish off putting the shingles on the shed roof while he was here, it is so great to have that task done and off the list!

Completed shed roof
Completed shed roof

Hope you enjoyed the pictures, and thanks for reading!

Roof rafters complete!

Yesterday and today Heathers uncle Paul and I managed to finish installing the last eight pairs of roof rafters, and then started removing the temporary bracing, and putting in the structural supports that hold the roof up from here on out.  We also framed in a small wall in the attic space, above the porch, so we can separate the area above the porch off from the rest of the attic space (better for insulating!)

Here’s a few pictures of the progress to date:

Tomorrow we should be able to finish up the supports, then after a couple more small details, start putting the sheathing on the roof!

Roof framing, continued

Yesterday and today Tom and I continued working on the roof, we started installing the roof rafters, there are 31 pairs of these and man are they heavy (especially the ones still wet from the last rain we got).  Here’s what we got done yesterday:

And here’s what we got done today before Tom had to return home to Vermont:

Thanks for reading and hope you enjoy the pictures!  Here’s a quick picture of our 26 Canadian Solar 250W panels:

250W Solar Panels
250W Solar Panels