All posts by rossman

More windows and the patio door

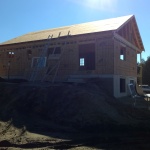
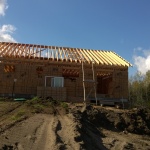
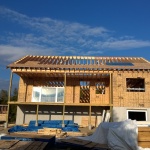
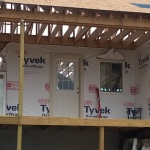
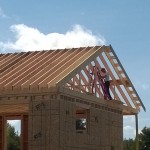
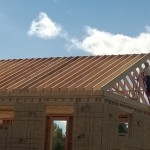
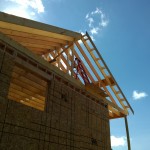
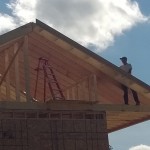
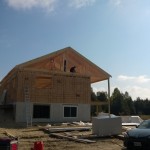
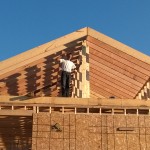
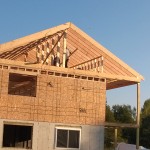
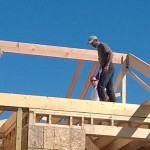
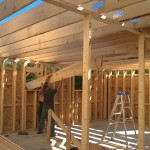
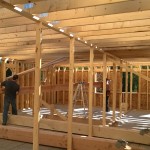
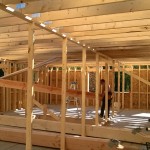
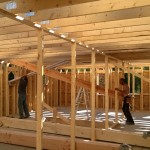
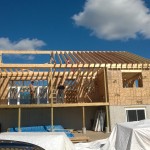
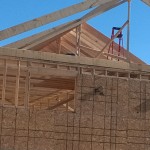
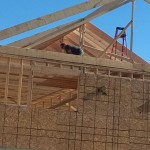
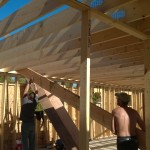
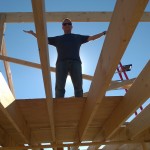
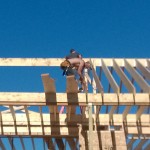
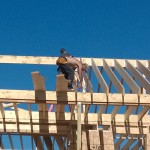
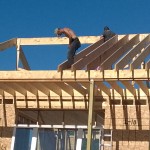
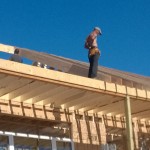
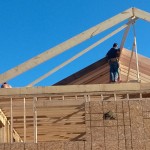
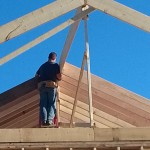
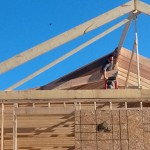
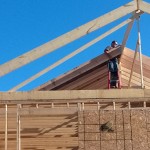
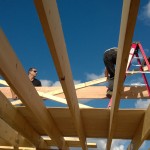
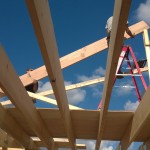
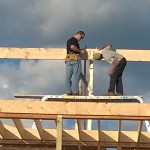
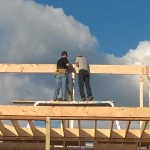
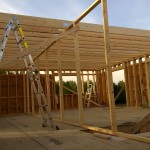
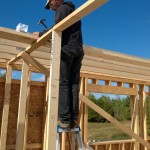
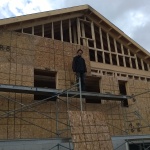
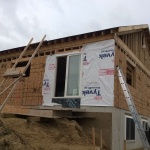
The past few days we have been getting a lot of rain so trying to get much done has been a challenge.  We started out by finishing framing in the gable ends, and then installing another course of sheathing on the far side of the house so that we could wrap the first course of Tyvek around the front and that side of the house and get the windows installed there.

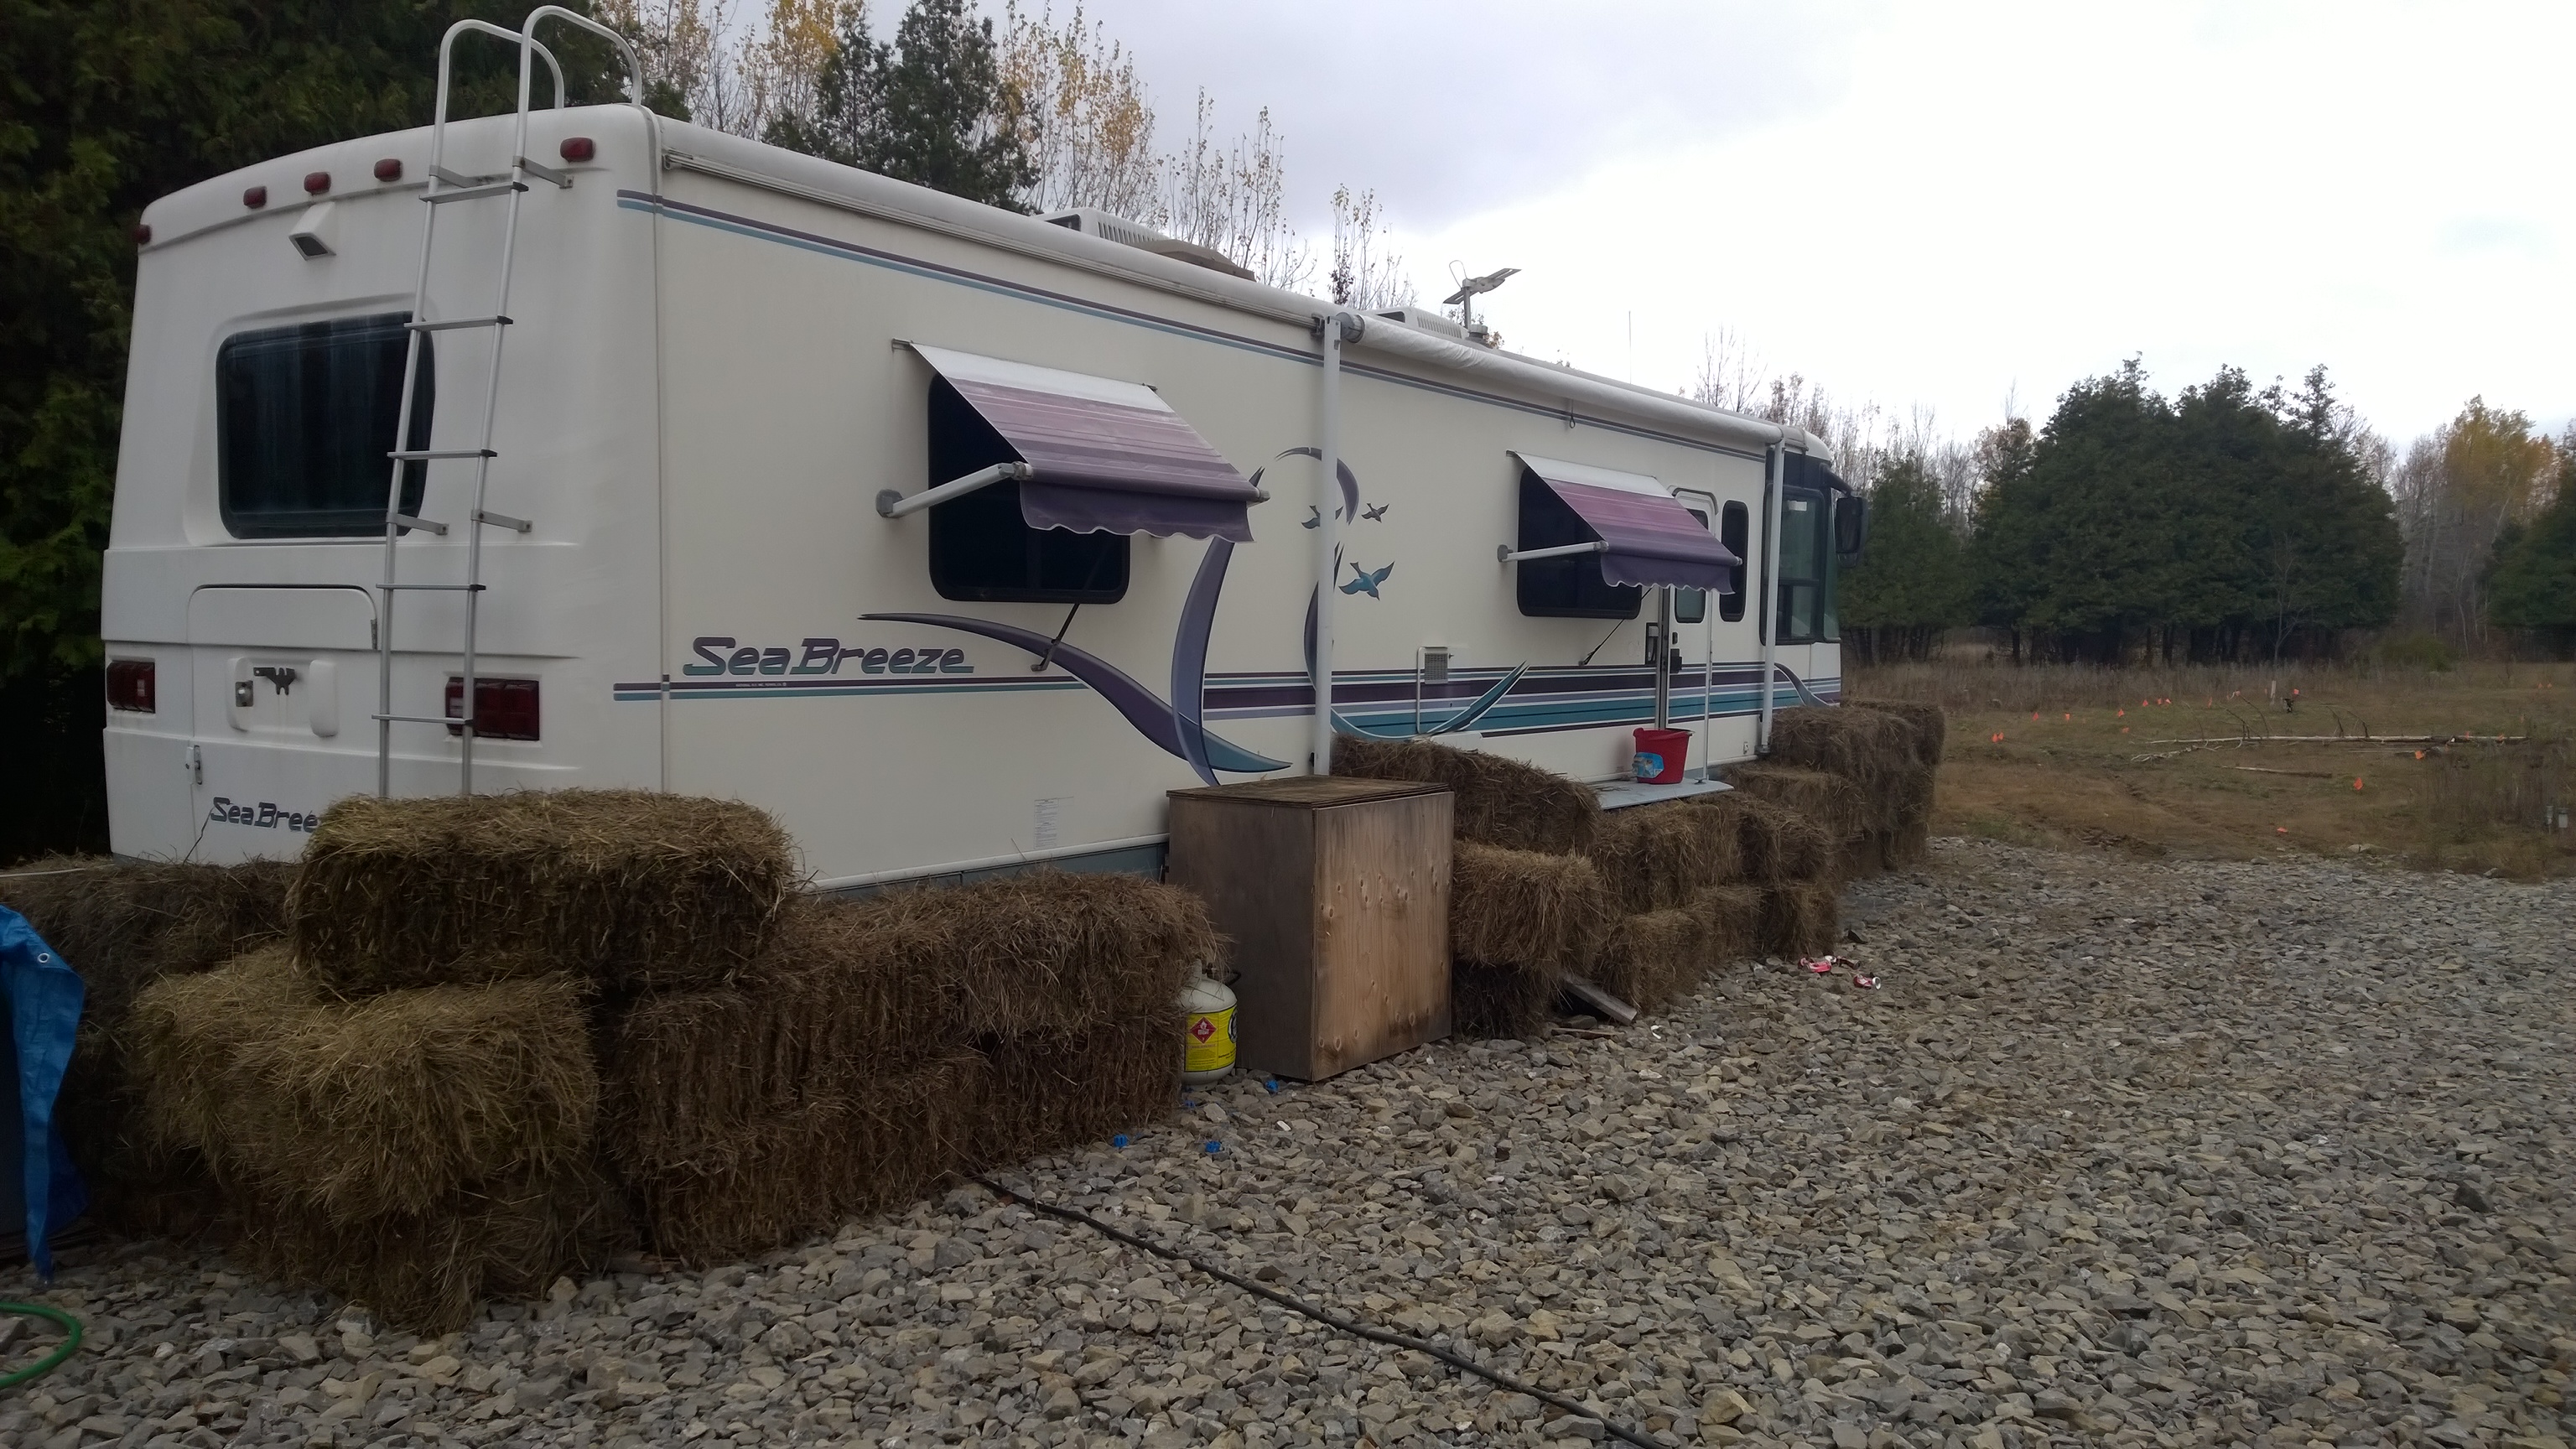
After that I took a slight break from the house building to get a load of hay bales delivered (from a farmer up the road who donated them to our cause) to stack around the bottom of the RV to help us get through the colder nights a bit better – this actually makes a fair difference in how cold it gets in here!

Fortifying the RV with hay bales

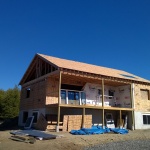
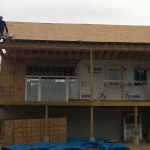
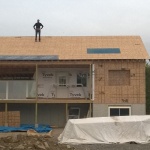
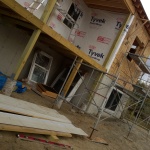
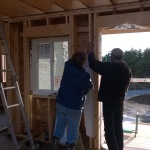
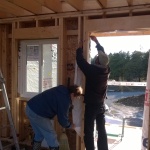
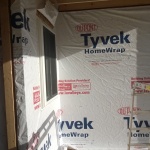
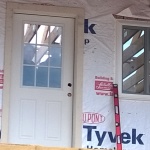
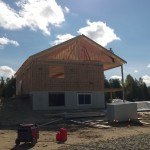
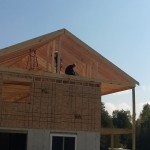
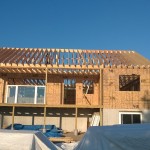
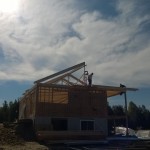
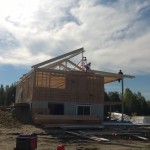
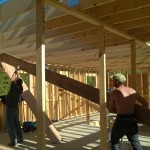
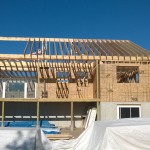
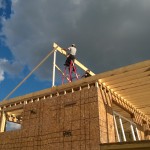
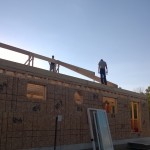
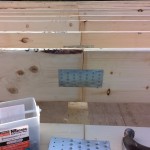
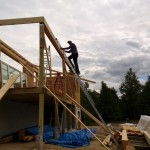
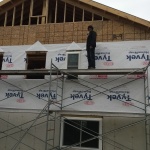
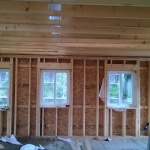
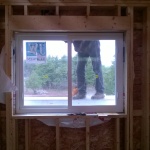
Then we got back to the house, finished wrapping the Tyvek on the front and far side and installed another four windows:

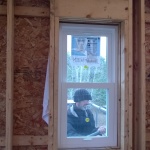
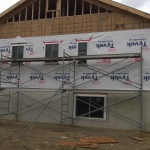
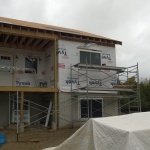
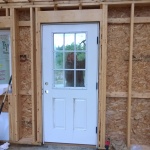
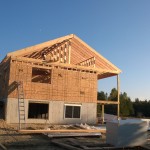
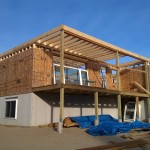
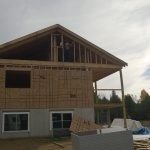
Finally, I hired in some help to get the patio door and big picture window installed, both are extremely heavy so doing those alone was out of the question.  I’ll have to re-apply the Tyvek around the patio door once we finish the last course of sheathing on that back wall, but still, it’s a huge improvement.

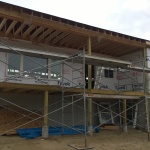
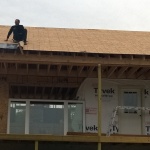
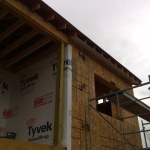
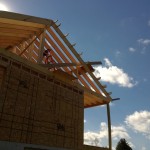
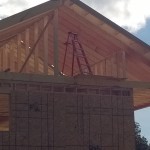
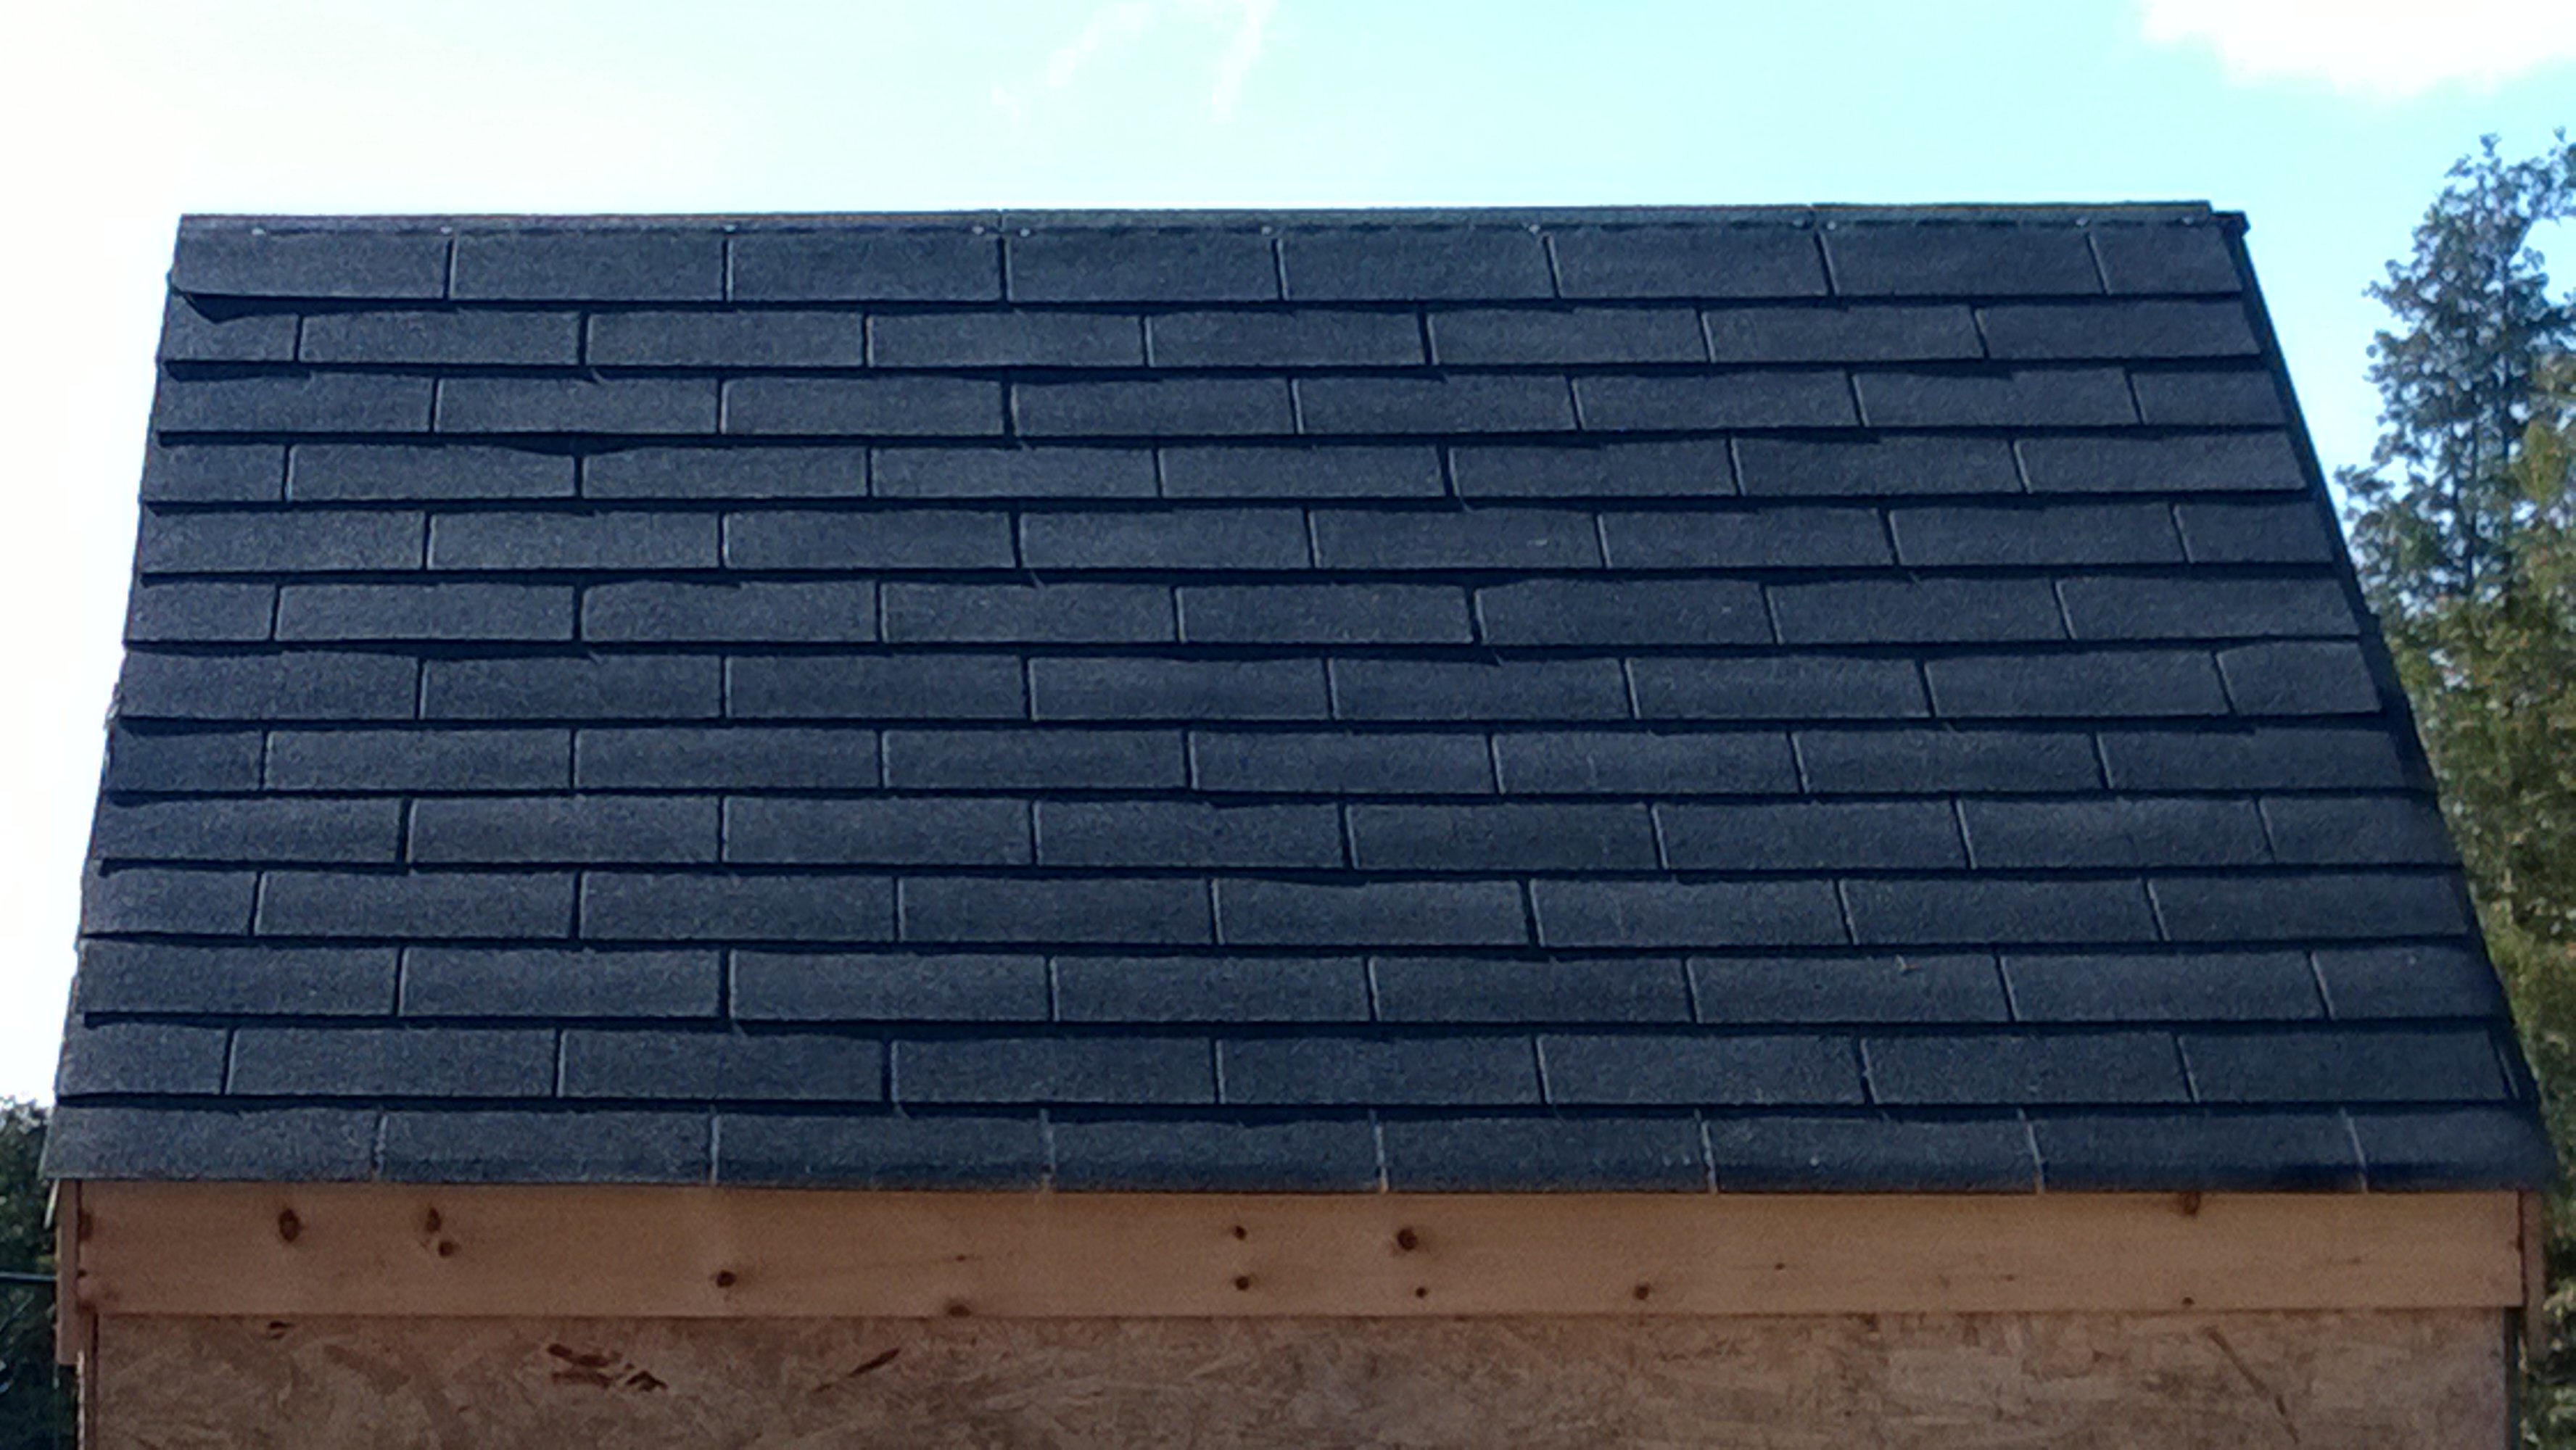
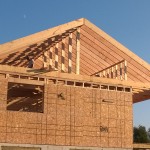
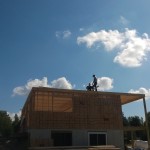
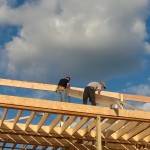
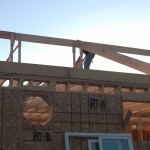
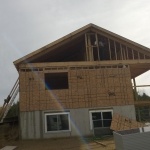
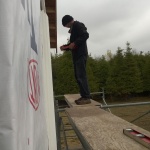
Tomorrow we will, I think, continue installing more soffit and fascia boards (assuming the rain clears out) so we can finally get the rest of the ice & water barrier, and tar-paper, down on the roof so the water stops coming in!  Thanks for reading and hope you enjoyed the pictures!

Completed Roof Sheathing

The past week has been fairly hectic as you can imagine – it was quite chilly (frost for a few days) that really got me motivated to keep at it and get stuff done.  Of course now it is back to >20 degrees C and muggy as heck, such is the turn of the seasons.

At any rate, I managed to get the roof sheathing completely installed:

And even managed to start trying out installing the “ice & water barrier” that goes down over the sheathing, under the metal roof:

This stuff is super heavy, and very difficult to unroll and stick down.  If you look closely you can see I’ve built a kind of handle for the roll, so I can unroll a bit at a time and then tack the hammer to the roof, to make sure the roll doesn’t get away from me.

Today we got some scaffolding delivered to make it easier to finish up the rest of the exterior wall sheathing, and I did a test installing a 12′ piece of HardiBoard vented soffit – super long so I had to build a couple temporary braces i can rest the soffit on until I get it nailed up – you can see that in these pictures:

We’ll continue to set up scaffolding and work our way around the house  to finish off nailing the exterior sheathing (many sheets just tacked in place) and we should be able to keep the scaffolding in place for doing the Tyvek house-wrap and for installing the siding as well.  Sure makes things easier than going up and down a ladder!

Take care, and thanks for reading!

More roof work and the front door

The past couple days have been pretty busy, with lots getting done in between the rain.  I have about half the roof covered in sheathing so far, and expect to start the next half tomorrow.

Getting 4’x8′ sheets of OSB up onto the roof is no easy task, especially working by yourself, so I built a rig on the back side of the house, that I use to get the sheets up there – I can push them up half way standing on the ground, and they rest in place on my rig, from there I can go up on the roof and lock a C-clamp onto the end of the sheet and pull it up onto the roof, climbing a series of “stairs” I set up for the task, the dropping the sheets down the front side of the roof into position.

Also today my mom came out to lend a hand, and we managed to get some of the Tyvek house-wrap installed on the porch, and put the front door and a smaller window in.

Thanks for reading, hope you enjoyed the pictures!

Solo again

Well, I’m back solo again and just wrapping up the framing for the roof.  As mentioned in the last post, all the rafters were in place, but at each gable end of the house, the roof has to be extended out over the side of the house.  This is a little tricky to do alone, but I came up with a pretty good system that was safe and reasonably easy.  I got the first gable end done today and am prepped up to do the other end when the rain stops (starts tomorrow morning, apparently).

I discovered one small issues with my process to install those gable rafters, resulting in this minor injury:

Small injuries abound

Also, we forgot to post this before, but Paul managed to finish off putting the shingles on the shed roof while he was here, it is so great to have that task done and off the list!

Completed shed roof
Completed shed roof

Hope you enjoyed the pictures, and thanks for reading!

Roof rafters complete!

Yesterday and today Heathers uncle Paul and I managed to finish installing the last eight pairs of roof rafters, and then started removing the temporary bracing, and putting in the structural supports that hold the roof up from here on out.  We also framed in a small wall in the attic space, above the porch, so we can separate the area above the porch off from the rest of the attic space (better for insulating!)

Here’s a few pictures of the progress to date:

Tomorrow we should be able to finish up the supports, then after a couple more small details, start putting the sheathing on the roof!

Roof framing, continued

Yesterday and today Tom and I continued working on the roof, we started installing the roof rafters, there are 31 pairs of these and man are they heavy (especially the ones still wet from the last rain we got).  Here’s what we got done yesterday:

And here’s what we got done today before Tom had to return home to Vermont:

Thanks for reading and hope you enjoy the pictures!  Here’s a quick picture of our 26 Canadian Solar 250W panels:

250W Solar Panels
250W Solar Panels

Working on the roof

The past few days there has been some good progress.  I managed to finish off the attic joists:

Completed Attic Joists

After that, I had to go around the perimeter and install framing angles to effectively hold the roof in place on top of the rest of the house:

A34 & A35 Framing Angles

Today, my brother-in-law Tom came up from Vermont to help out, so we started working on the roof rafters.  We were able to get the ridge beams installed on temporary supports, and put up two of the roof rafters to get started.  All in all a huge day, and feels like we are getting closer to the end now!

And just to round things out, here’s a picture Heather took of our little seen, but excellent mouser:

WP_20140924_16_27_57_Pro

Take care and thanks for reading!  Supposed to be another fine day for working tomorrow so we will continue with the roofing rafters and see how we get along.

Another day of attic joists

More of the same today, just continuing with the attic joists, trying to get it done so we can start the roof framing!  This morning there was a solid covering of frost over everything outside, so it’s a good reminder that summer has long passed and fall is steadily marching towards winter.

I got another nine joists installed, so I’ve crossed the halfway point!  Here’s a few pictures I took while I was working:

Thanks for reading and hopefully the weather will hold so I can get more good work done tomorrow!

Starting the attic joists

Today we started working on the attic joists.  This involves taking two, 2″x10″ beams, about 16′ long each, and then joining them together with a metal connector in the middle to form a huge 32′ long beam that spans the house from the front of the porch to the back of the house.

Each connector for the join take 32 nails, so 64 nails total for each beam (one connector on each side).  I was able to get seven of these joists completely installed today before I had to call it quits.

I feel this next picture is self-explanatory…don’t try this at home kids!

Hmmm...
Hmmm…

Take care, and thanks for reading!

Starting the attic framing

Today I continued working on the attic framing – the first step of which is installing the rim joists which run around the whole perimeter of the house, including out and around the porch frame / headers.  Here’s a couple pictures that Heather took while I was doing some of the trickier bits!

Tomorrow I’ll finish nailing those up and the get started with the attic joists!