All posts by rossman

More progress being made

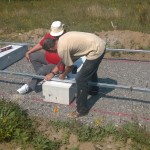
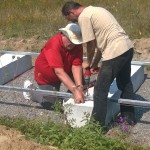
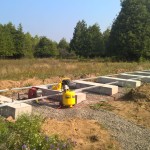
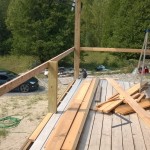
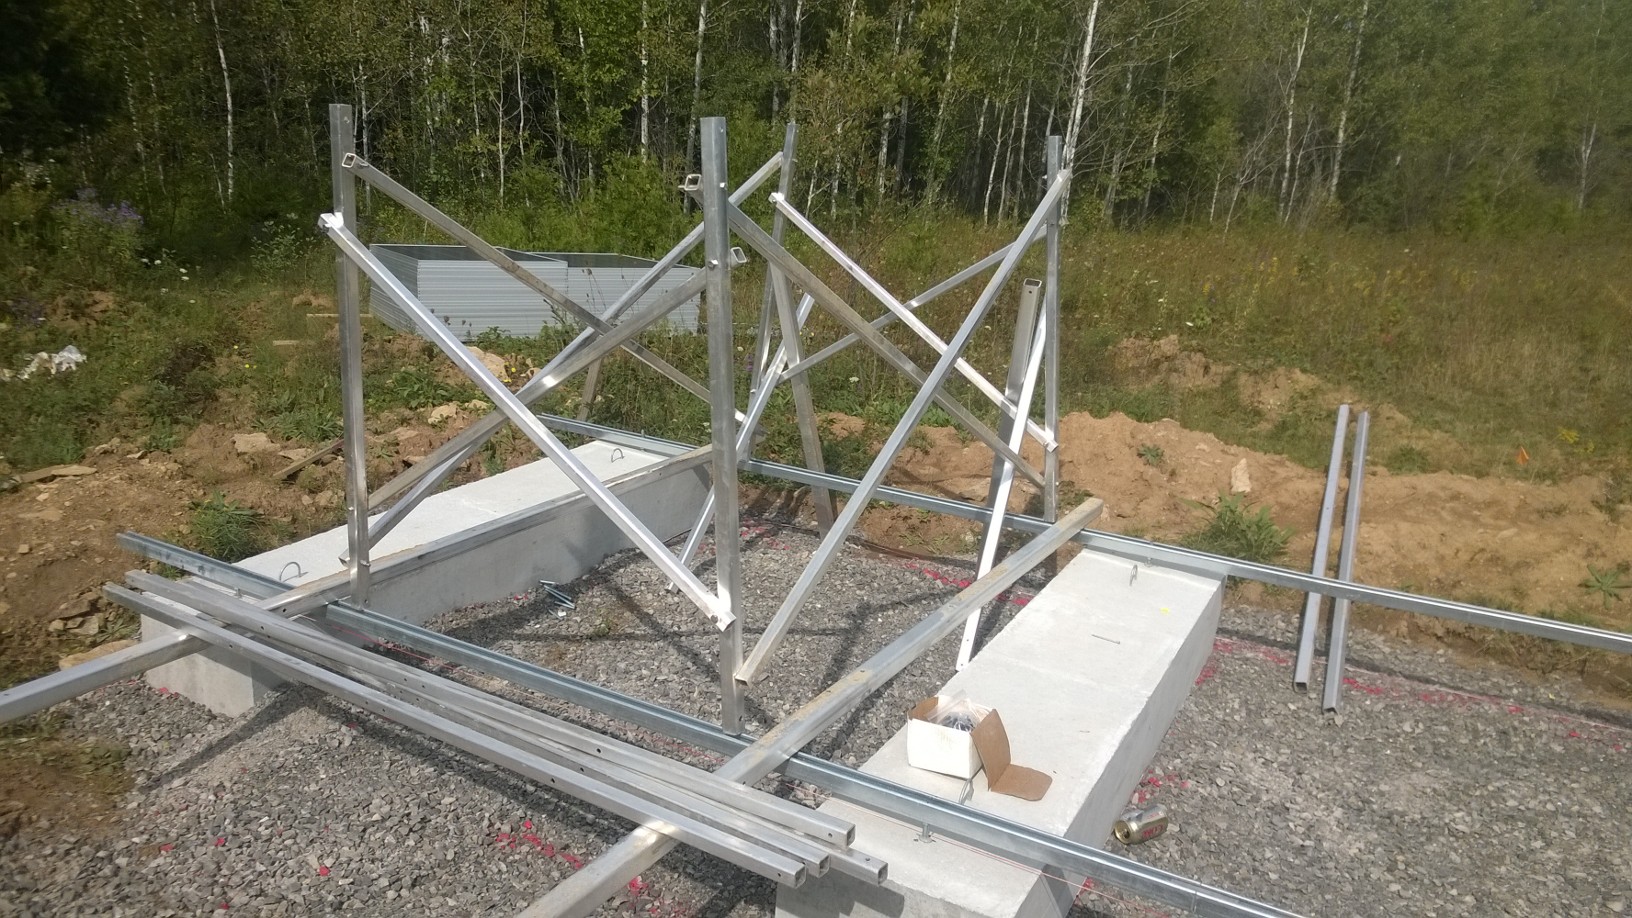
Today we decided to figure out how the solar racks are assembled – there is an assembly manual provided but it wasn’t as clear as we’d hoped.  We got out there first thing this morning before it got too hot, and managed to get one of the racks partially assembled, and figured out where the rest of the pieces go.

Partly assembled solar rack

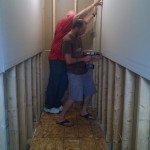
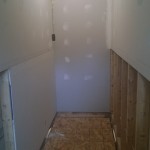
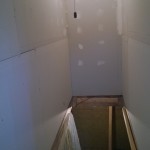
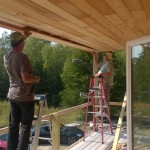
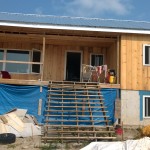
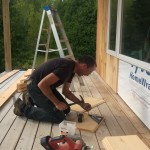
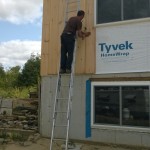
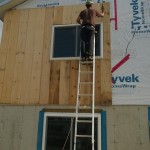
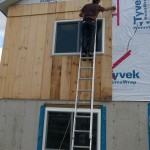
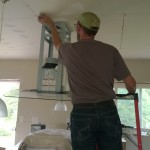
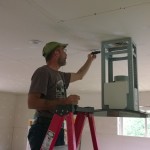
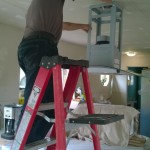
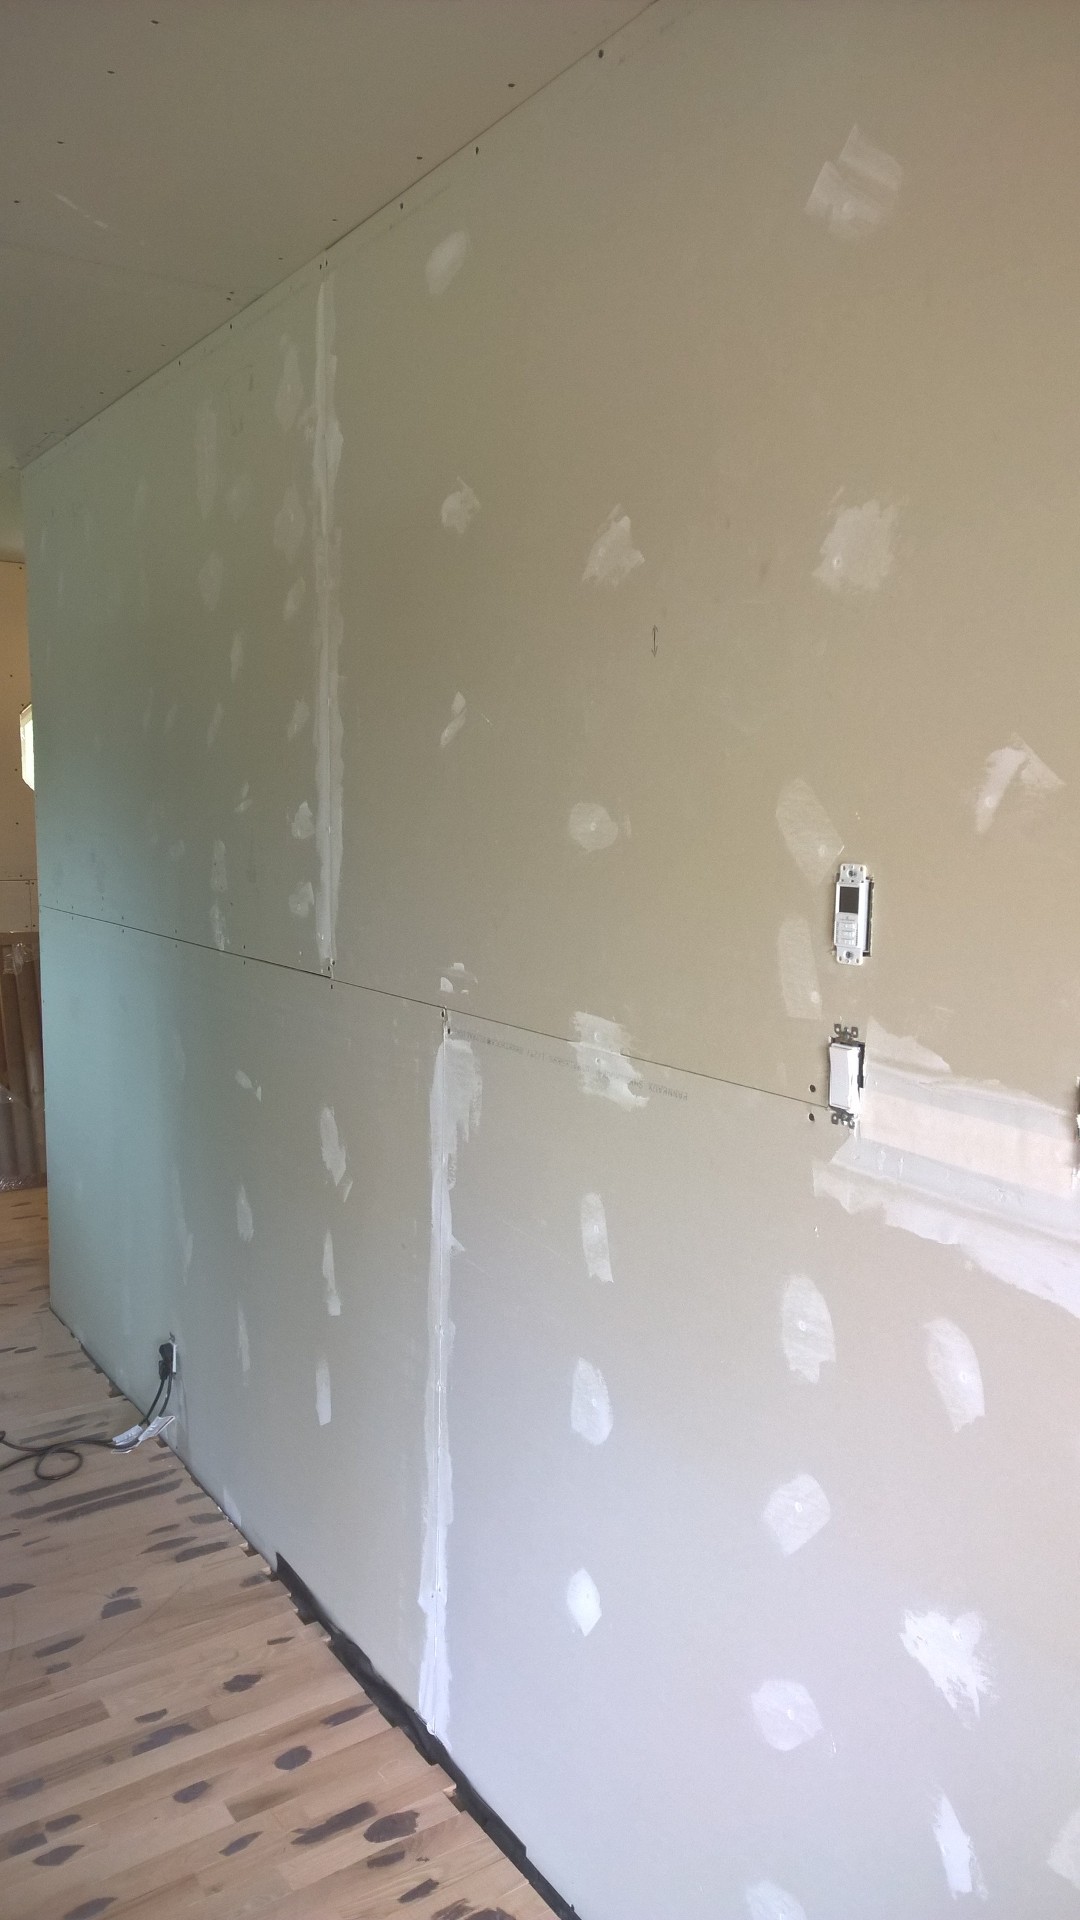
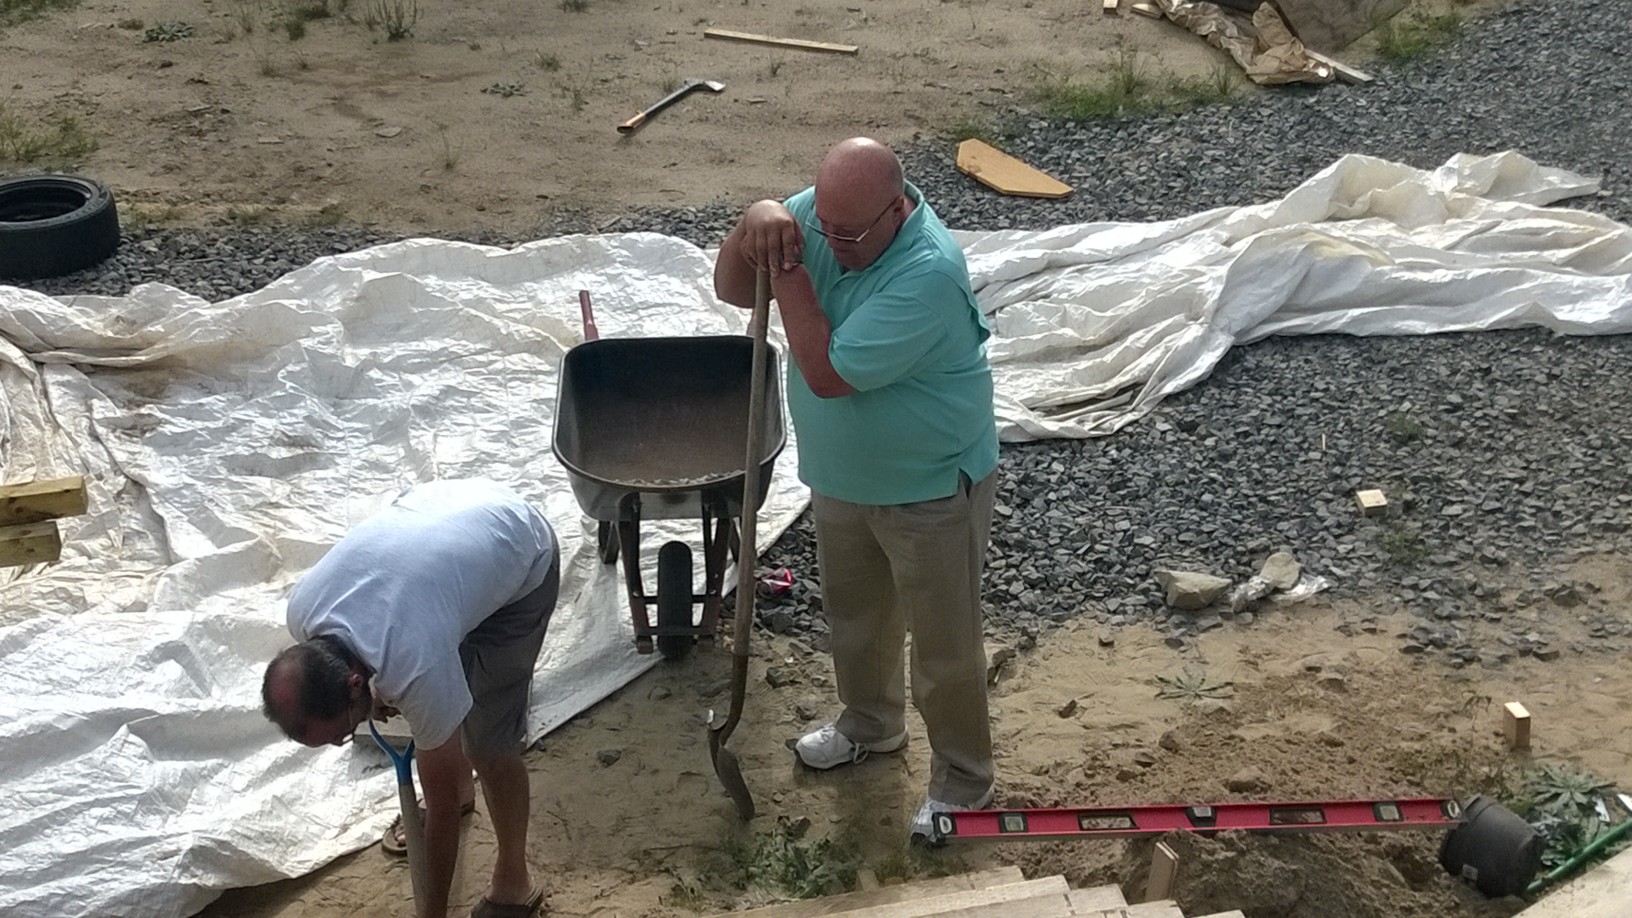
After that, we put the platform back into the stairwell so dad could continue mudding and taping the drywall, and I went outside to work on creating a level base for our front stairs.  When I originally built the stairs last year it was a bit of a rush job just to get something there, so I needed to dig out the sand and create a good gravel base before we start building any railings.

Mudding and taping progress in the stairwell
Adding gravel for a level base
Working hard, hardly working...
Working hard, hardly working…

Tomorrow, we hope to get a few last things wrapped up for our gas inspection (scheduled for Saturday), and then finish off the mudding in the stairwell so we can continue bringing the drywall down the left-hand side of the stairs down into the basement.

Getting stuff done

Yesterday and today dad and I worked on a number of things.  We finished drywalling in the majority of the stairwell and even started mudding some of that.

All we have left is a couple pieces down the left hand side, and to install a handrail for safety.

We also got both of the 50′ lengths of strut drilled and installed for the solar racking, so as soon as the last of the fittings arrive at the supplier we can start setting that up.

Lastly, we started closing in the porch with a couple of sheets of OSB so that we can continue our siding all the way around the porch.

Closing in the porch for the siding

Tomorrow we will probably start preparing to build out handrails for the porch stairs and try to finish off the drywalling in the stairwell.

Hope you enjoyed the pictures, stay tuned for more updates!

More solar rack preparation

Today dad and I went out again to work on the solar racking – in the morning before it got so darn hot.  We managed to get the holes drilled and one of the two 50′ lengths of strut installed on the threaded rod we installed yesterday, by the time we were done it was blazing hot, so we decided to do the second 50′ length tomorrow morning (weather permitting, as it seems the rain is rolling in).

After that, we decided to move indoors and start running the interior wiring for our satellite tv and networking, just to get out of the sun.  We drilled in to the basement, under the front porch, and ran new lines from the satellite dish to the area our video and networking hub will be located, and also ran a new line for our cell phone signal booster through the attic and down to the same area.  We just need to run a final wire in from our satellite internet dish, and the cables for our networking, and that will be that.

One other thing we got sorted out yesterday was the plumbing for our dishwasher – we finally got the necessary parts for the drain to get connected and so we were able to give it a test run at long last.  It seems to work well and is super quiet!

Hope you enjoyed the pictures and I’m sure we’ll have more for you in the next day or so!

More help on the house

We have a new helper up here at the ranch, my Dad came up from Florida to give us a hand making the final push for our occupancy permit.  We are of course happy to get the extra help!

We first tackled some more work on getting the solar racking set up – we used my hammer drill to make 1/2″ diameter holes, about six inches down into each block.  We cleaned all the concrete dust out the holes using the compressor, and then epoxied in some 7/16″ threaded rod into each hole, leaving a couple inches exposed.

You can see we also got the aluminium strut here now to mount the solar racks on.  These come in 10′ lengths, and we have some channel joiners to connect them together to create two seamless 50′ lengths across all the concrete ballast blocks.

We also got the last few boards installed into the porch ceiling and it’s great to finally have that job completed!

Unfortunately we didn’t get any pictures, but we also spent an inordinate amount of time moving the satellite dish for our TV service, from where I had temporarily mounted it on the ground, up to the side of the house below where our internet satellite dish is mounted.

More to come in the next few days as we continue to cross things off the list!


More siding (rear wall)!

We are just continuing on with the siding up here, and instead of doing the second course on the west wall, we moved to the back wall to square that away.

Here’s a few more pictures of where we are at right now.

We expect to finish off the back wall perhaps by tomorrow, and then we will work our way across the east wall.  Once we are done the first course of siding all the way around, we’ll start the second courses on the east and west walls.

We’ll be sure to keep you posted, thanks for reading and hope you enjoyed the pictures!

Continuing the siding

For the past couple of days, the weather has been nice and clear with no sign of rain.  We figured this was an ideal opportunity to continue installing the siding.  We managed to finish installing all the siding boards across the entire front of the house, and got the starter boards installed on each of the other sides.

From there we decided to work on the west wall because it is the wall with the fewest windows and openings to work around (only one window, and the fireplace chimney vent).  We got a little over halfway done on that yesterday (at least, the lower course of siding), and hope to be able to finish that off today.  From there we will decide if we are going to do the second course of siding on that wall (taking the siding right up to the roof), or continue on with another side of the house and come back to that.  Installing the second course of siding means I need to cut a 27 degree angle on the end of every siding board we install, so it will be slower going.

After we get done installing all the siding boards, we will finish up the exterior siding and trim by installing both gable trim, and vertical battens where each siding board meets.

Unfortunately. some of the siding boards got a bit weathered from being stored outside under a tarp all winter (some boards in worse shape than others), but we are optimistic that a solid colour stain will cover up most of these issues.

Hope you enjoyed the pictures and hopefully we will have more for you, of the continued siding installation, in the next few days!  Thanks for reading!

ORCKA Level 3 certified!

The past week has been rainy on and off so we had to take a break from the siding.  It goes up quick, though, and generally pretty easily, and we’re looking forward to getting back into it soon!

This past weekend, Heather and I took a canoe course so that we would be certified to take the cub scouts out canoeing in the next year.  It started on Friday evening with the “wet” component, which involved tipping your canoe and being rescued, or rescuing another team after they tipped their canoe.   There was also a swimming component to ensure we had the requisite swimming skills.  We did this in the Rideau Canal, thankfully the water is really warm at this time of year!

Saturday and Sunday consisted of learning paddling techniques and then being tested on what we’d learned over the whole weekend.

At the end of the program we even got to go through one of the locks twice (down, then back up again), which was a pretty exciting experience.

Canoe course student photo

Now that we’ve completed the course and passed the test, we are both ORCKA level 3 certified (covers everything except solo canoeing).

Sorry that there isn’t more to report on the house front, but we will get back into it soon enough!  Forecast looks good this week for some more progress on the siding!

Lovely day to start installing siding

Today was a beautiful, clear day  – blue skies, puffy white clouds, all we needed to round out such a day was buttercups, or perhaps little yellow fuzzy chicks  🙂  With such a nice day on the cards we decided it was time to dive into the stack of siding that has been under a tarp since it was delivered with the kit house last August…a long time for wood siding to be sitting around no doubt!

You can see in the following pictures, that even though the wood was covered up with a tarp, some water got in and discoloured some of the boards.  We are hopeful that with the application of a good, solid colour stain that it will all look fine in the end!

Hope everyone is having a great summer and hope you enjoyed the pictures!

Installing the range hood

Today we decided that we would install the range hood over our gas oven.  We didn’t get any pictures of the hardest part of the process, which was lifting the hood into place, as both our hands were occupied, but Heather managed to take a few of the rest of the process.

The only real preparation we had to do, was to go up in the attic and attach a couple 2×4’s to the existing rafters so that we would have a secure and solid point to fasten the range hood to, as it is fairly heavy (80lbs or so).

Here’s the pictures which show the rest of the process:

Thanks for reading, hope you enjoyed the pictures!  One step closer to getting this house done!

Started mudding the drywall

We figured it was about time to start mudding the drywall.  It’s a nice task, not too difficult, and Heather and I can work on it together.  Covering up the screws is easy, taping the seams and corners is somewhat more difficult, but we will figure it out.  The trick is not to put too much joint compound (mud) on, so you don’t have much to sand off.  Better to add more thin layers and get to where you need it than add too much and have to sand it all back down.

Drywall mudding
Drywall mudding

We figured that we would start on this wall that is behind the fridge/freezer as 2/3’s of this wall will be covered by pantries and cabinets, as well as the fridge/freezer – so it is a good place to practice before we start doing walls that everyone will be able to see!