Yesterday morning it started snowing here, and it hasn’t stopped. I think it must have snowed more heavily during the night, as there is a fairly substantial amount of snow on the ground out there this morning…and there is no sign of it letting up.
Watching the snow slowly covering the solar panels has reminded me that I have yet to adjust our panels to the steeper, 60-degree angle, which will help them shed the snow a bit more readily, and also collect a few more precious rays of sun (critical at this time of year.) I hadn’t gotten around to it yet as we have had what seems to be an unseasonably sunny fall, even through the beginning of November.
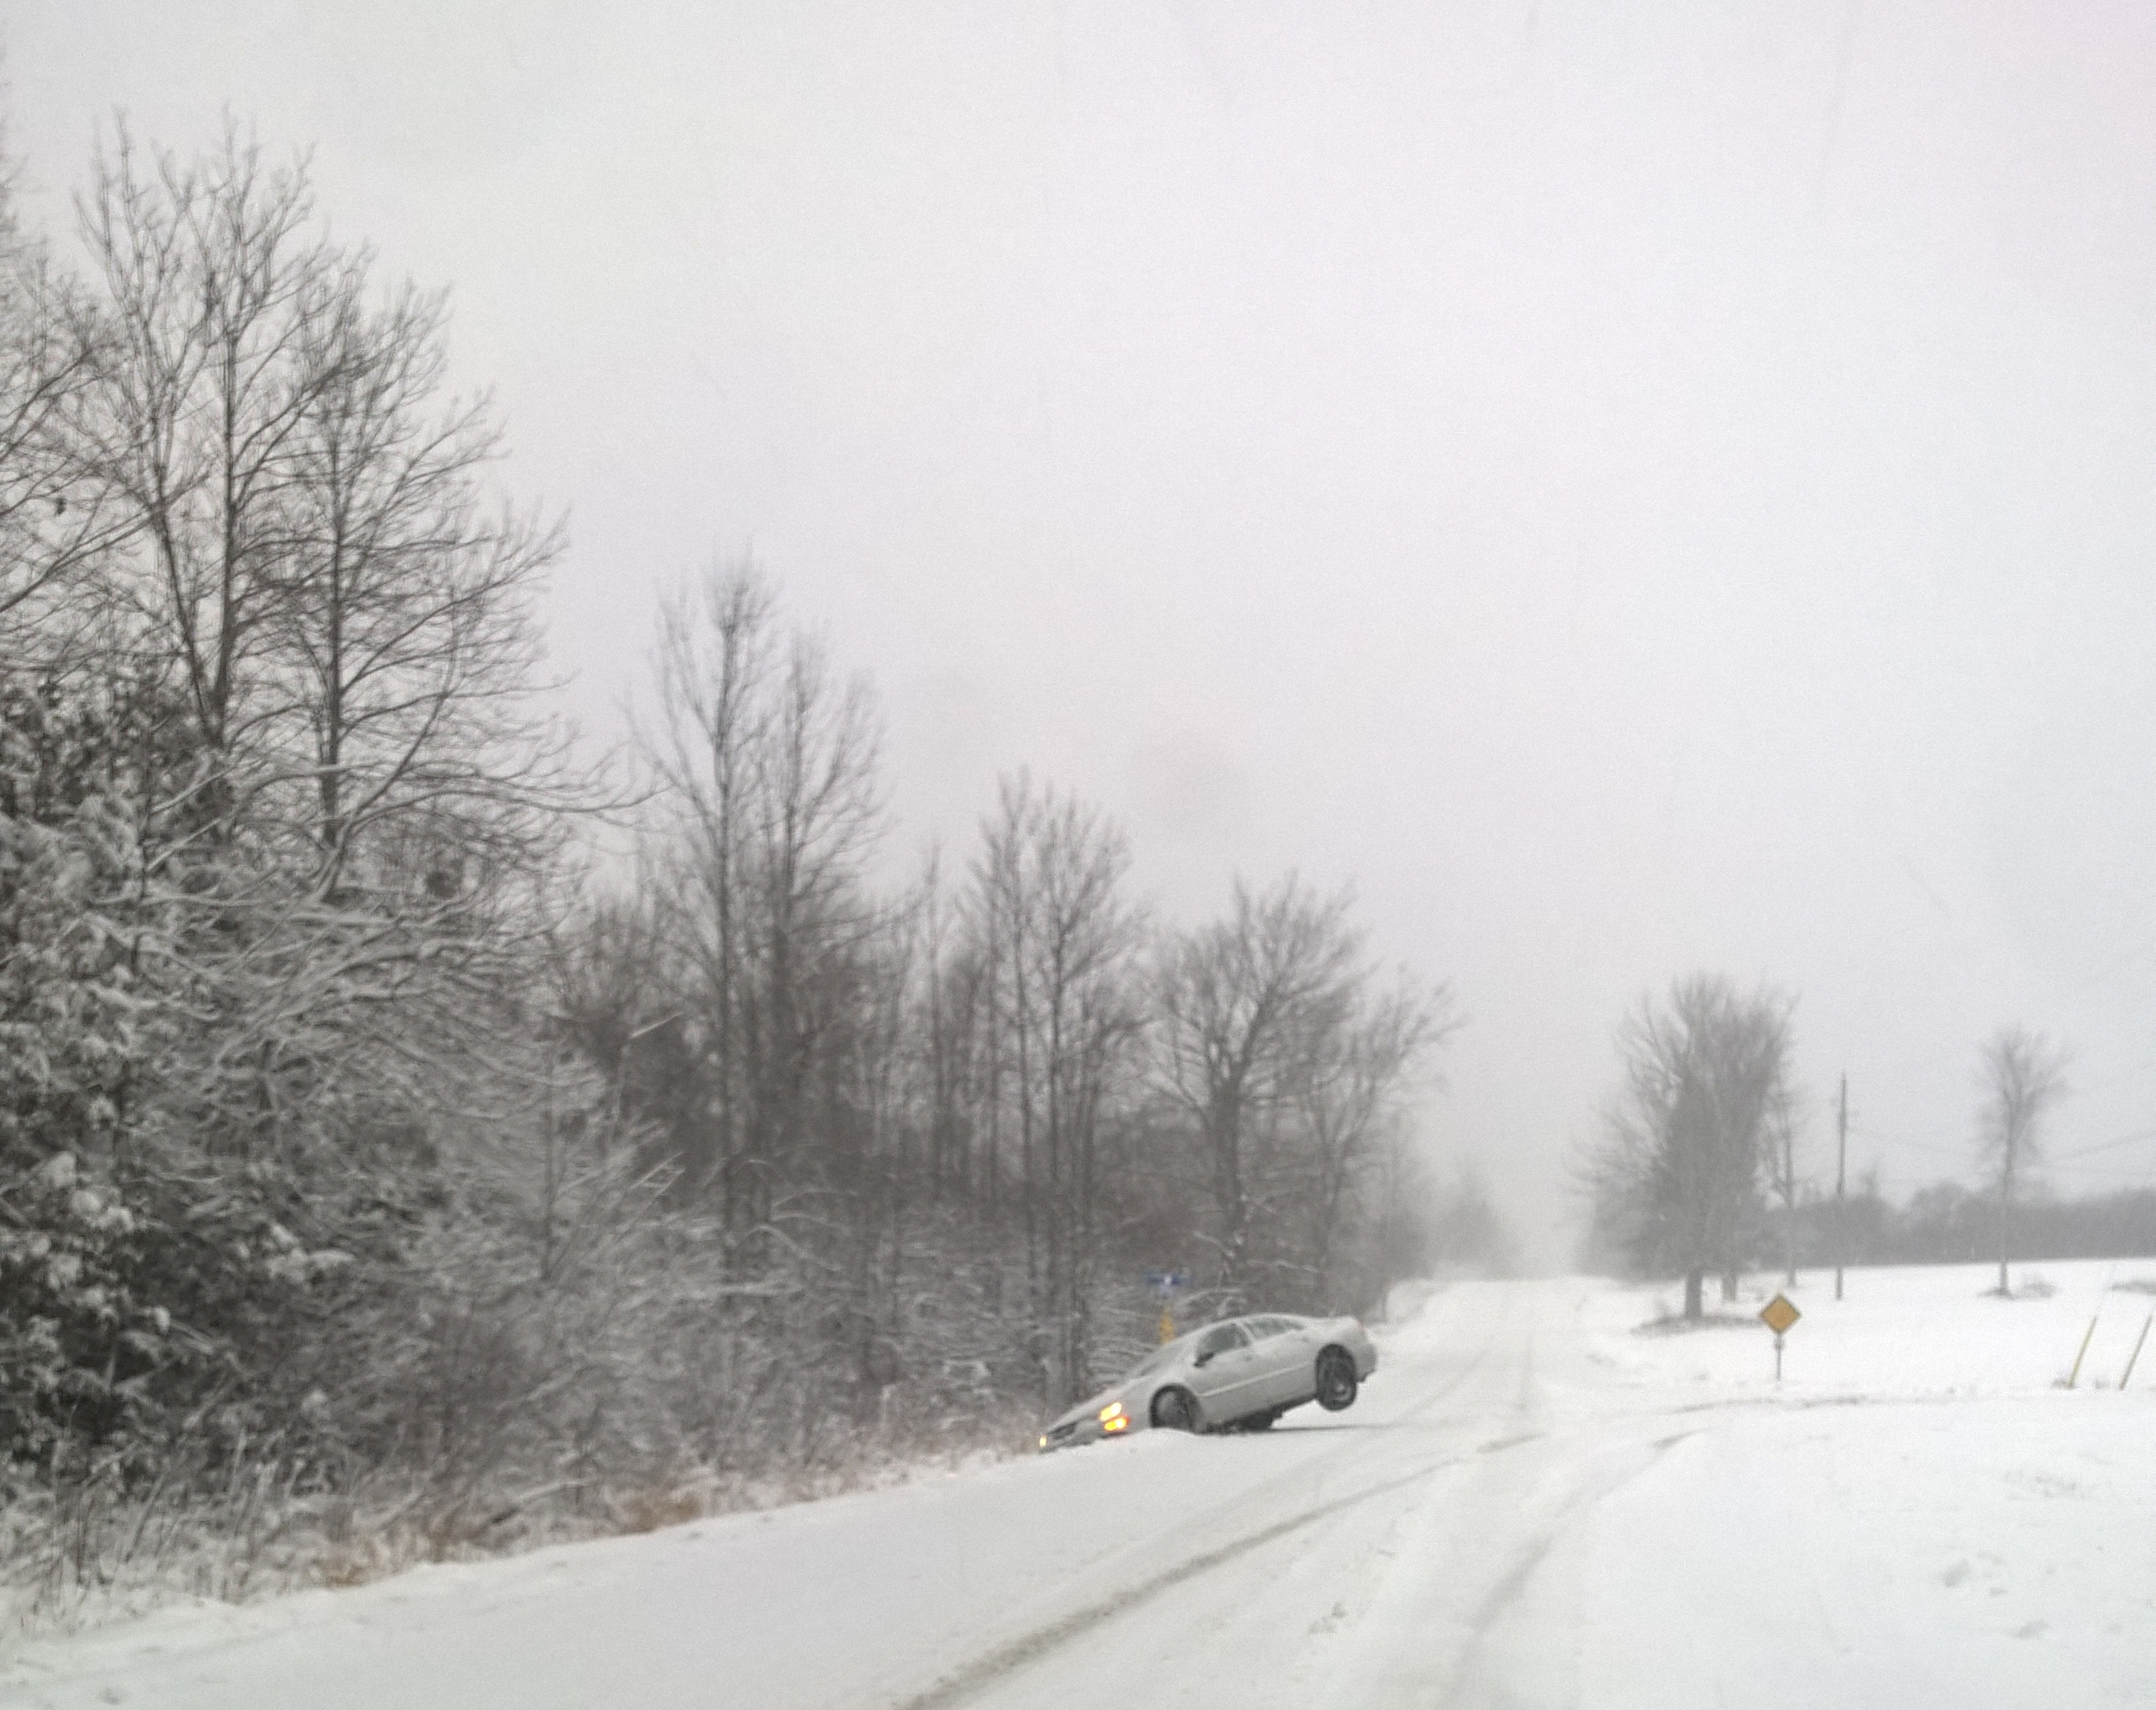
I was able to take a couple quick passes on our driveway with our new tractor-mounted snowblower, but when I left to drive to work, I didn’t get far before I found the first casualty of the storm.
Introduction to Winter 2016
Perhaps today might be a better day to work from home!
Today I managed to get the last of the siding installed – a big relief as it is getting colder out there! Even though this is complete, I’ll still have to finish off the putting up the trim around the windows, installing the battens, and staining / caulking. Thankfully I do not believe that is a requirement for our occupancy permit.
Siding largely completed!
Now I’ve just got to square a few more small things away and we can get the inspector back for final inspection!
The picture says it all, really. Today I got the scaffolding and planks set up to finish the second course of siding on the last wall. I was able to push myself and get passed the halfway point, and ended the day installing the gable end vent and the two soffit trim boards on the completed half. Sorry for the poor quality of the picture, it was 5pm and with the time change it was already getting quite dark (as you can see from the warm glow of the lights inside the house).
There’s probably only another half days work to finish that siding off, then I will start installing the battens on that side of the house (since the scaffolding it already set up there) and install the window trim as well.
We are getting very close to official “completion” (even though there are a ton of small details to finish off to make the house enjoyable to live in), which is really exciting.
In an effort to complete all the items on the list the building inspector provided, to get our final occupancy certificate, yesterday I spent what ended up being far too long installing a thermal mixing valve on our domestic hot water tank.
As part of new building code requirements, hot water heaters need to have a thermal mixing valve installed to prevent scalds at any hot water faucets in the house. Our shower valve already came with one of these built-in, but to comply with Ontario Building code you need one installed at the hot water heater. A hot water heater is typically set at 140F, to prevent legionella bacteria (cause of legionnaires’ disease), but 140F is a scald hazard. To prevent scalds, you install a thermal mixing valve – which mixes some cold water with the hot water coming out of the hot water heater, to regulate the temperature of the hot water to something more reasonable. I chose around 118F-120F, which is about the maximum it should be set to.
Thermal Mixing Valve installed
Getting the mixing valve installed was quite the comedy of errors. To install the valve, I had to remove that black connector (labeled HOT/CHAUD) section of the exhaust/flue system, so that I was able to screw on the cold and hot water portions of the mixing valve. Getting that off was a little tricky, and then once I got it off, I accidentally knocked my small flashlight down into the resulting hole, and it ended up at the bottom of the hot water heater on top of the gas heating element. *sigh* That one careless mistake meant I now had to remove the gas heating element, to retrieve the flashlight. You might think that might be fairly straightforward, which it was, but it was finicky, and an incredibly frustrating task getting it done.
Thankfully, that is all behind us now, the mixing valve is installed and working, leak-free, so that is one more thing we can cross off the list. I am hoping to get back outside today and get more of the siding finished, so we can have it wrapped up before it’s truly miserable to work outside. Will post more soon!