Monthly Archives: January 2015

Spray foam insulation update (Part 2)

Since the last update, things have been reasonably slow going over here, but there is a good reason for it (albeit a shitty one).

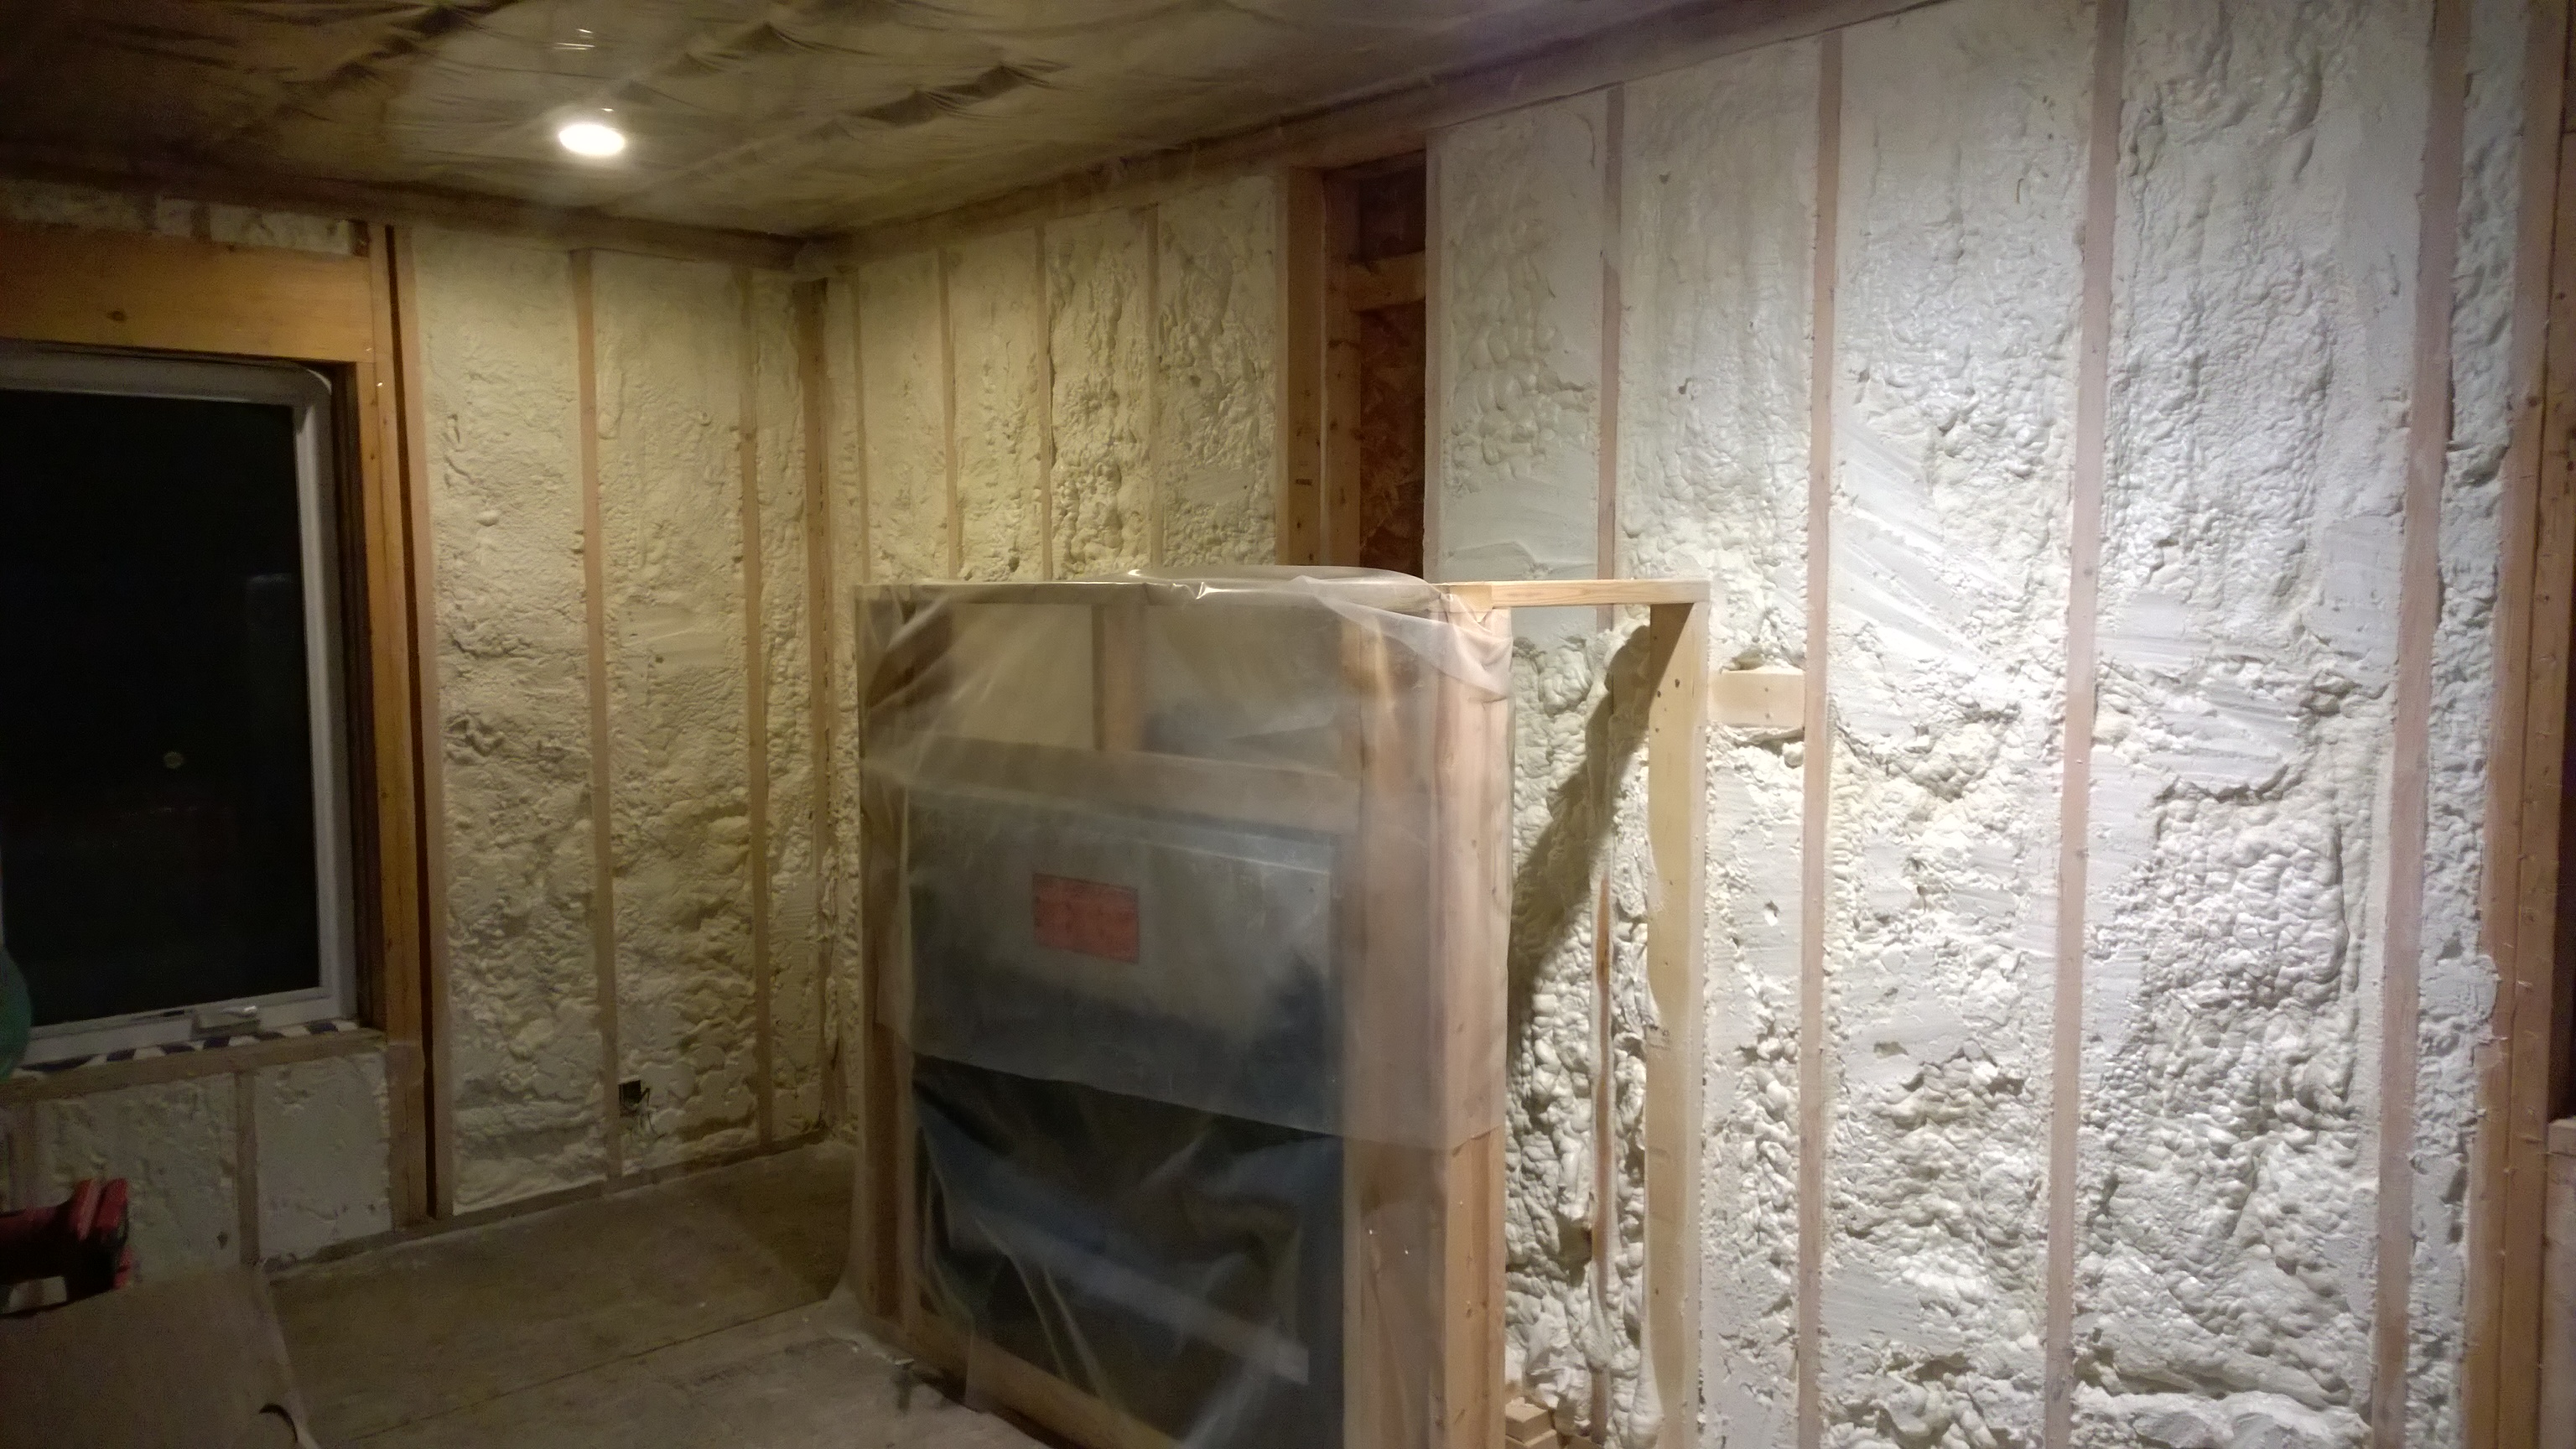
It turns out, that the spray foam that the contractor used in our house, does not meet Ontario Building Code standards, and as such our building inspector has given the contractor an “Order to Comply”, to correct the issues (by Jan 31st).  We are not holding our breath – it seems for the first time that we have encountered an unscrupulous contractor, and if they do not comply with the order, they will apparently get fined/taken to court by the building inspector, so we will see where this all goes.  It’s quite frustrating and disappointing to have had such good contractors so far in the process only to be ripped off at this point.

In the meantime, I managed to complete the installation of the vapour barrier on the ceiling, and sealed it all up good with acoustical sealant (which is nasty stuff to work with, if you ever have to use it I suggest having some rubber gloves as if it gets on you, it’s hard to get off).  On that front, we were inspected again and approved by the building inspector to at least start the drywalling of the ceiling, and the interior walls.  I picked up 30 sheets of drywall and got right to work.  Here’s a few pictures:

Thanks for reading, we’ll be sure to give an update soon with how things are going!

Spray foam insulation update

We expected the spray foam contractor to show up yesterday and insulate the main floor of the house, and the basement wall headers/rim joists, but unfortunately in the bad snow we had yesterday – their truck slid off the road and they needed to be towed.

Today they arrived without incident and got right to work, and by the end of the day they had pretty much wrapped up, here’s a couple pictures to show how it looks now:

Living Room spray foam
Main Floor spray foam

In the meantime, we are just barely getting by up here.  As Murphy’s Law seems to dictate, anything that can go wrong, will go wrong, and it seems like we’re getting it back-to-back these days.  Most recently, the furnace in the RV packed it in, so now we are heating the RV with a small propane heater (thank god we have CO detectors in here, or this would be pretty unsafe on the scale of things), but it’s really not quite sufficient, and on cold mornings like today (-26C, feels like -33C), it’s very chilly in here.  A consequence of this is, of course, that the RV water systems have now all since frozen up – so we are really roughing it up here now.

Hopefully now that the insulation is in, we can start making steps towards moving in there and out of the RV, to give us some better shelter from this winter weather.

As always, thanks for reading, and hope you enjoyed the pictures!


Insulating the attic space

Yesterday I was able to finish putting up the rest of the vapour barrier, and decided that if we are going to have to heat up the place to get the spray-foam insulation done, it might be best to insulate the attic space, at least partially to keep some of the heat in!

To that end today I ordered 33 bags of Roxul R-22 rockwool batts, that are designed to fit nicely between each of the ceiling joists.  I will need to put in a couple more layers eventually, to get the total R-value of the attic up to a minimum of R-50 (ideally more!), but this should at least get us started and hopefully prepare the house for the spray-foaming!  It arrived not long after I ordered it, and having just lugged it all up the stairs, I will spend the rest of the day installing it.

Attic insulation getting delivered

The only tough part about this, is getting the Roxul up the attic stairs, as the bags are too big to squeeze through the opening, so it’s endless trips up and down the stairs taking up a couple pieces at a time.  Cutting the batts is easily done with a standard kitchen (serrated) bread knife, which you need to do to fit them around plumbing, wiring, light boxes, and so forth.

Installing some attic insulation

I’ll get some more pictures as I get further along, though I am not sure they will come out much better than the photo above.

Thanks for reading and hope you enjoyed the pictures!

Ceiling Vapour Barrier and other things

For the past couple of days I have been preparing to start installing the vapour barrier on the ceiling.  This 6mil poly sheeting is the same stuff we laid down under our basement slab, and the goal is to prevent any uncontrolled airflow in or out of the living area of the house.  Mostly my work has consisted of adding additional 2×4’s around the perimeter of the walls, to ensure that we have something to fasten the drywall to, and they also create a nice area to seal the edge of the vapour barrier with acoustical sealant (you use this stuff because it remains pliable forever and creates an airtight seal).

2x4 "nailer" for fastening drywall
2×4 “nailer” for fastening drywall

I also wired up an exterior plug (in a weather resistant housing), and we now power the RV from the off-grid system in the house, and recharge the batteries using the generator.  This is actually more economical than running the RV off the generator directly, as the generator produces more power than the RV consumes when it’s running – power that just goes to waste.  It’s really nice now because we only have to run the generator for a few hours every day and then can leave it off through the evening/night.  This is also giving us a good opportunity to charge/discharge the batteries repeatedly, which is an important part of commissioning the battery bank.

GFCI outlet powering the RV

This morning I started putting up the actual vapour barrier on the ceiling, and managed to finish the main bathroom/laundry room, master bathroom, master bedroom, and part of the kitchen/dining/living room.  I’m confident I will get that wrapped up tomorrow, then I will work on taping up all the seams/over all the staples, and applying the acoustical sealant around the perimeter to create an airtight seal.

Starting the ceiling vapour barrier

The insulation contractors are scheduled to be on-site to spray foam the main floor walls and the sills/rim joists next Monday, and I’ll be sure to get some pictures of that while it’s going on.  My biggest obstacle to overcome before then, is to find some way to heat up the house enough for them to do their work – ideally the house will be above zero degrees (celsius), and that’s going to be tough with the cold snap we are experiencing right now.  Perhaps we will get lucky and it will warm up by next week  🙂

As always, thanks for reading, all the best in 2015!